Our bodies are built to handle incredible forces thanks to bones, muscles, tendons and fascia working in harmony. But when pain or recurring injuries strike, we often overlook one key player: fascia. This dense, connective tissue weaves throughout the body like an intricate network, influencing how we move and feel.
Ever peeled the skin off a chicken before cooking it? That slippery, white film you see is fascia—it’s the same tissue that wraps around your muscles, organs and bones. In fact, the fascia that lines your bones is what gives structure and support to the entire body.
Justin Price, a leading corrective exercise specialist, compares fascia to a spider’s web: When a fly gets caught in one part of the web, the spider senses the change in tension throughout the entire structure. Similarly, when something’s off in your body, the entire system feels it. A tight calf, for example, might affect not only your ankle but your knee’s alignment and even the way you walk.
When fascia becomes restricted due to injury, repetitive stress or tension, it forms adhesions. These adhesions can limit range of motion and cause compensations in other muscles and joints, explains Price. Learning effective self-myofascial release techniques can help you target these adhesions, rejuvenating the soft tissue and restoring your body’s natural movement patterns.
So how do you keep your fascia healthy and flexible? Self-myofascial release. These simple techniques help relieve tension, break up adhesions and restore mobility—no fancy gear required. A few basic tools, like tennis balls, a baseball, a golf ball or a foam roller can work wonders to release tension in restricted areas. Combined with specific stretches right after rolling, you’ll effectively target tight spots.
Tennis or golf ball foot roll

Target: Plantar fascia and lower leg
Tools: Tennis ball, golf ball or any small ball
How to:
- Place the ball under your foot.
- Roll back and forth to find tender spots.
- Pause and apply pressure on sore areas.
- Roll for 30 seconds to 1 minute per foot.
Pro tip: Keep a ball near your desk or couch as a reminder to roll daily.
Foot and toe wall stretch
Target: Foot and ankle flexibility

How to:
- Keep the ball of your foot and base of your toes on the floor.
- Press your toes and knee gently against a wall.
- Slowly roll your foot and ankle inward toward the wall.
- Hold for 15-20 seconds.
- Repeat twice daily.
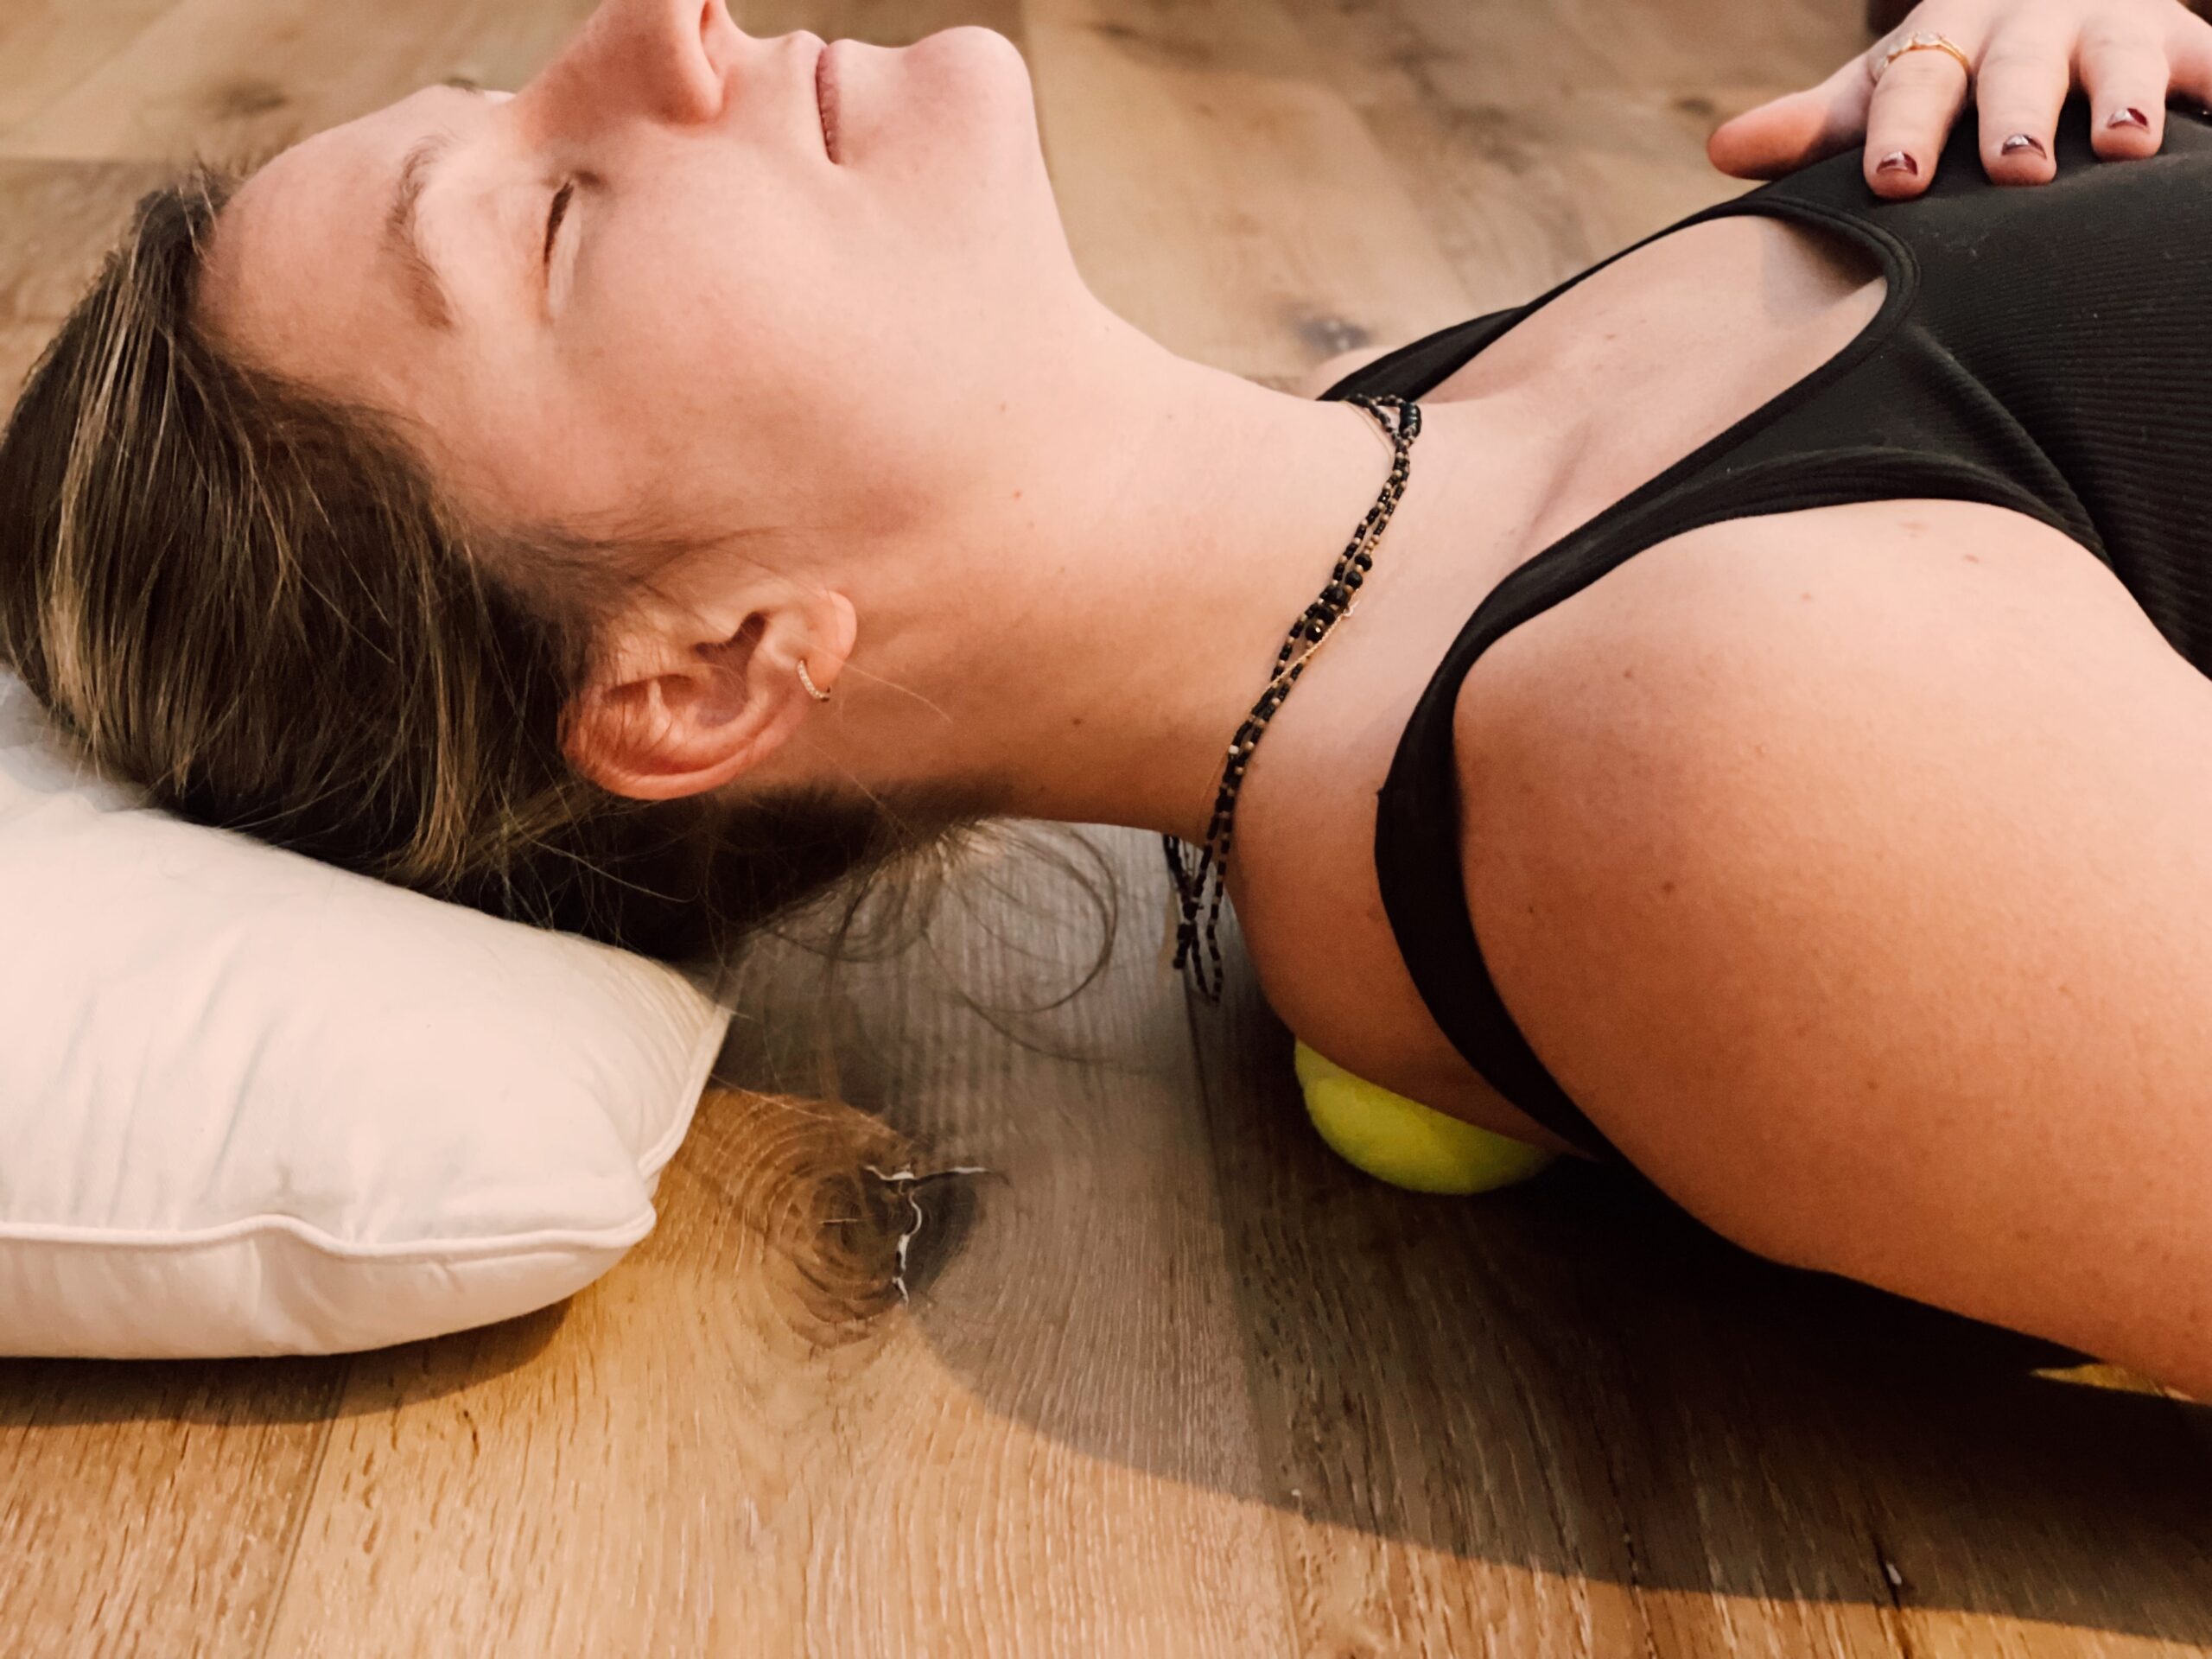
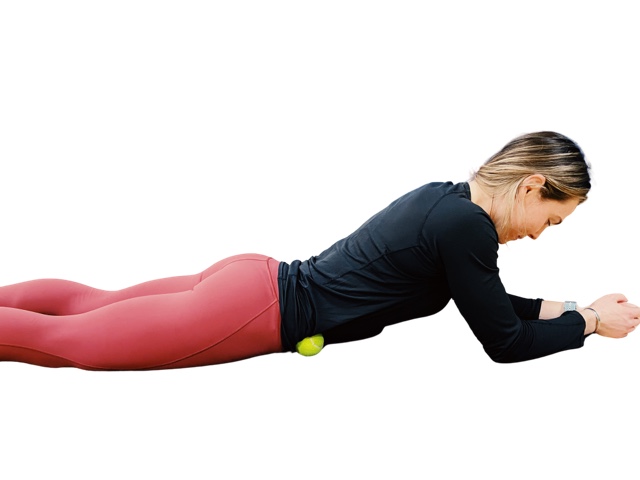
Target: Psoas and hip flexors

Target: Psoas and hip flexors
How to:
- Lie face-down.
- Place the tennis ball just to the side of your belly button.
Gently roll to find tender spots between your belly button and hip.
- Pause on sore spots for 20-30 seconds.
- Total time: 2-3 minutes per side
Pro tip: Internally rotate your leg to deepen the stretch.
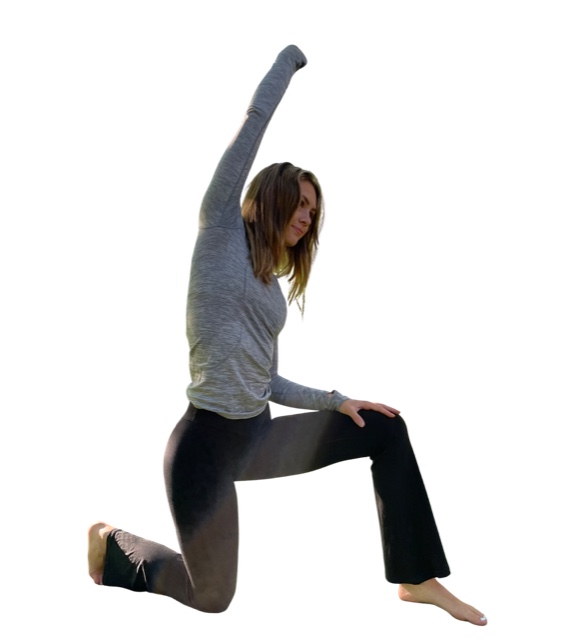
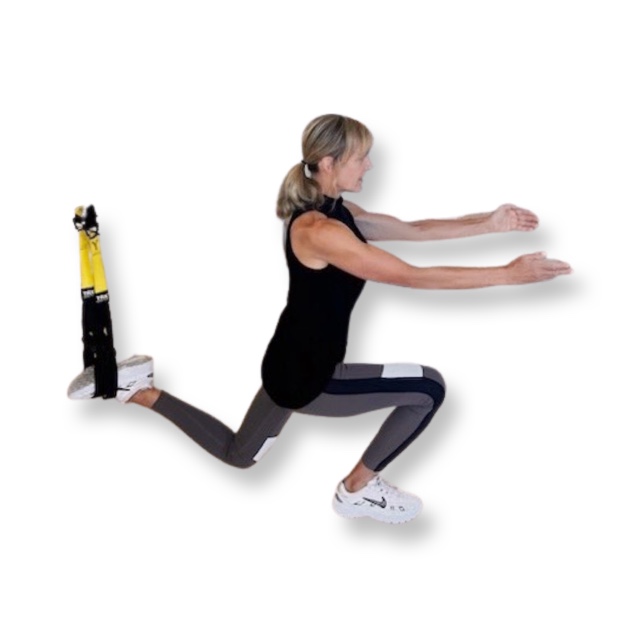
Follow with a hip flexor stretch
Target: Hip flexors

How to:
- Kneel down, with one foot forward. Pad your knee if needed.
- Keep your hips tucked in and under.
- Tighten the glutes and abs isometrically during the stretch.
- Gently change arm angles to further target hip flexors.
- Hold for 15-20 seconds, 2-3 cycles.
Taking just a few minutes a day to release and stretch tight fascia can dramatically improve your mobility, reduce pain and even boost performance. Small, consistent actions lead to big changes—so grab a tennis ball and start rolling your way to better movement. 
Published in the Idaho Mountain Express September 26, 2025 https://www.mtexpress.com/wood_river_journal/features/fitness-guru-move-better-feel-better/article_0b114c31-3afd-47c9-bacc-1f9ec9ec9b6f.html