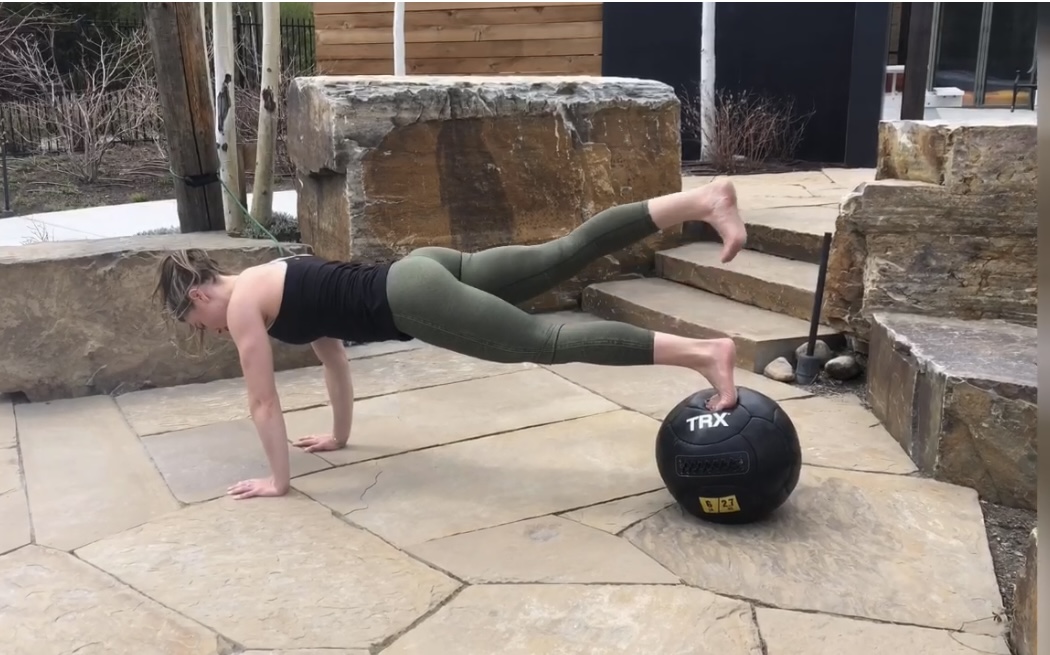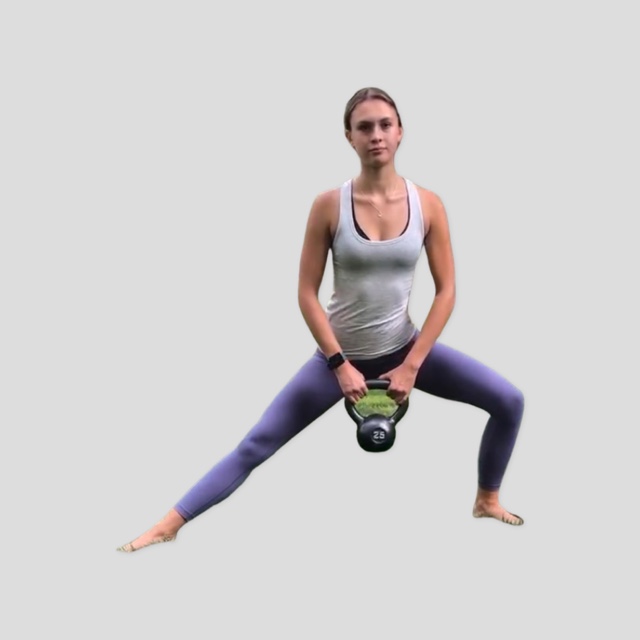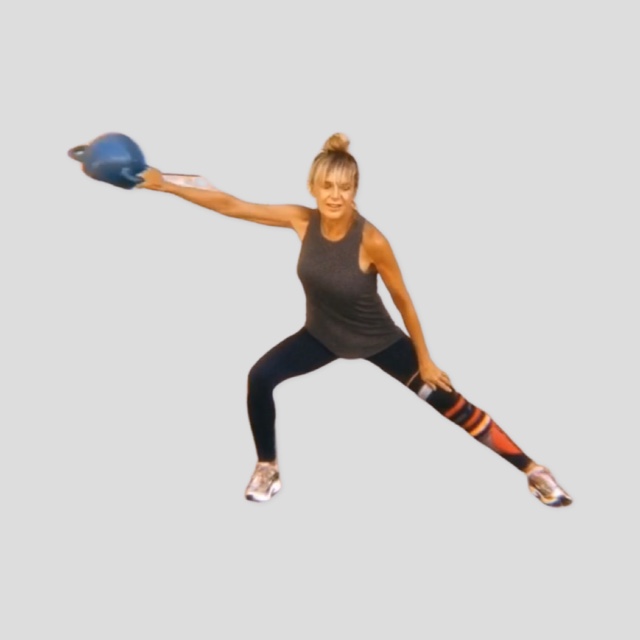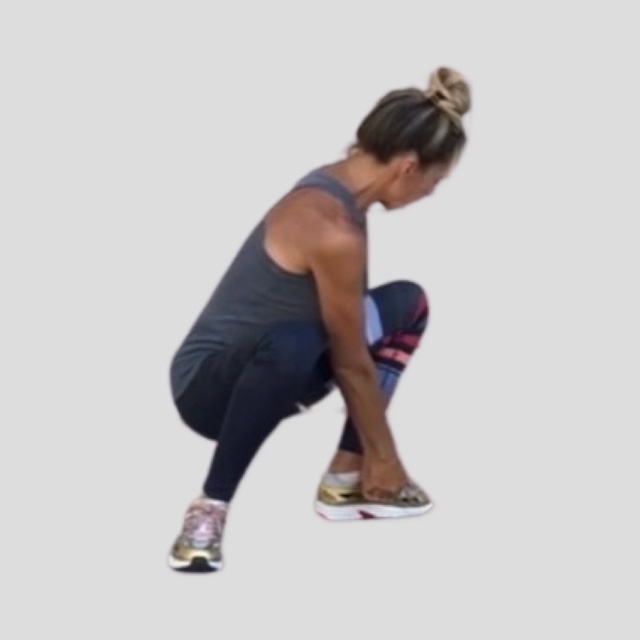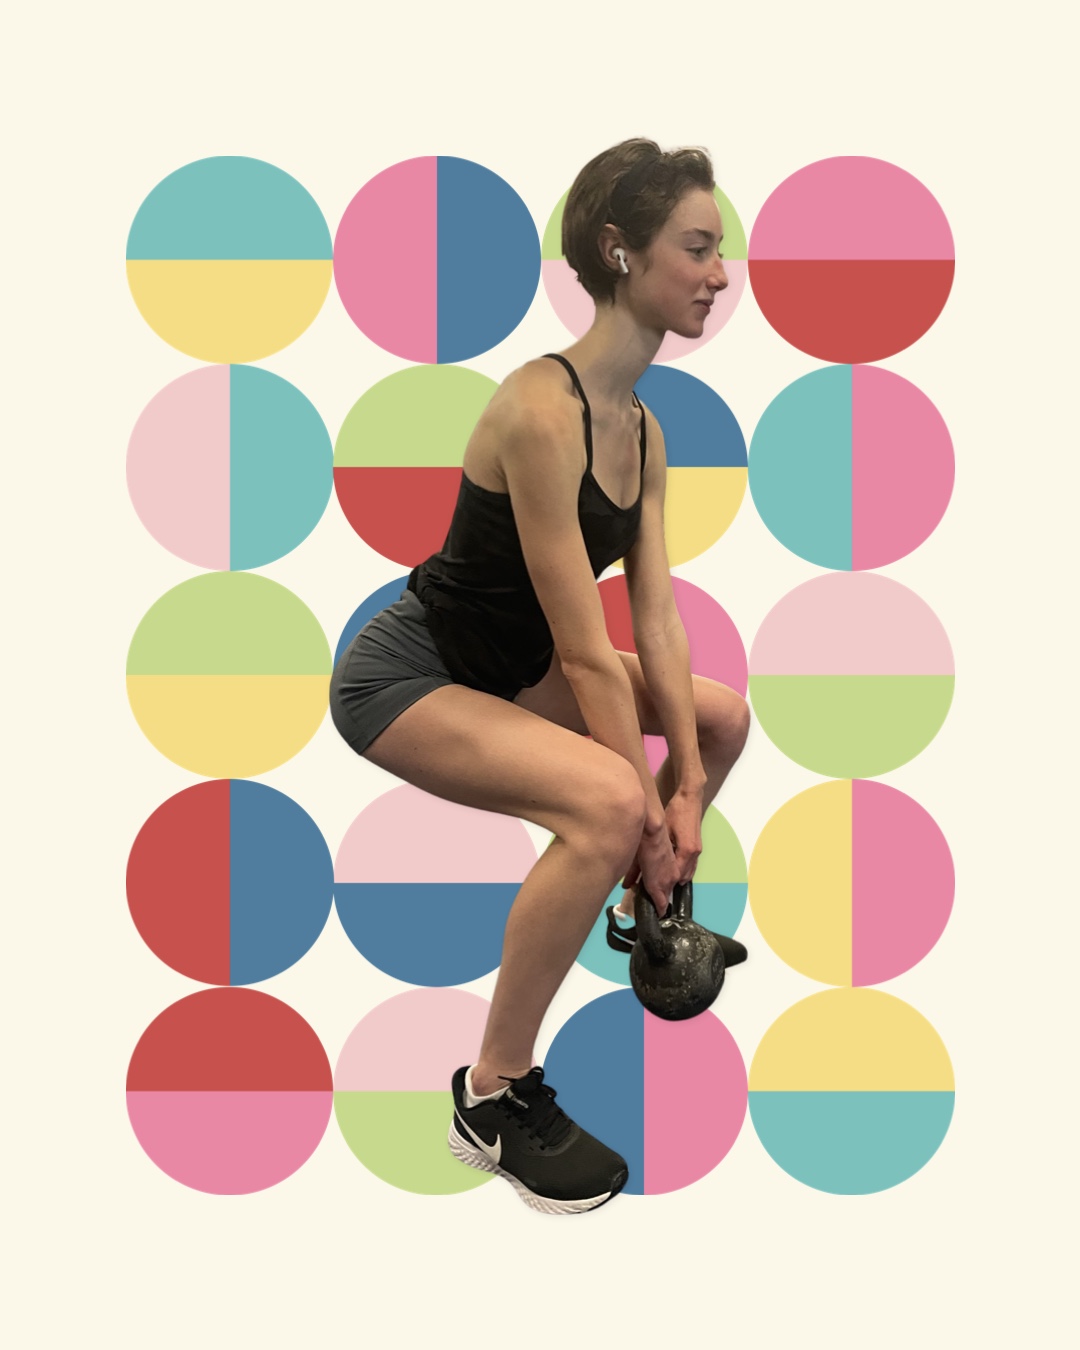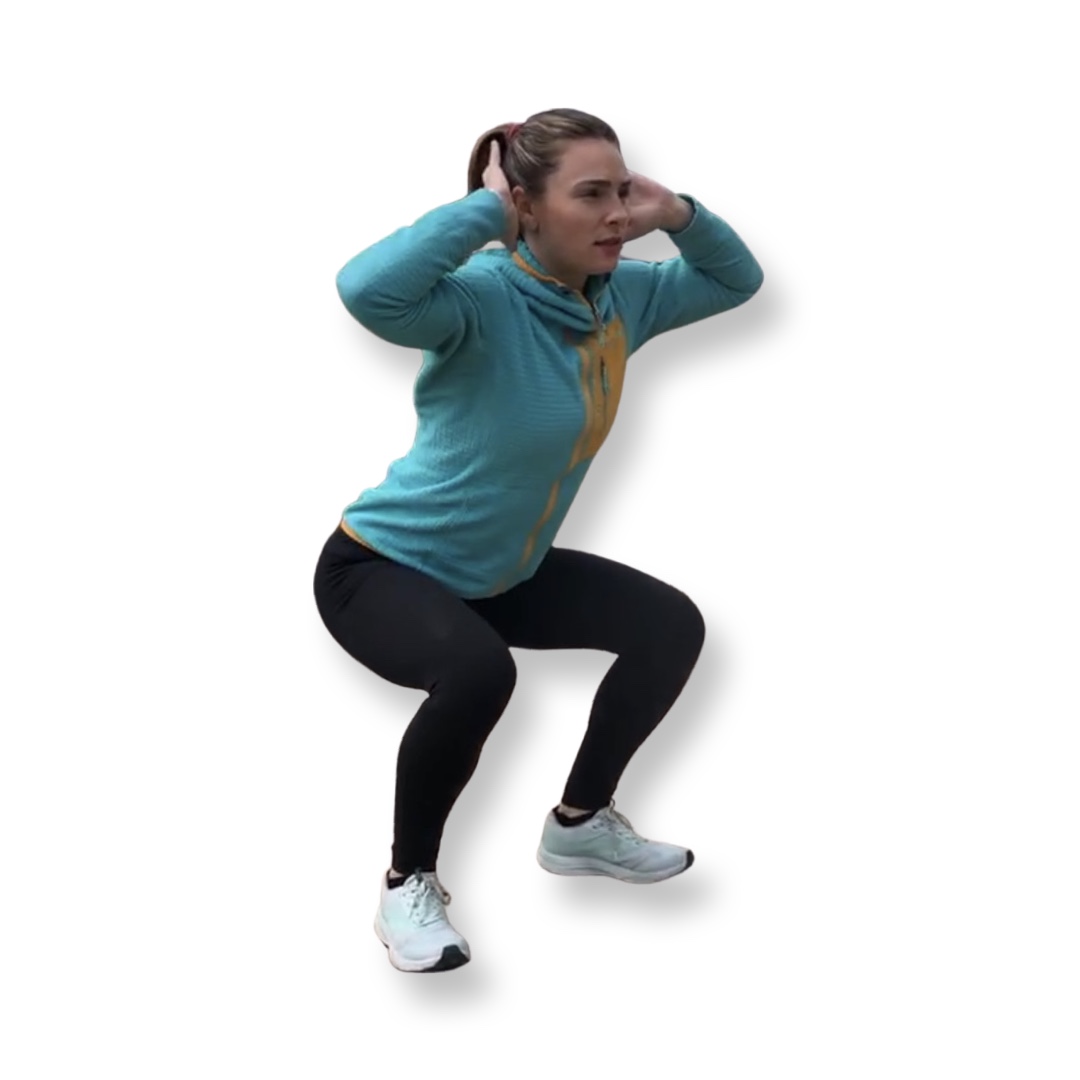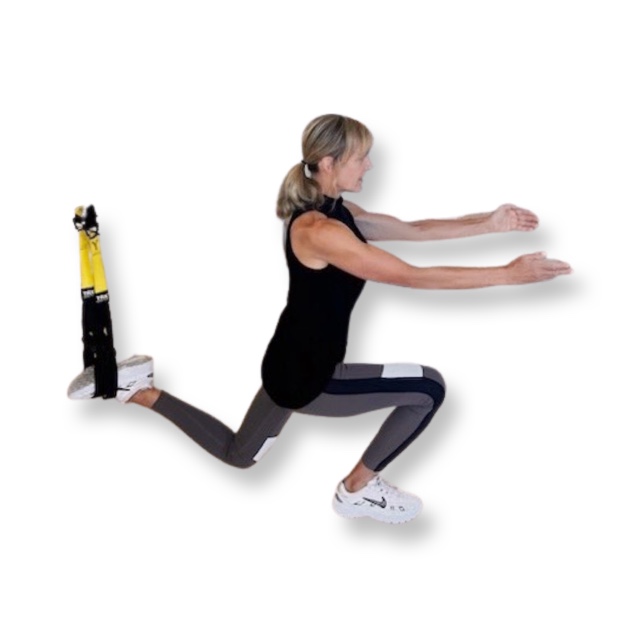
Watch children play outside on a lawn and you can be sure they are crawling, rolling or somersaulting. From the time we kick and crawl as infants, our motor skills continue to evolve, leading to higher physical activity over a life span. There’s a new trend in fitness programs that focuses on ground-based fundamental or “primal†movements, like crawling. Some of these programs, like Animal Flow, are exercises performed in the quadruped position, linked together in continuous sequences called flows.
If you enjoy yoga flow, Animal Flow is quite similar, though not necessary performed completely on the hands and feet, in a quadruped stance. The later promotes reconnecting with your body’s natural movement abilities, or “primitive movement patterns,†ones of our four-egged friends, to improve function of the “human animal.†Studies show that an eight-week, twice-per-week Animal Flow program, in addition to regular exercise, increased trunk stability scores, range of motion and motor competence.
Crawling lights up your muscles
If we take away the 100-mile-an-hour lawn crawl that children love to show-off, the crawl itself is a body weight exercise that improves motor control mechanisms for better balance and coordination. Adam Eckhart, assistant professor at Kean University has studied how when we are upright, either walking or running, built in motor programs generated in the spinal cord play an important role in the rhythmic coupling of our arms and legs. When you step over an obstacle, he says, the central pattern generators adapt the timing and counterbalancing limb movements to adapt to changes in stability.
Studies show that patients with Parkinson’s disease have higher sensory signals in the arms when anticipating a step obstacle, concluding that a robust arm-leg coupling awareness is very helpful. Stroke patients conversely, rely on the same motor muscle activity in their arms to counterbalance difficulty lifting a leg over a step obstacle.
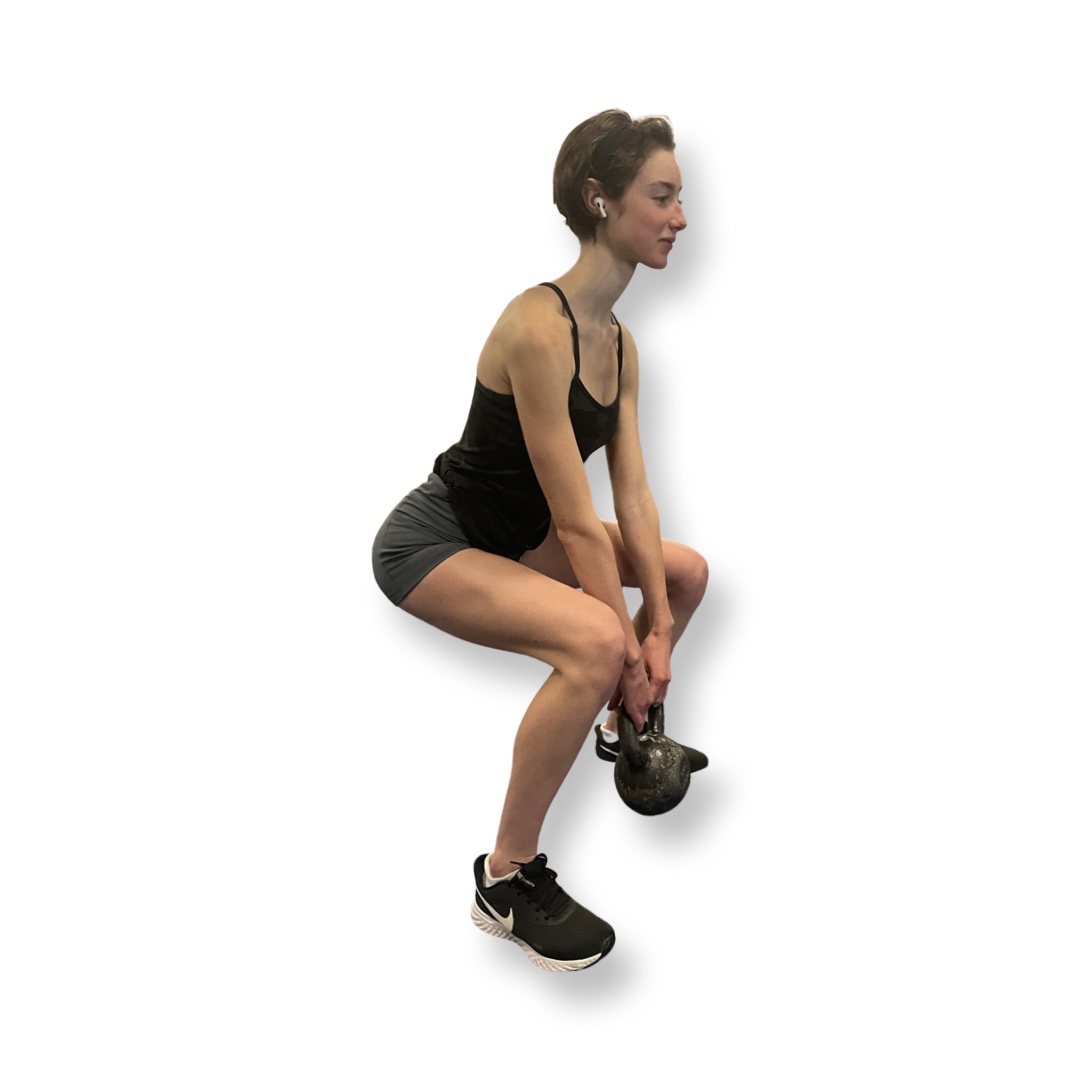
Compared to walking, hand-foot crawling lights all your muscles up, especially with added speed. Loads on the shoulders, triceps, quadriceps, hamstrings and calves change, depending on the whether the hips are high or low.
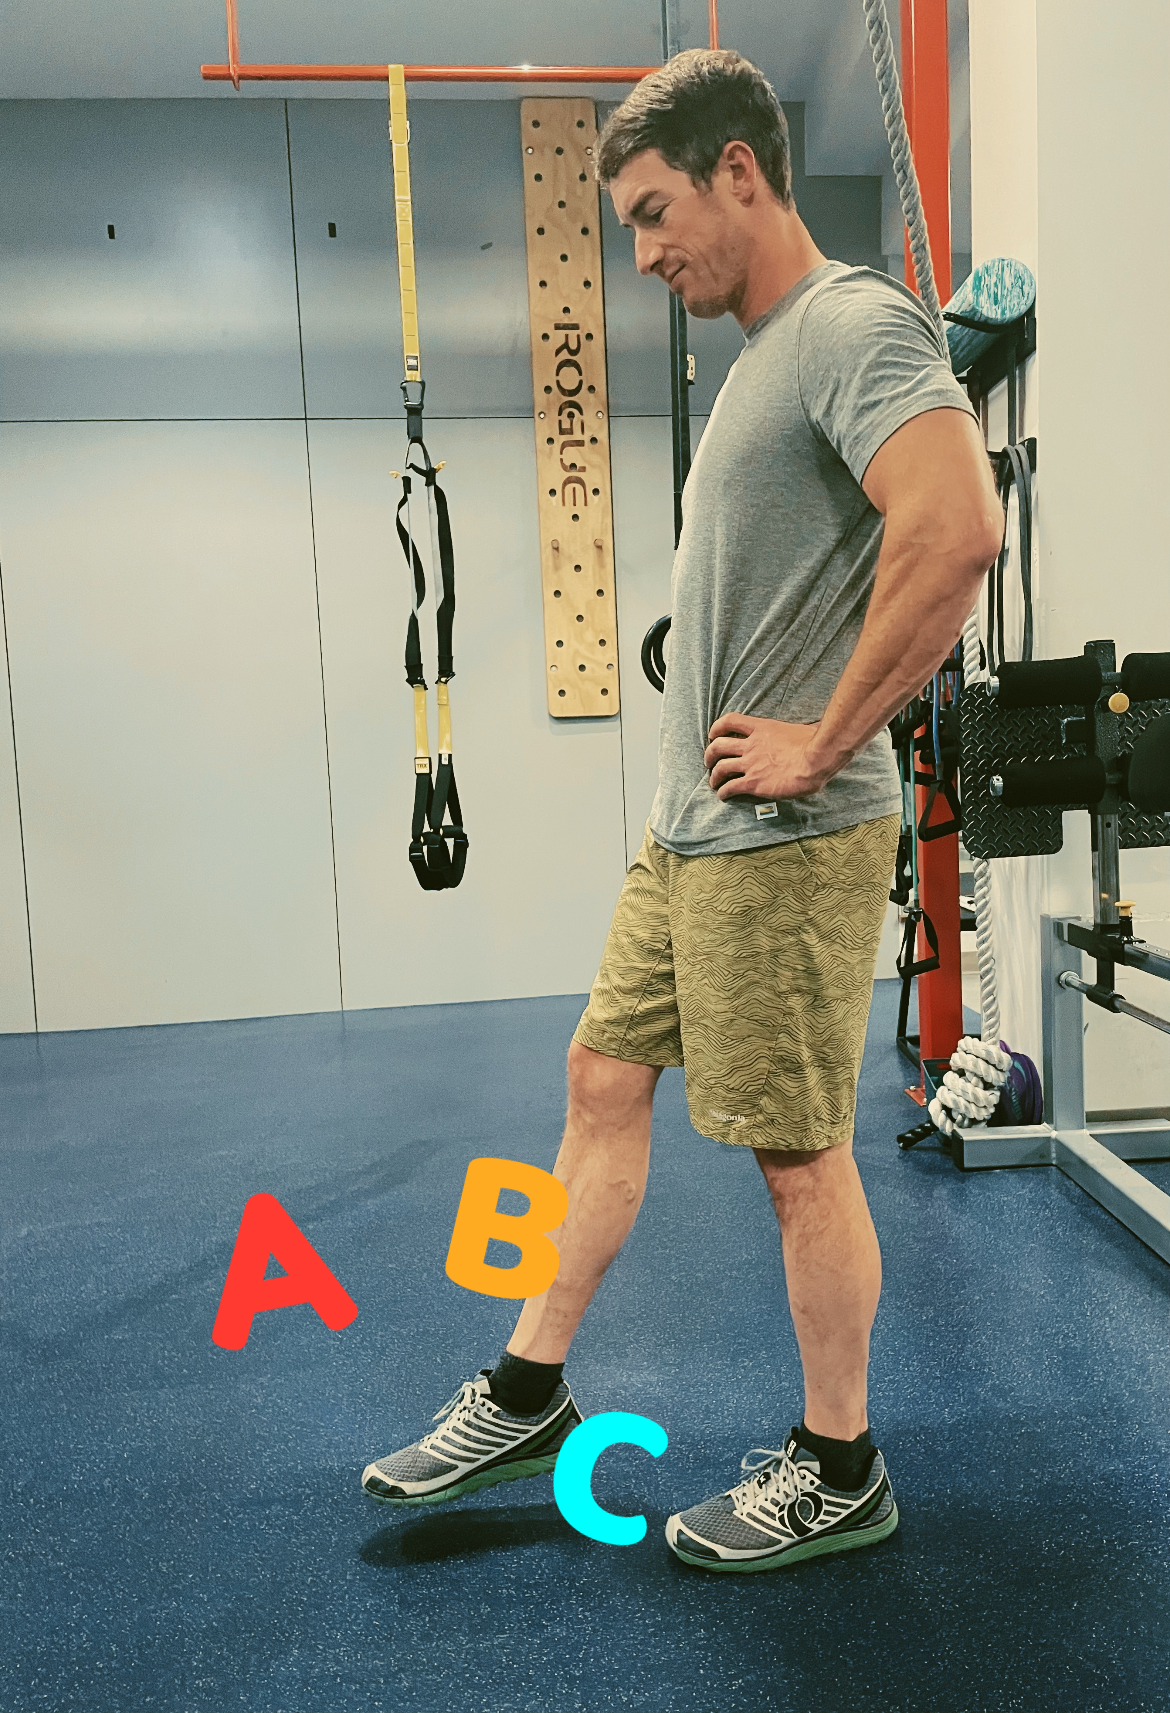
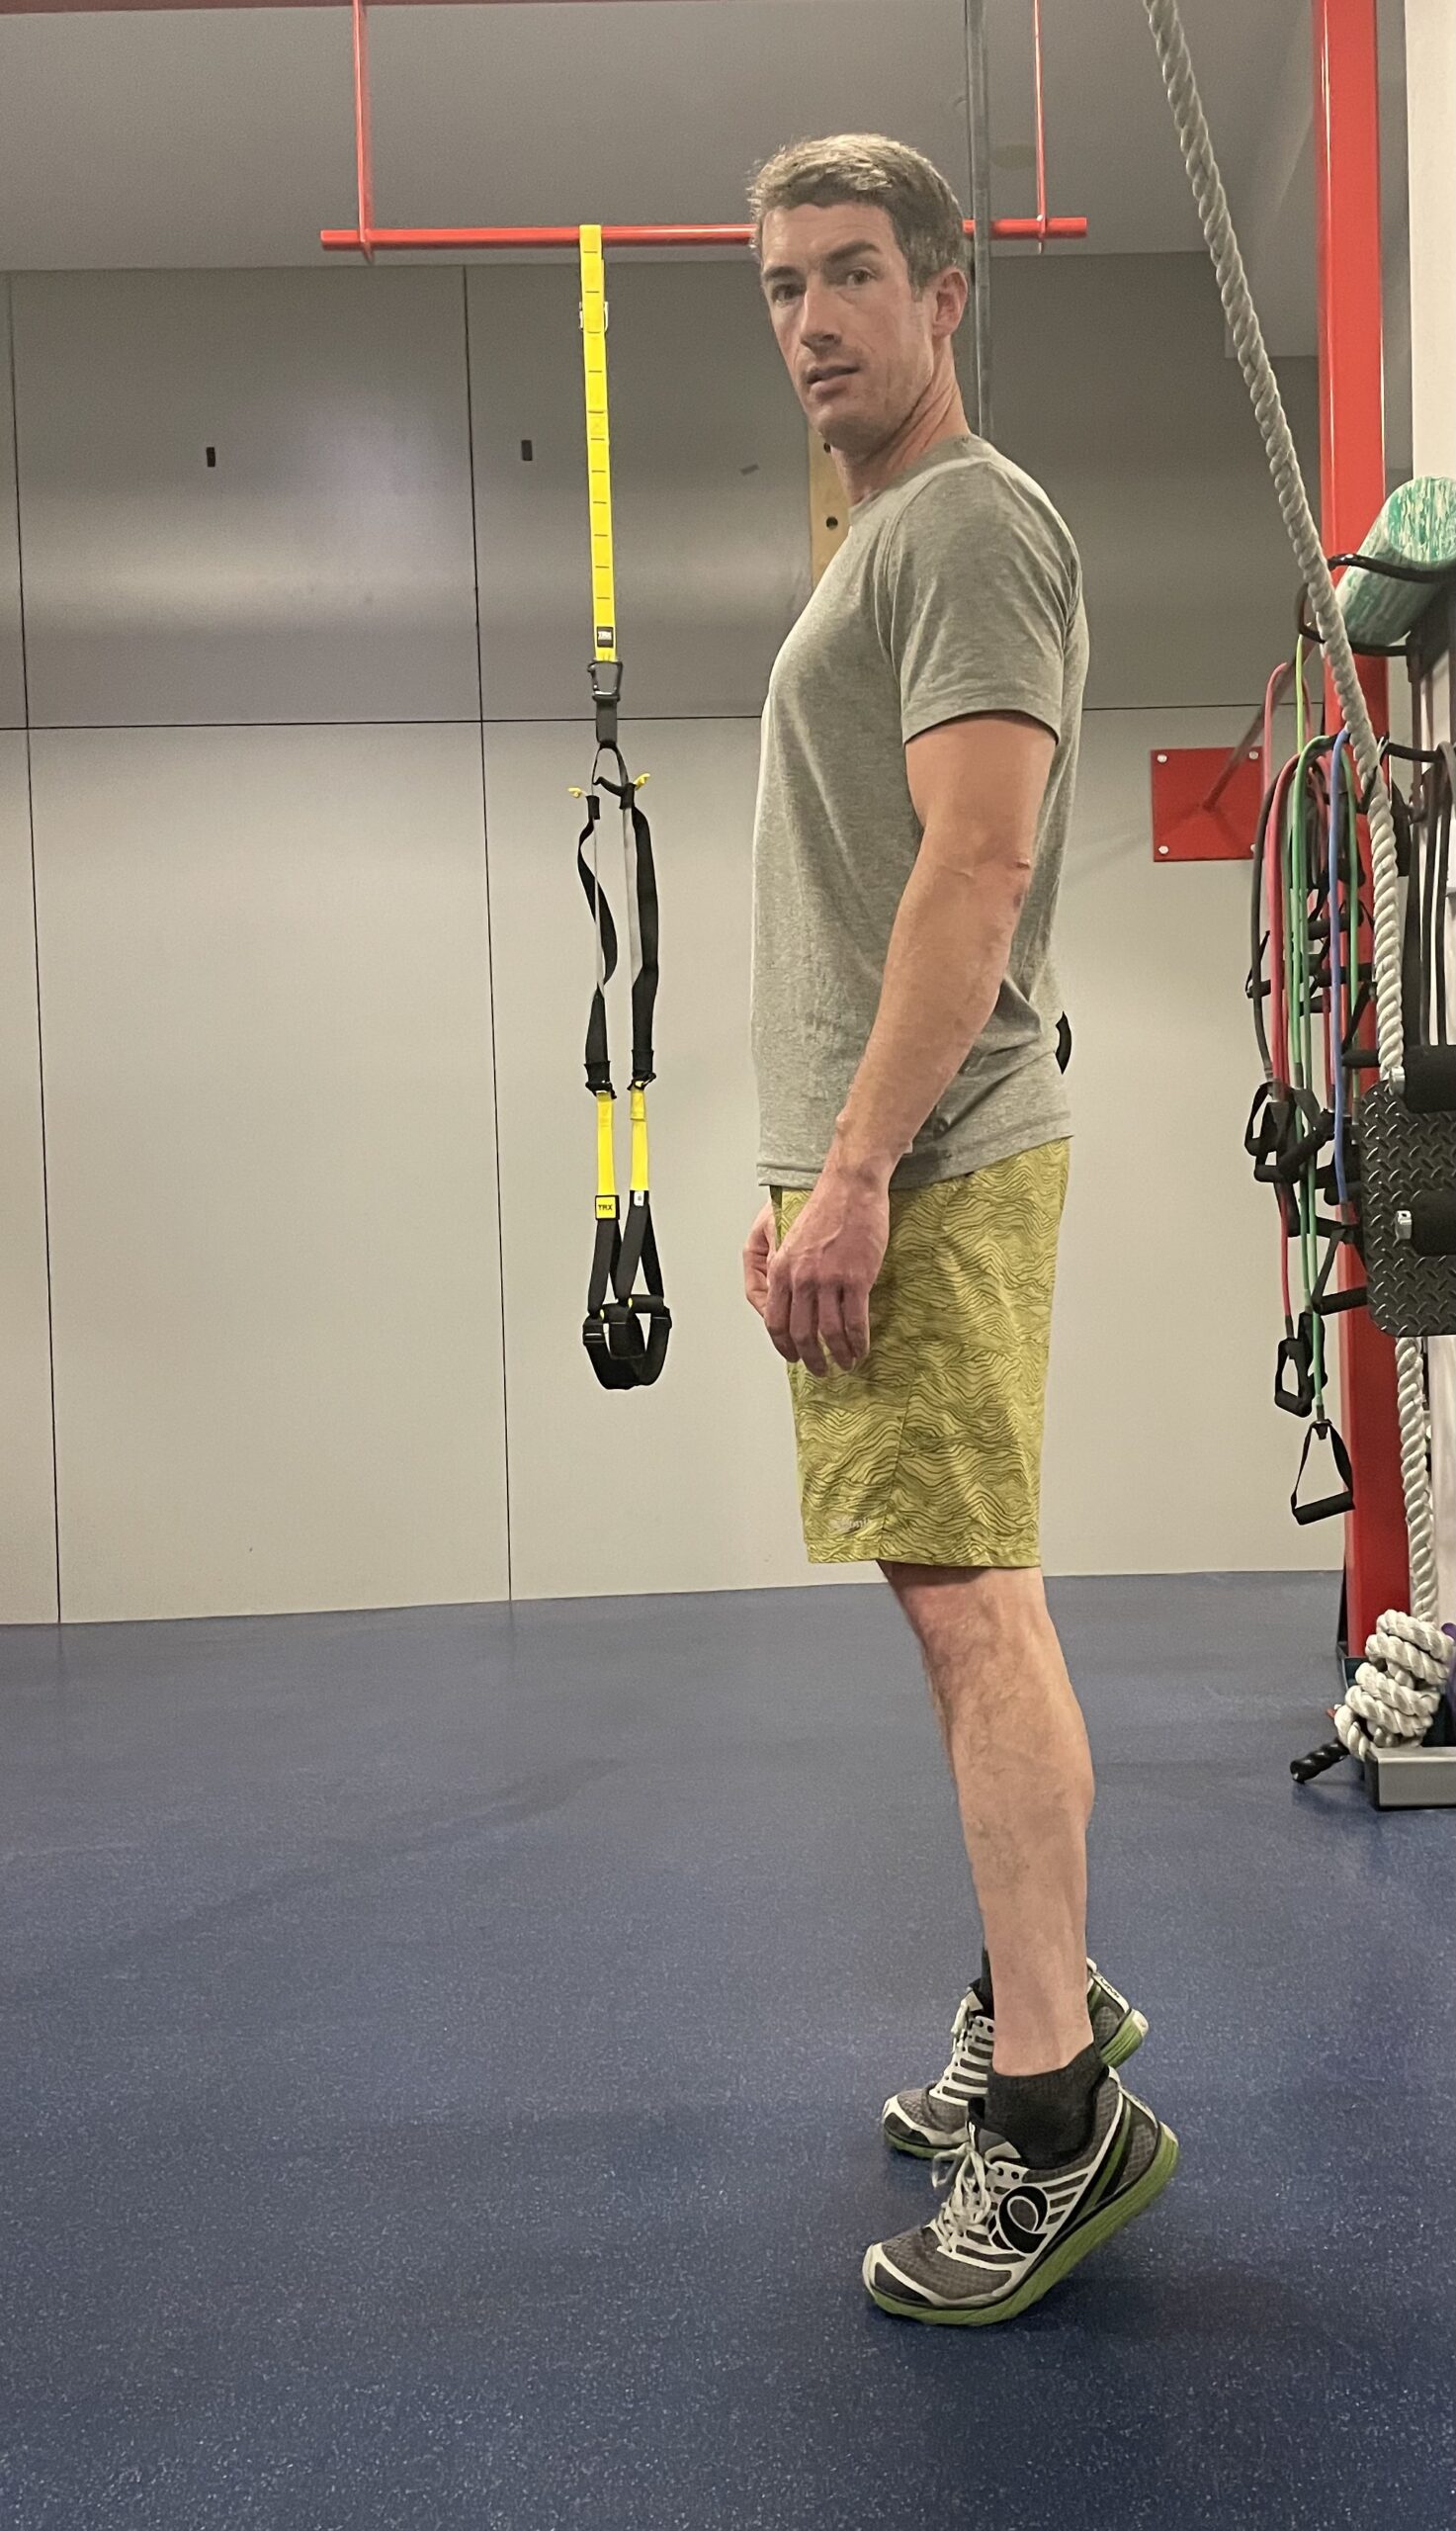
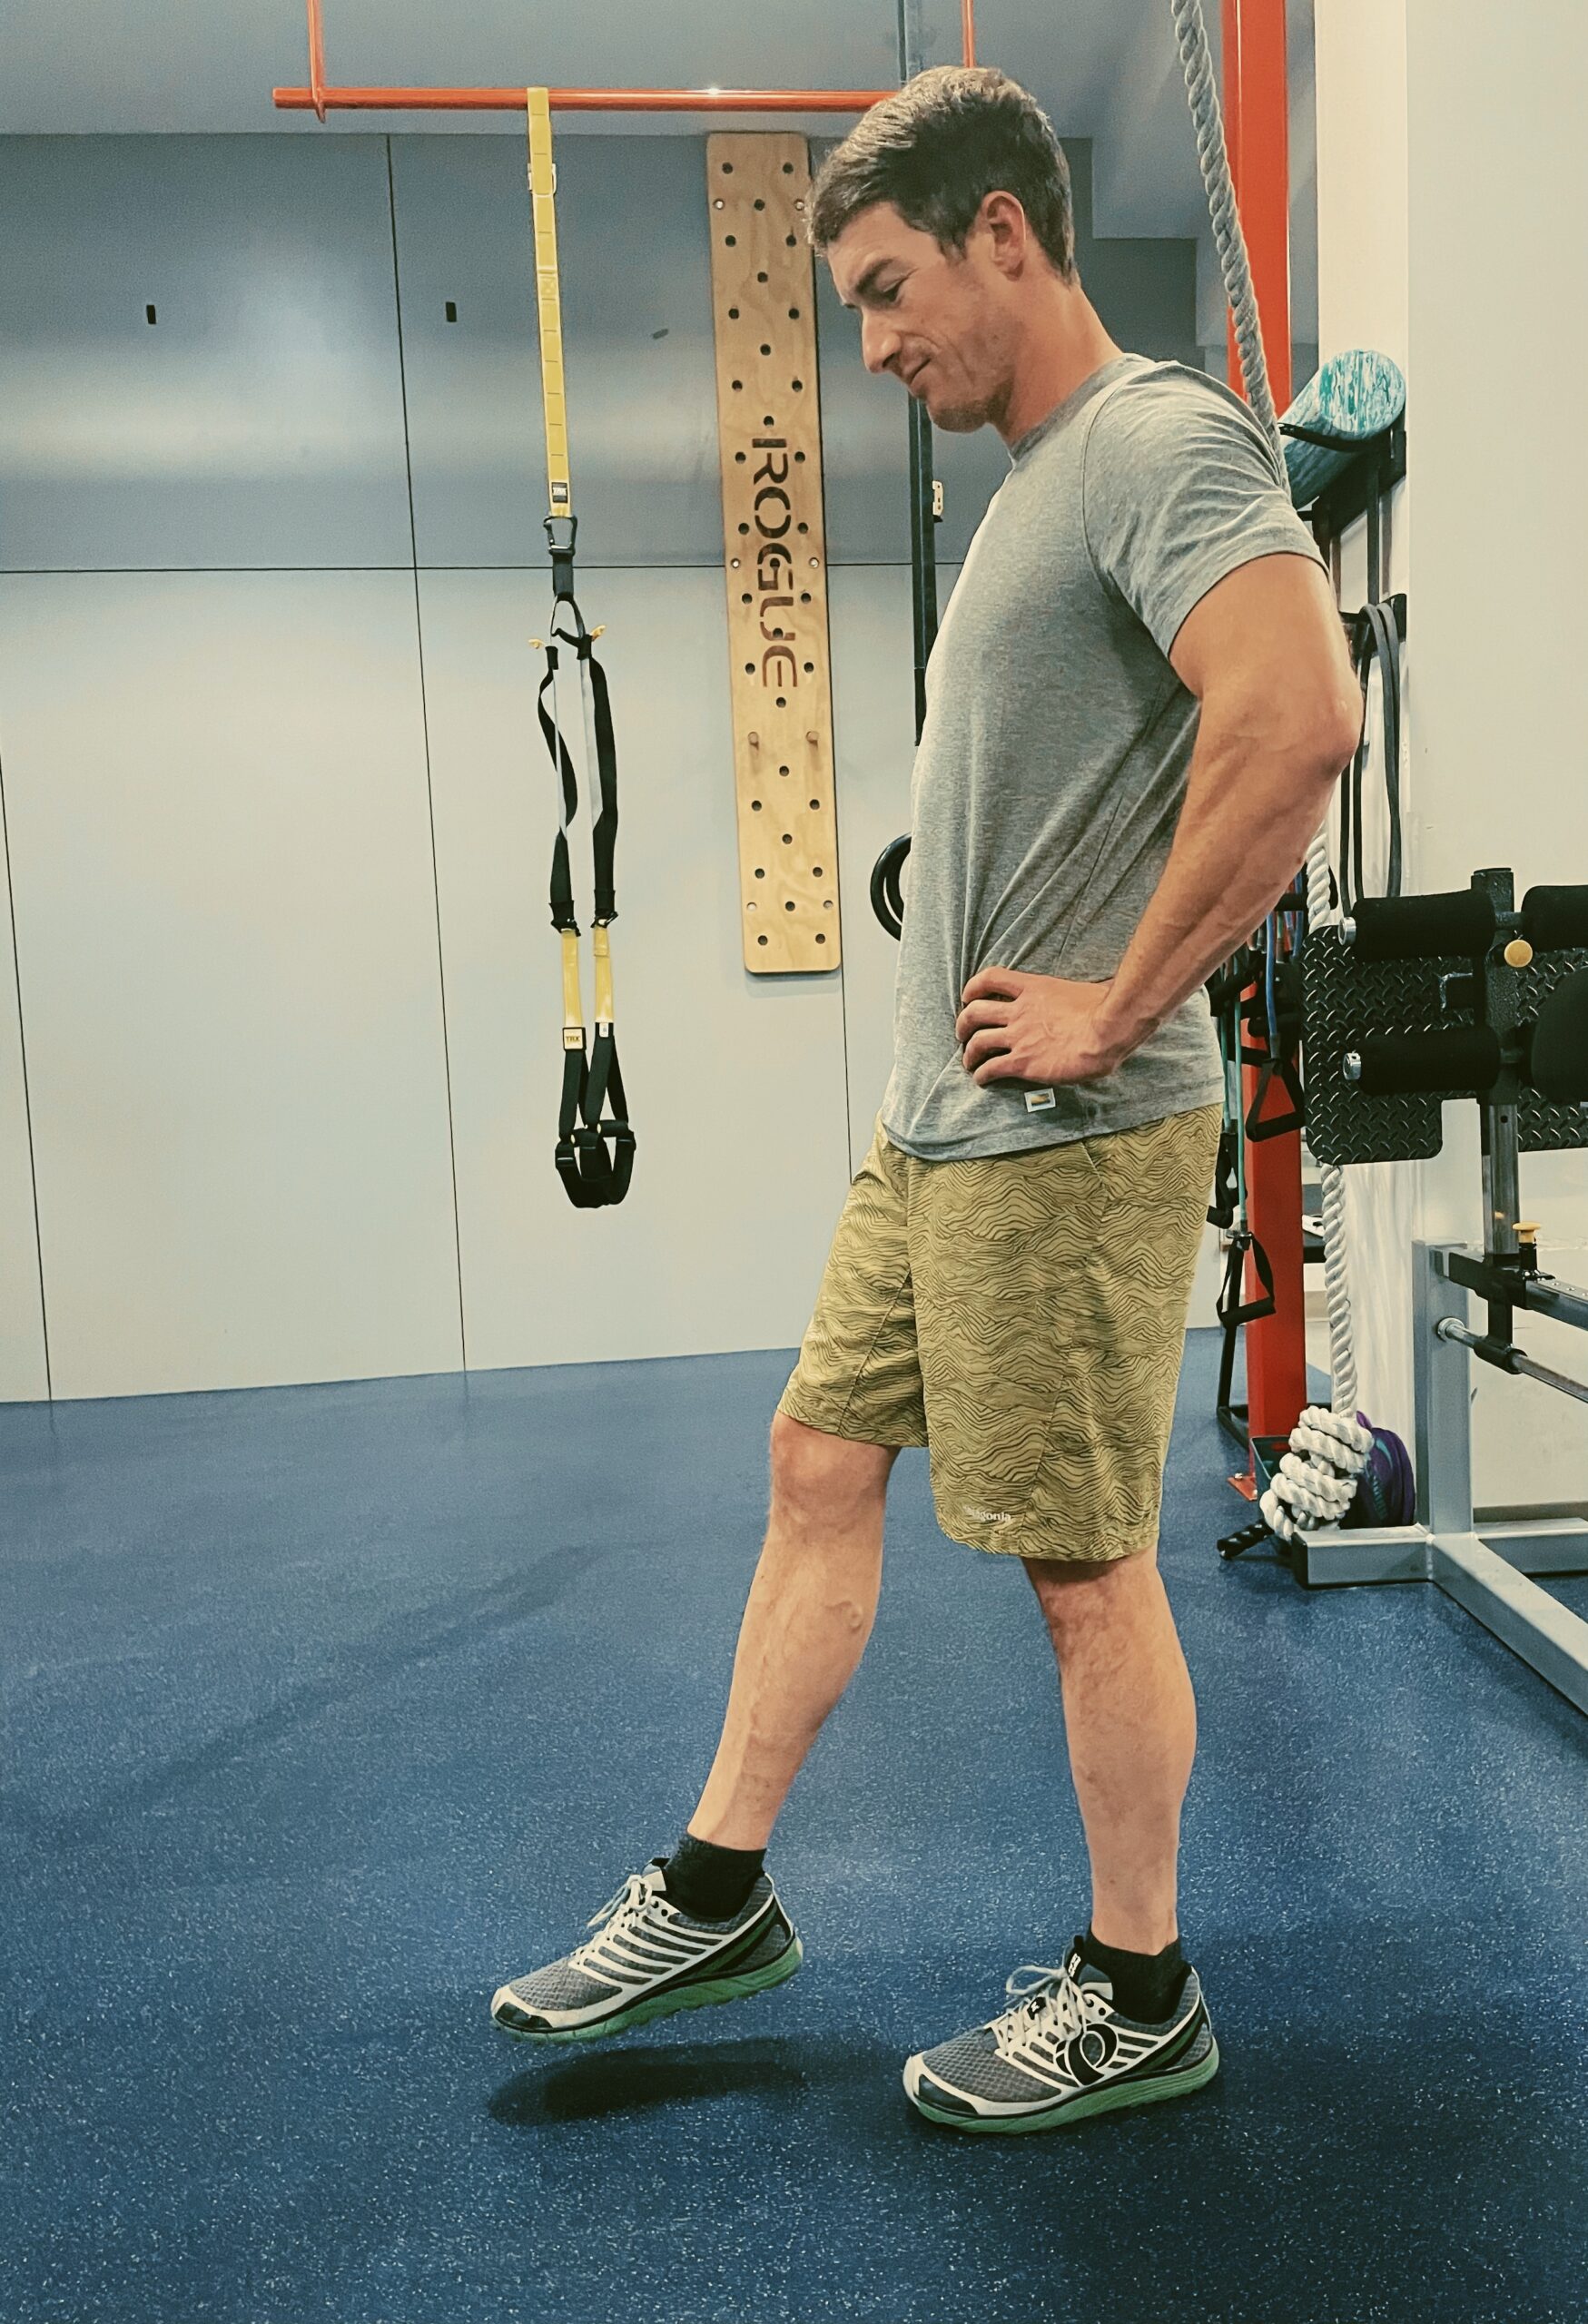
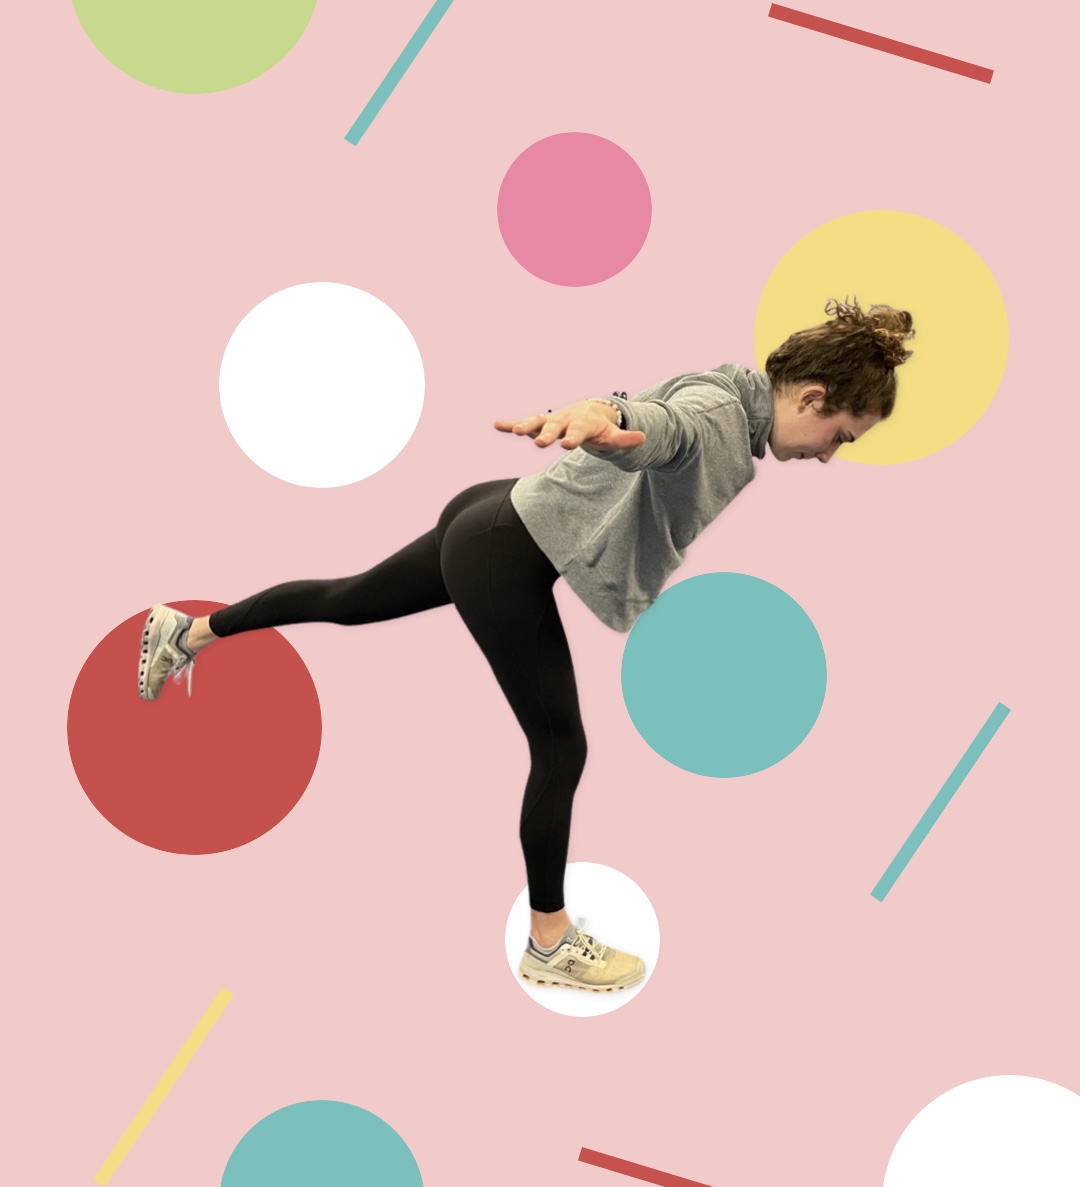
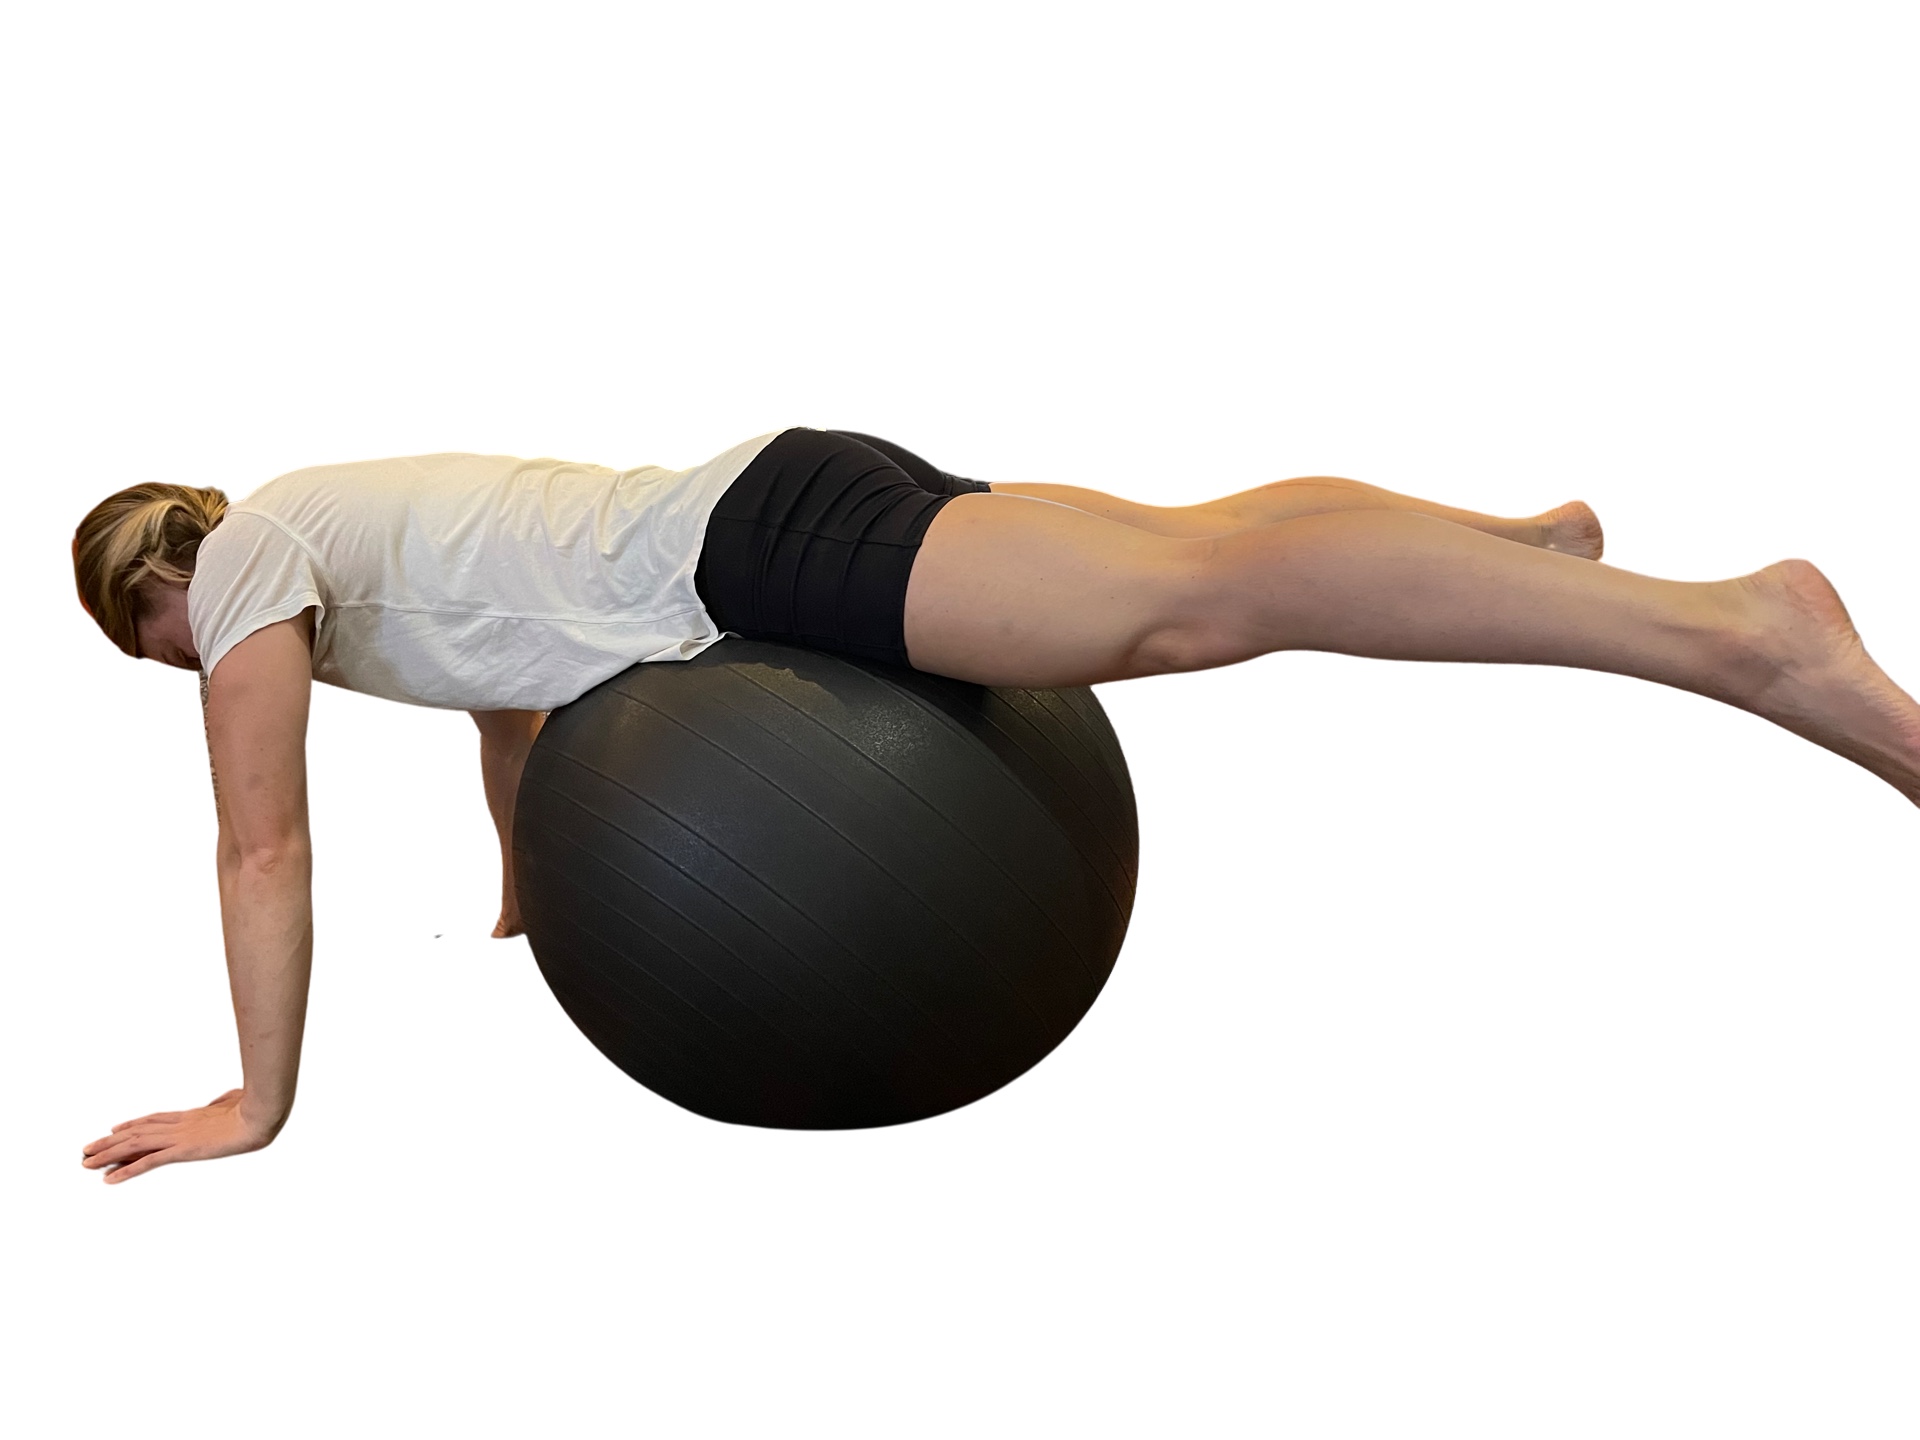
Four-point kneeling dogs
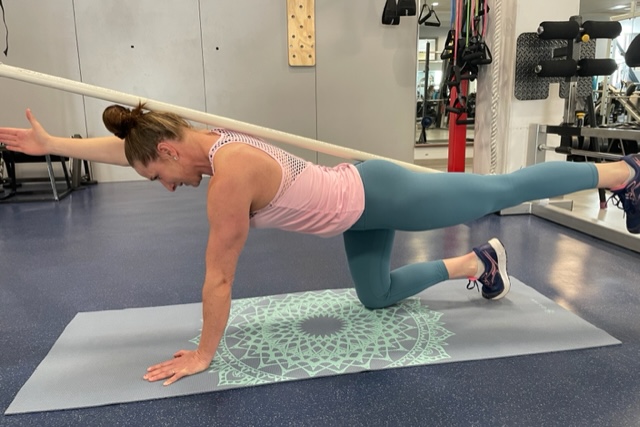
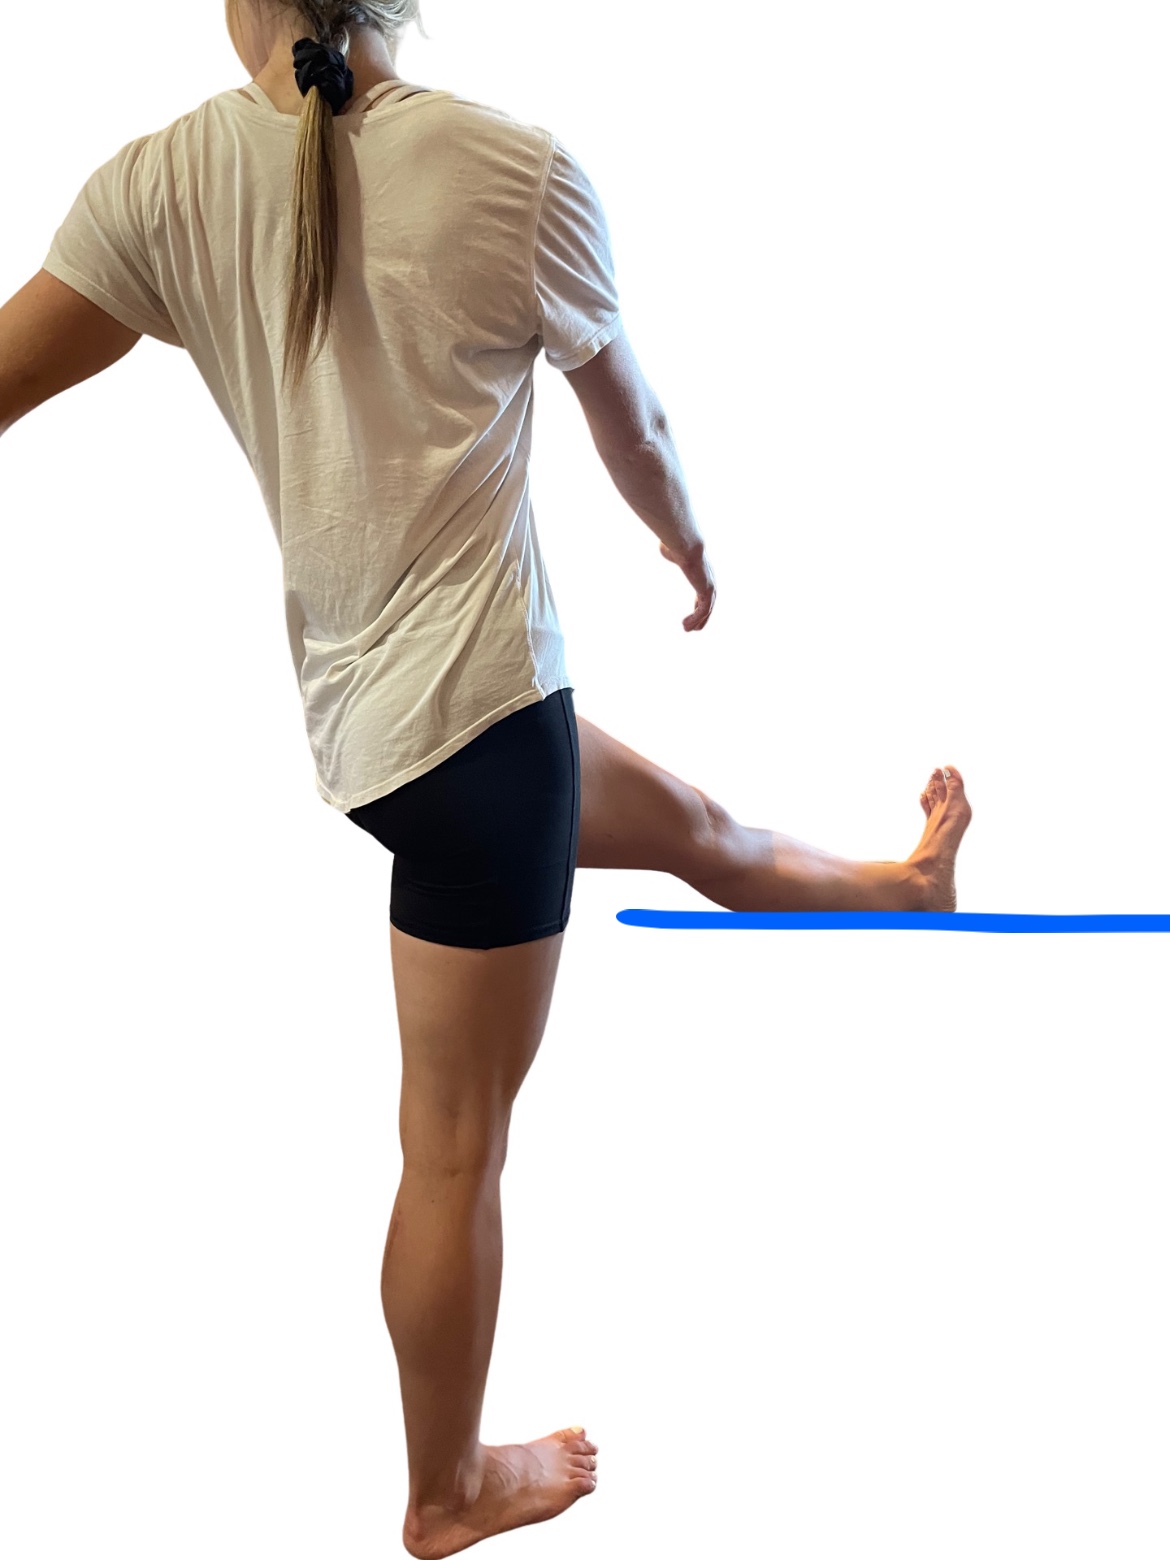
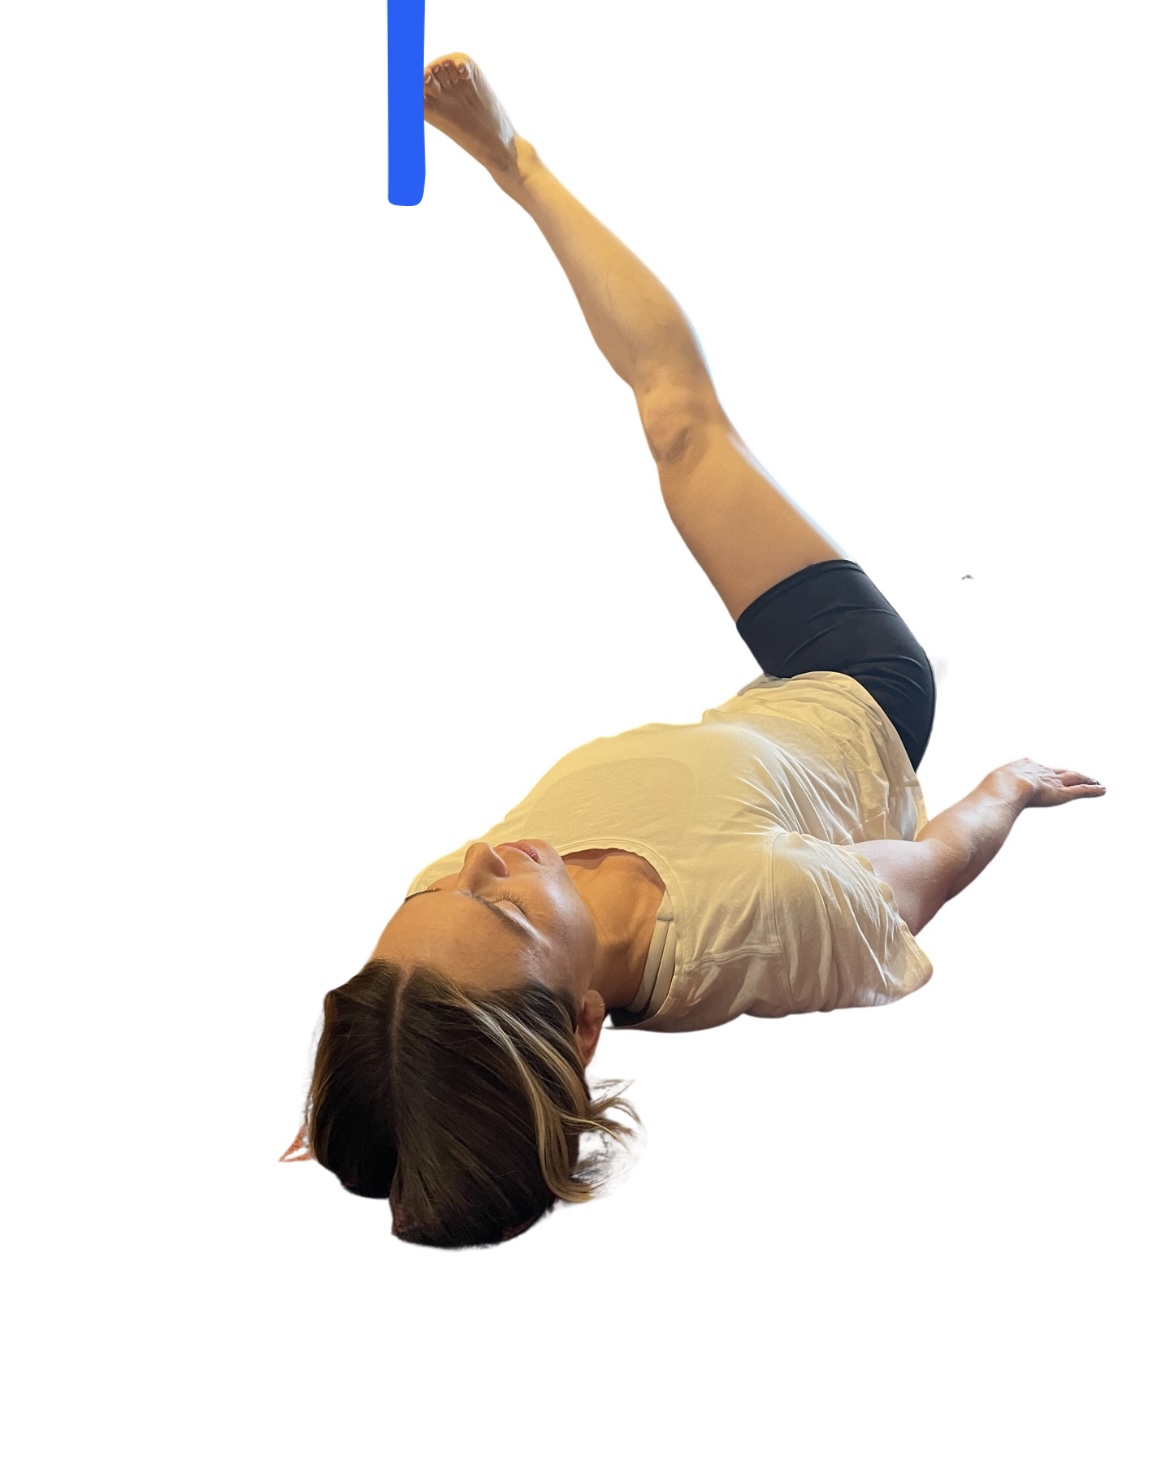
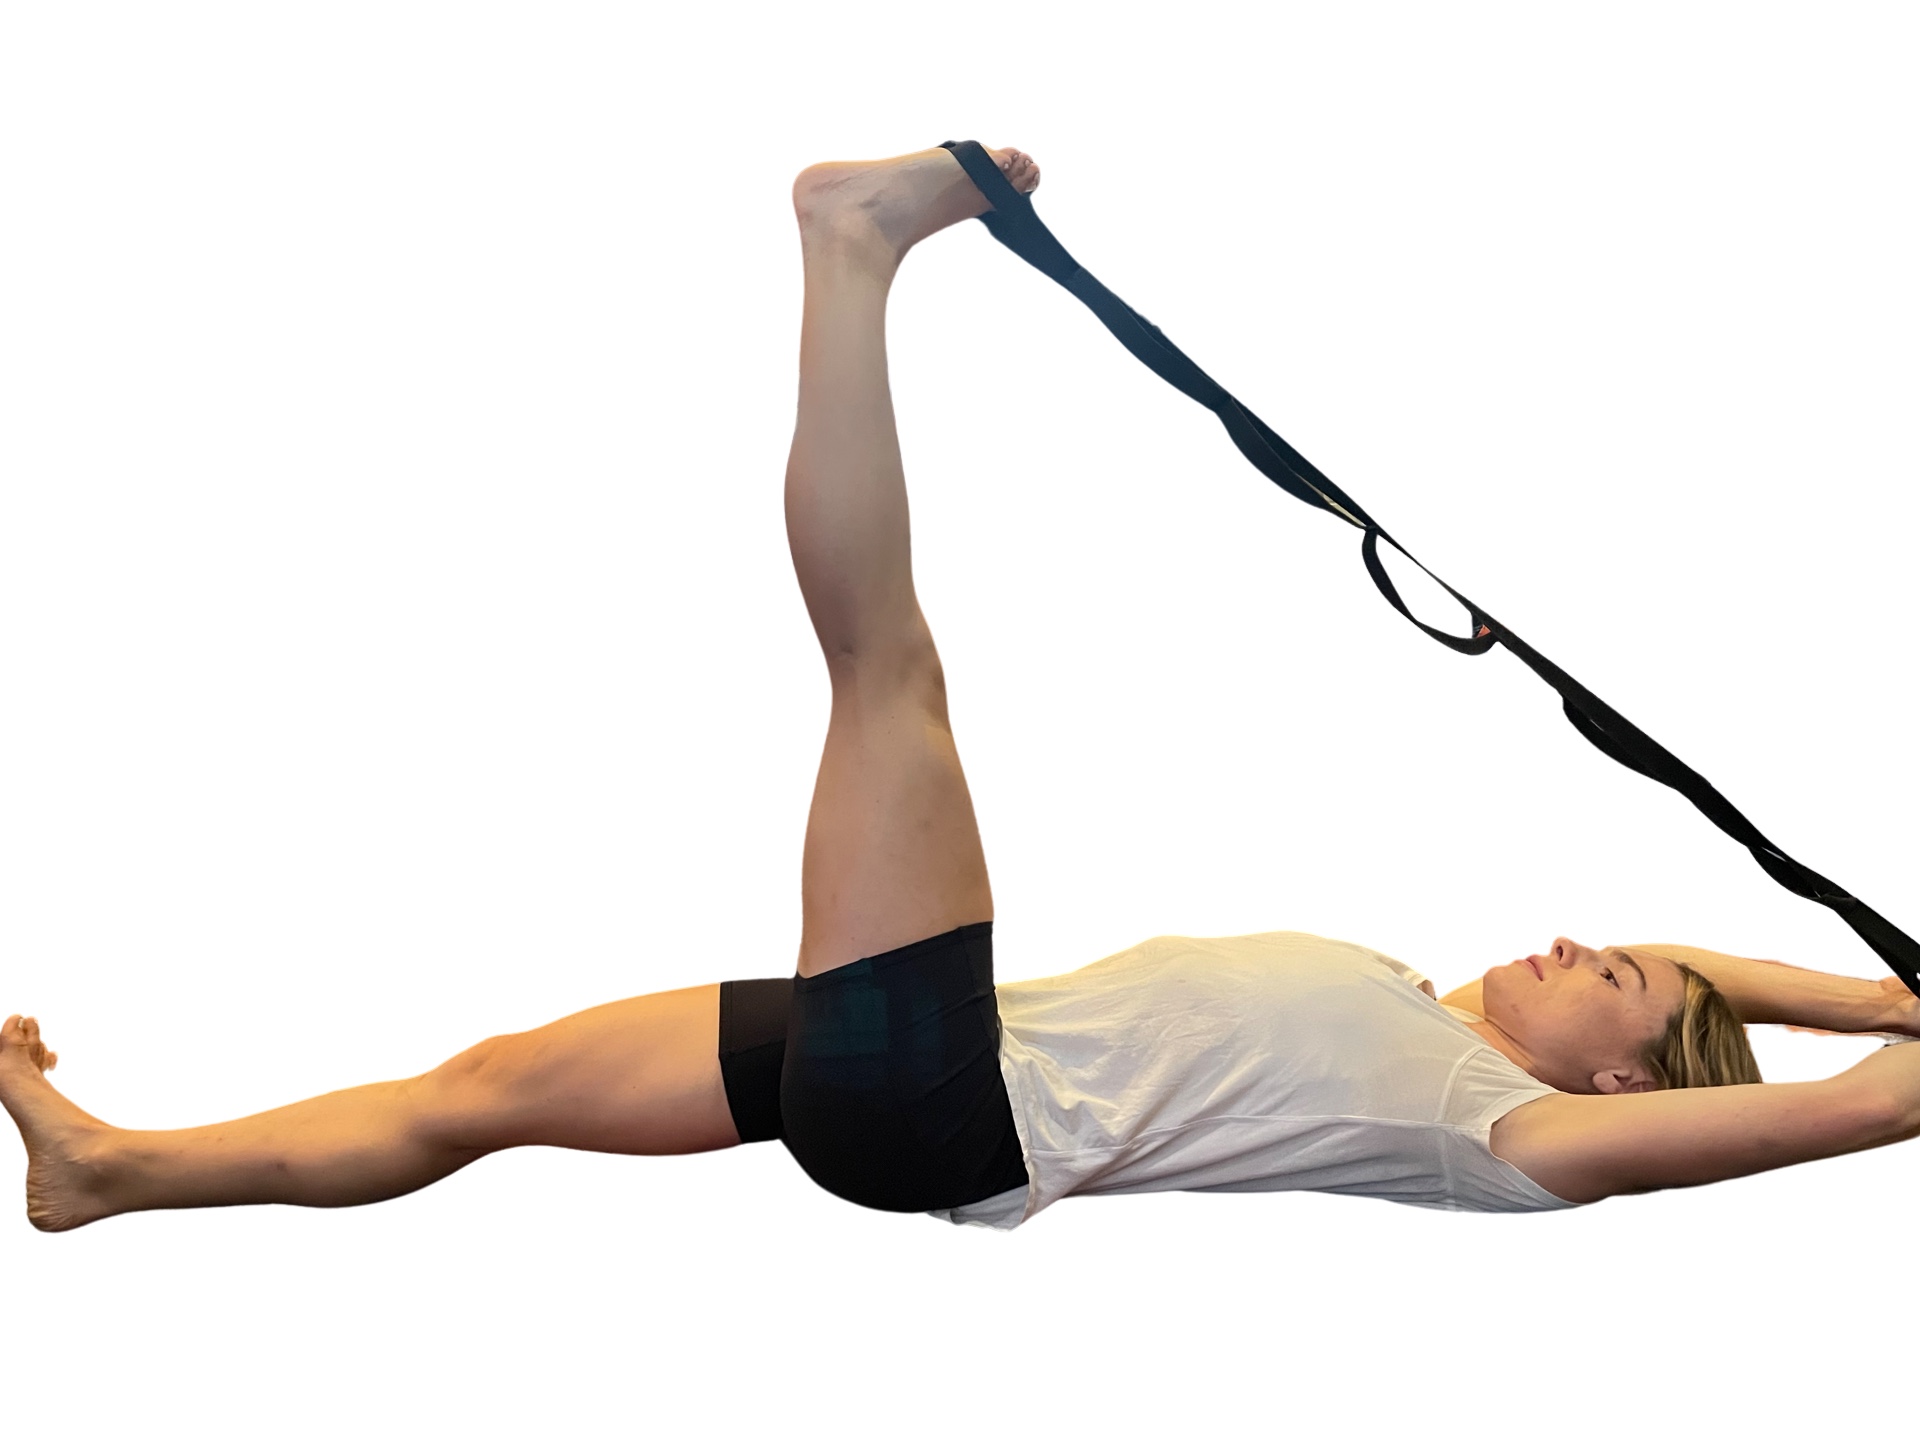
If animal flow feels too intimidating, another quadruped exercise called Bird Dog, (with variations) is an important go-to. Evidence shows that these simple but important exercises aid in balance and coordination when we’re upright, on two legs. Bird Dog, (also known as the quadruped limb lift) is one of the most important exercises used in low-back stabilization programs as it targets the back as well as the hip extensors. It also teaches the discipline of using proper hip and shoulder motion while maintaining a stable spine, says Stuart McGill.

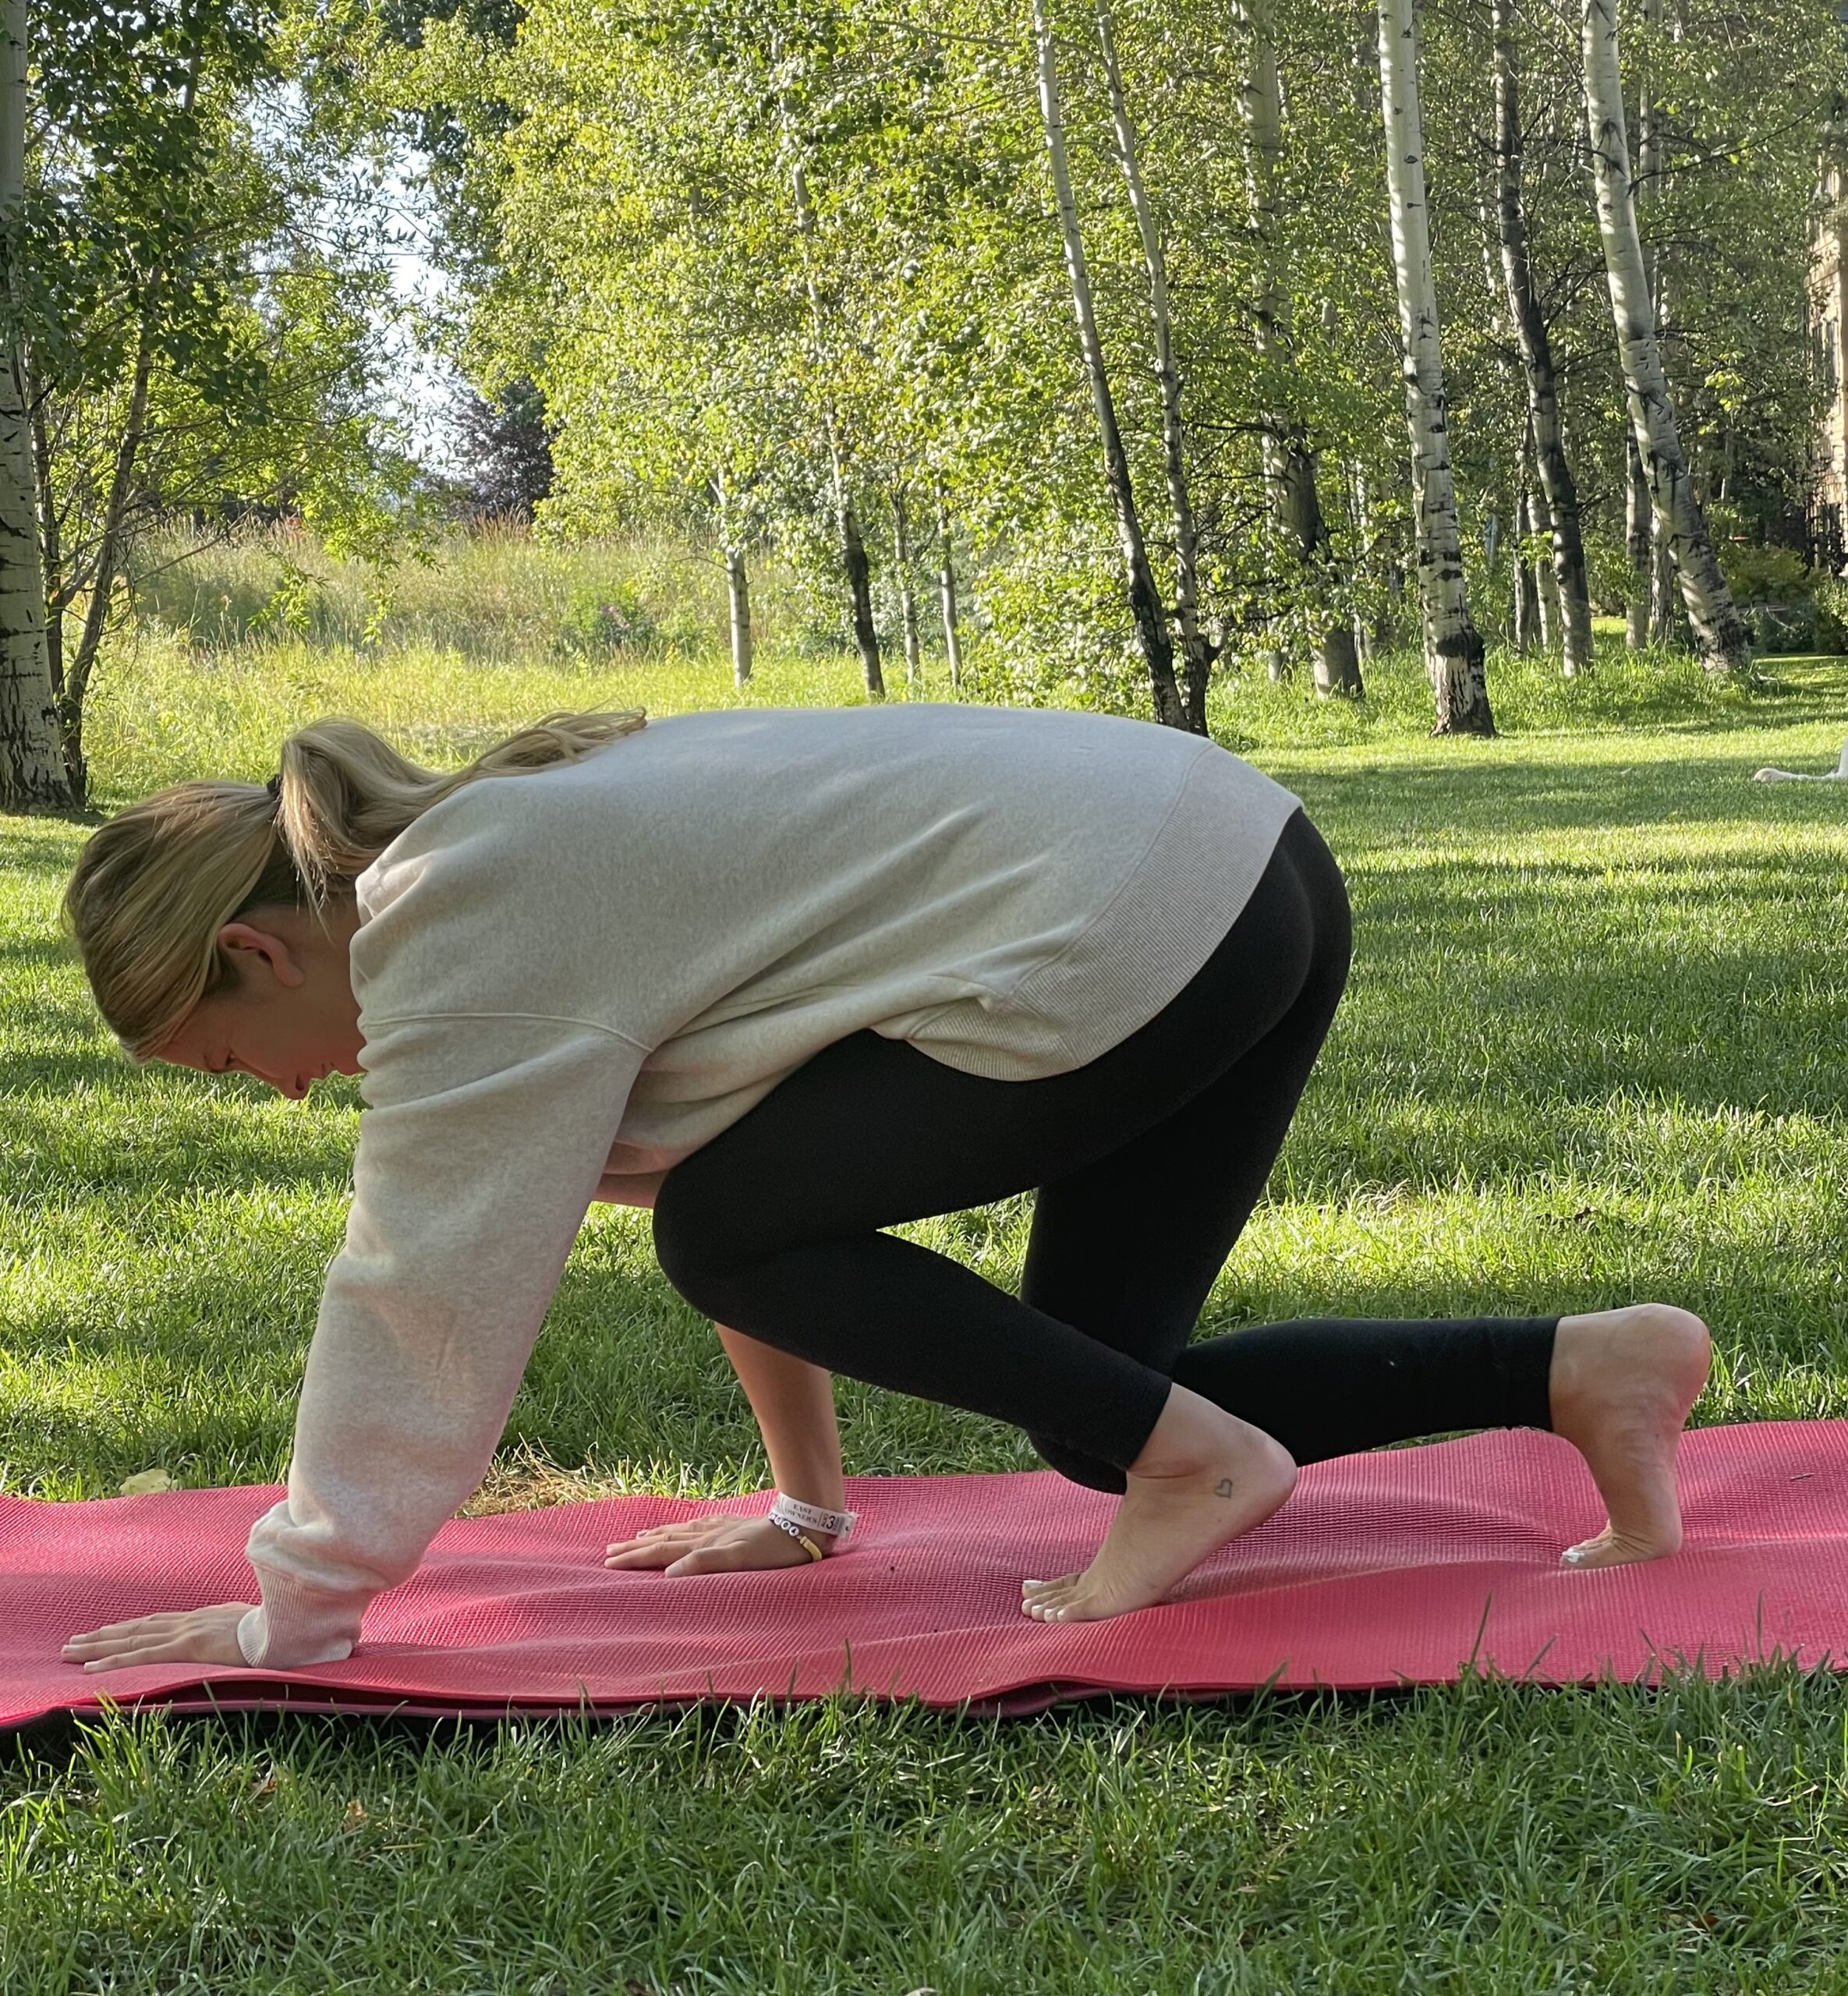

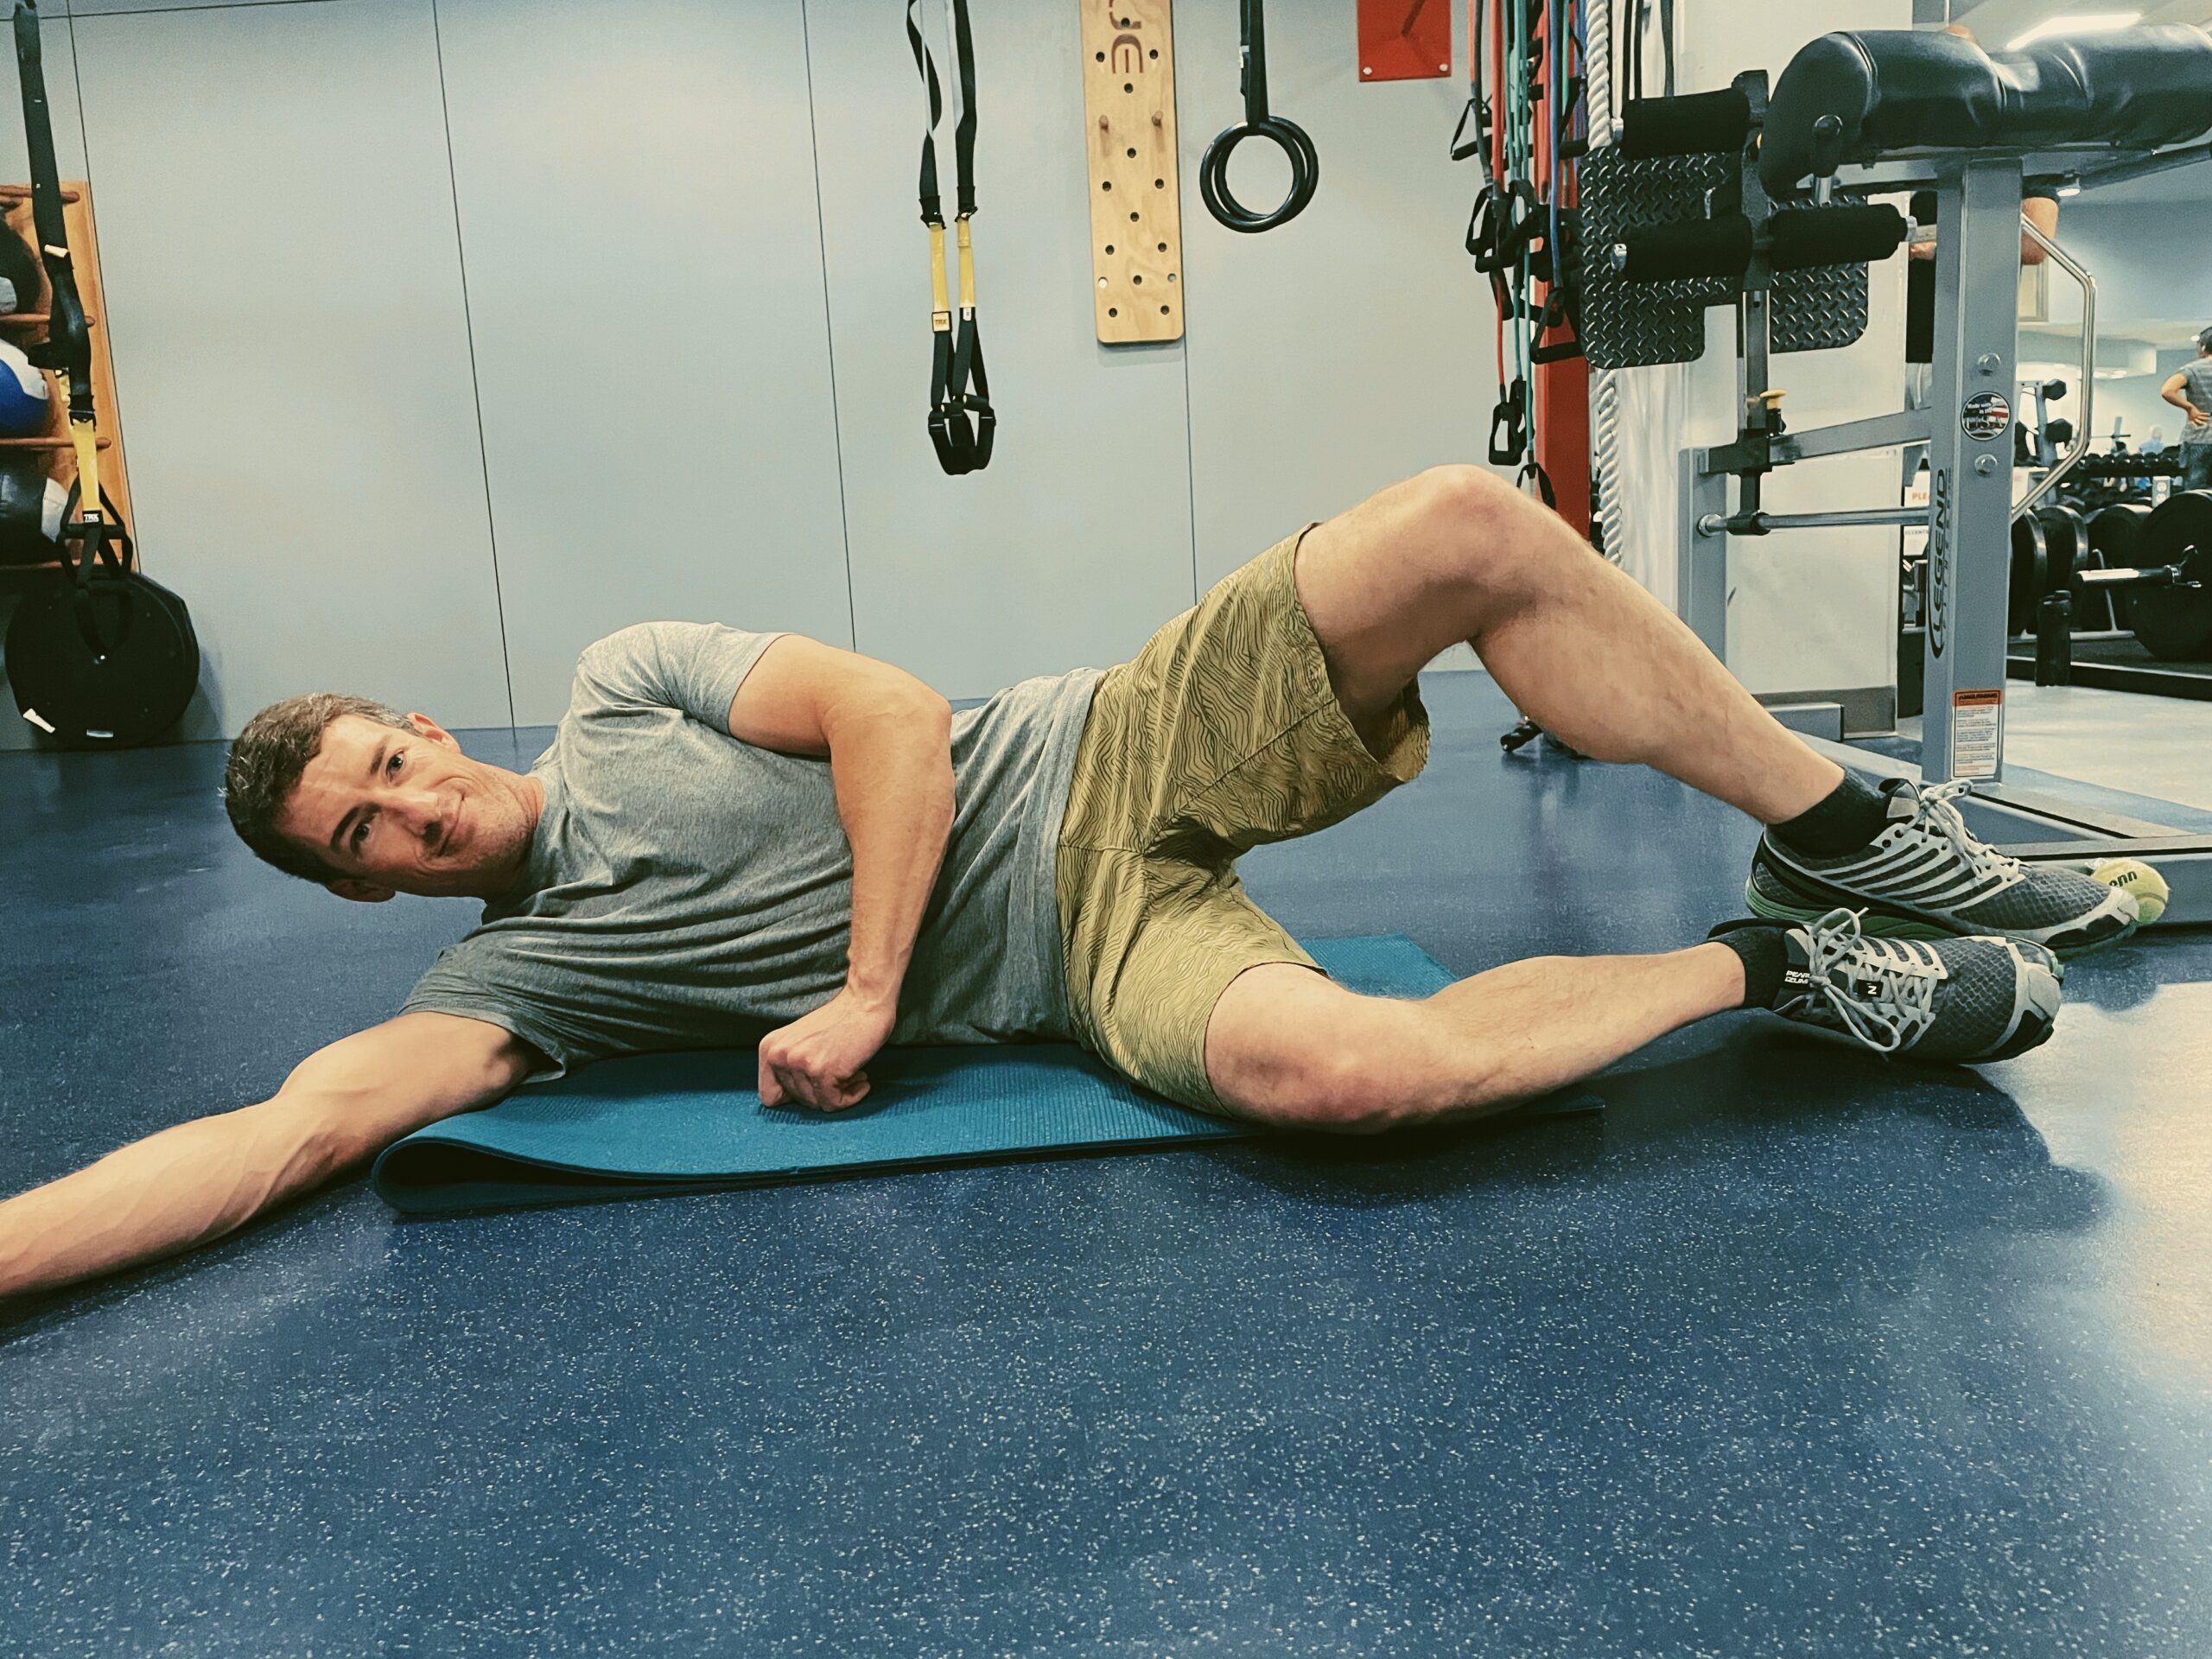
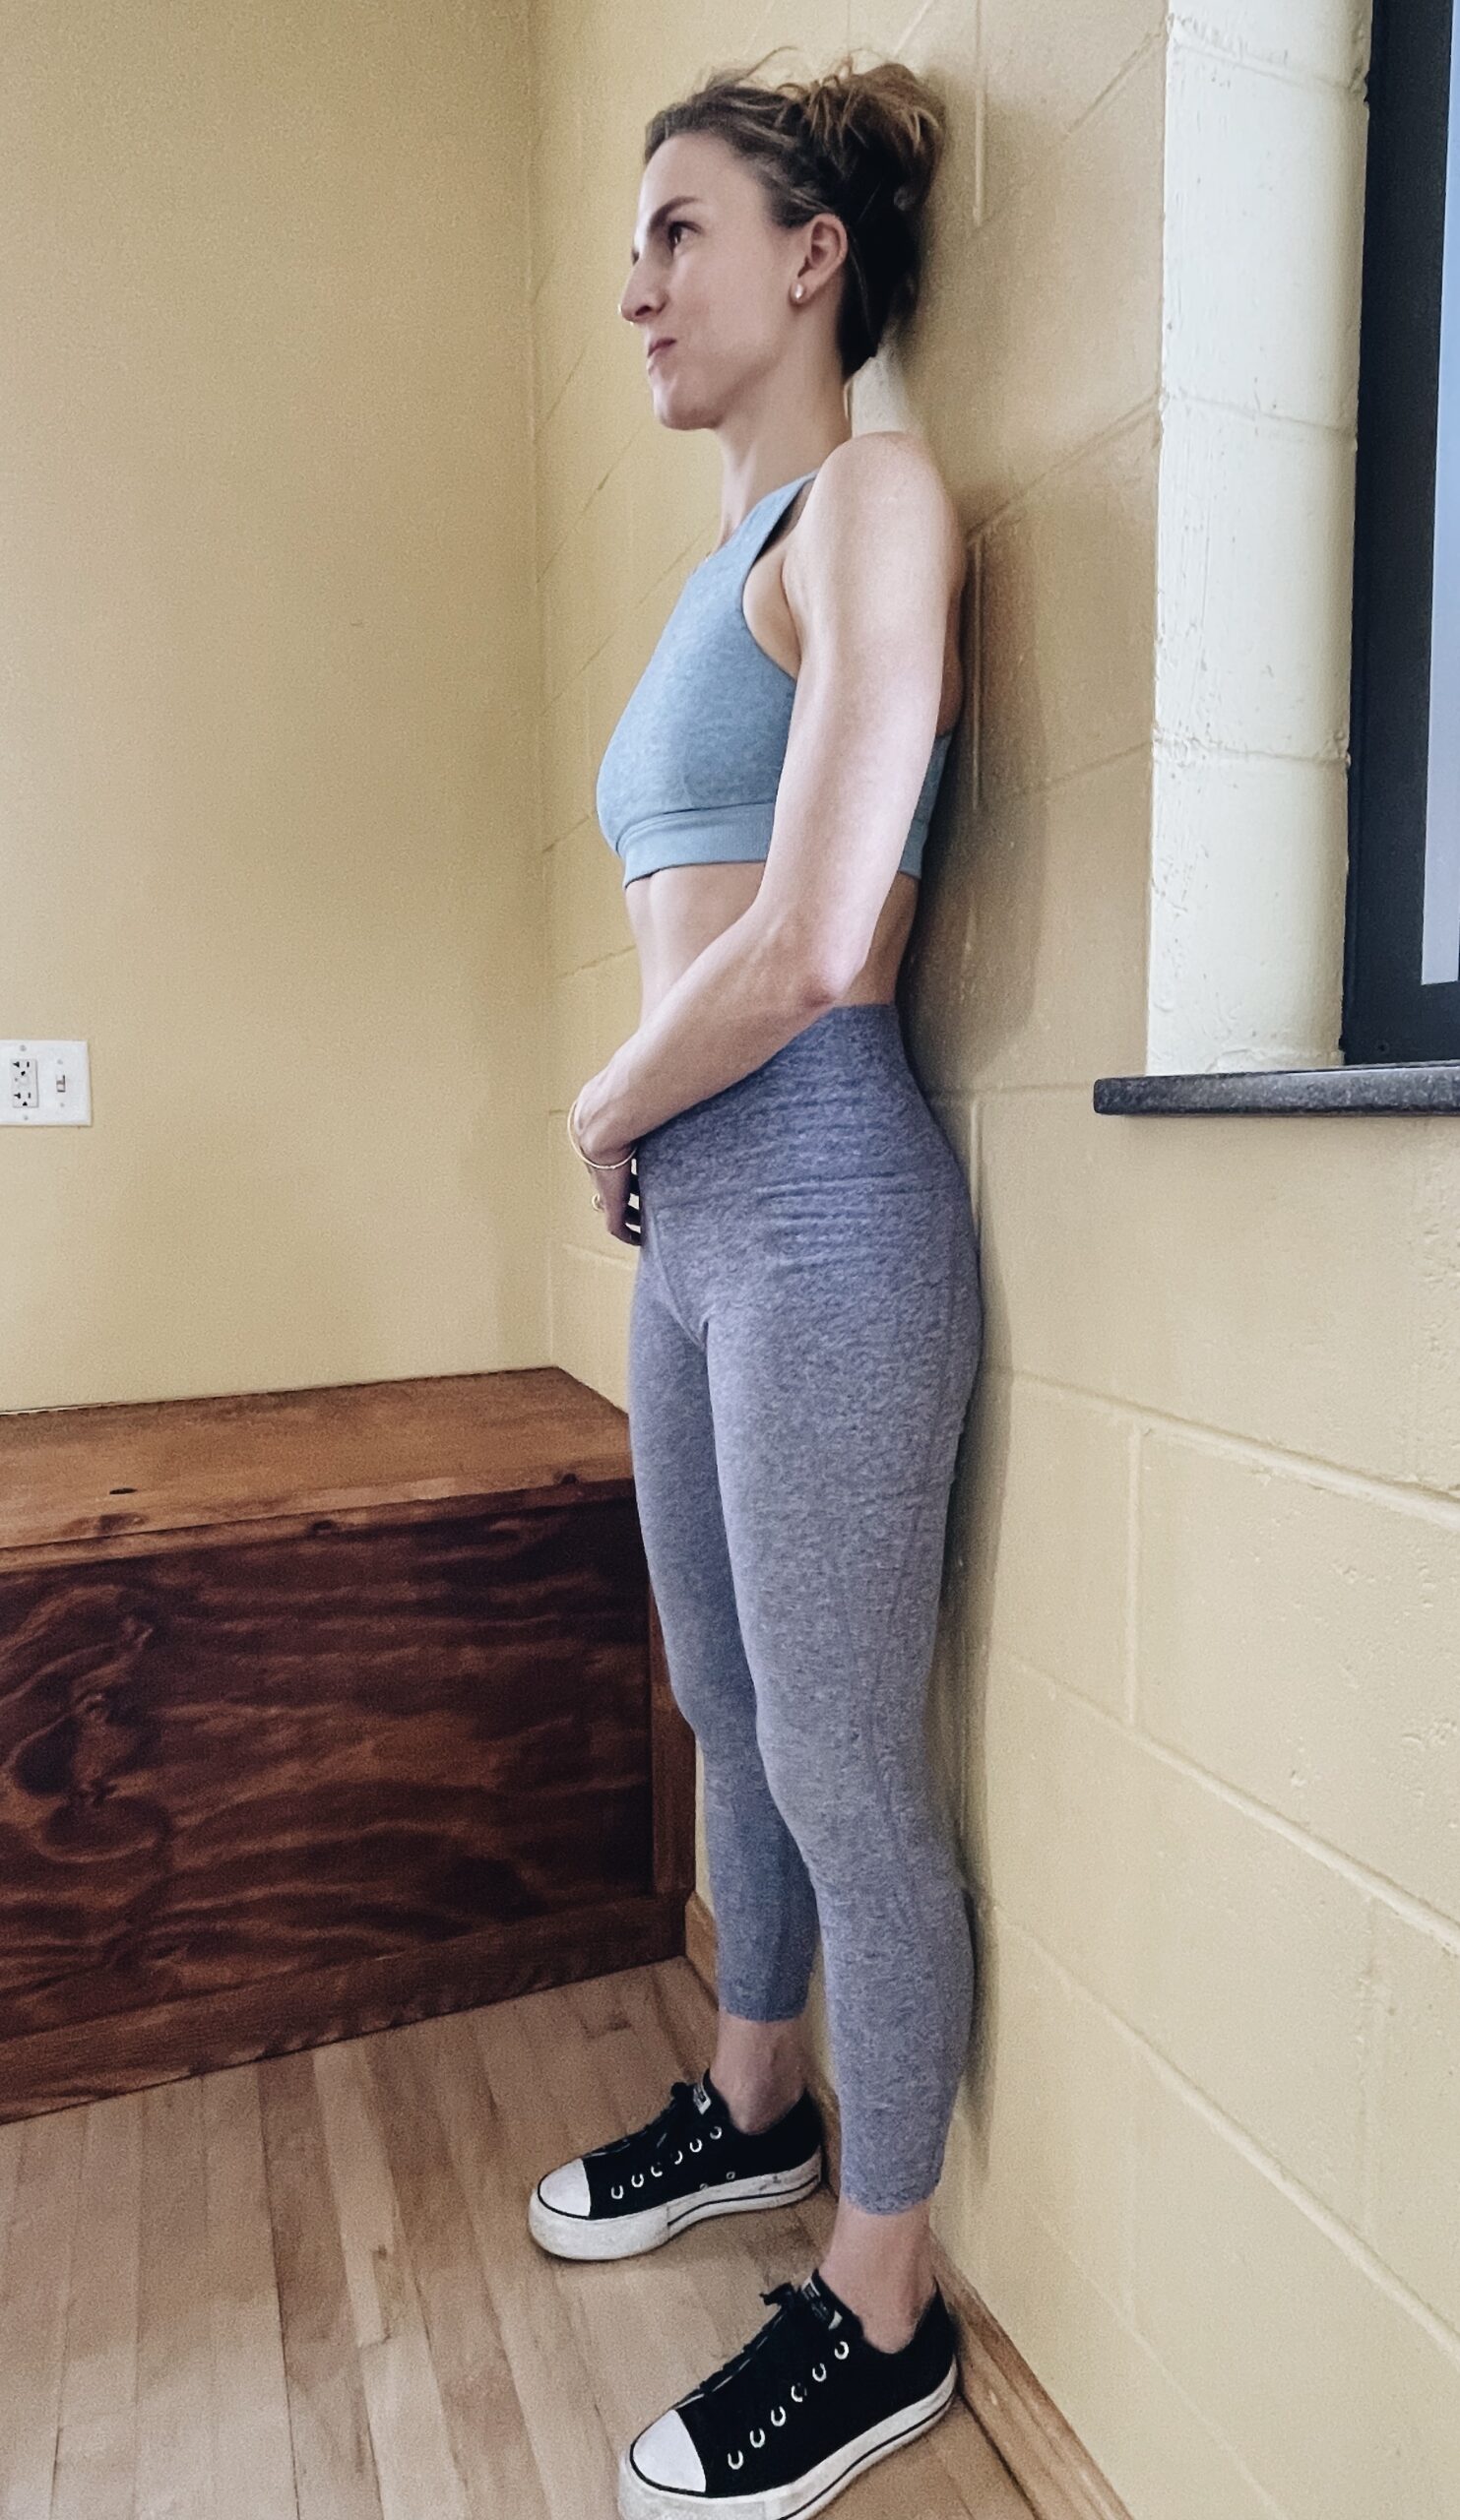
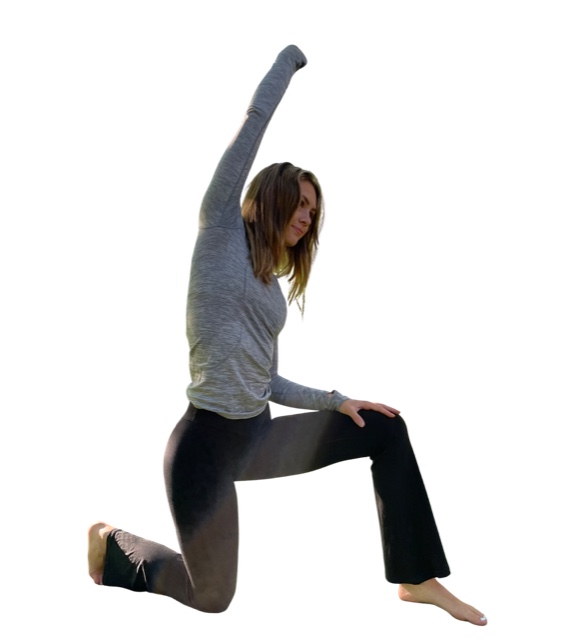
Knees elevated with one arm fully extended. Photo by Connie Aronson
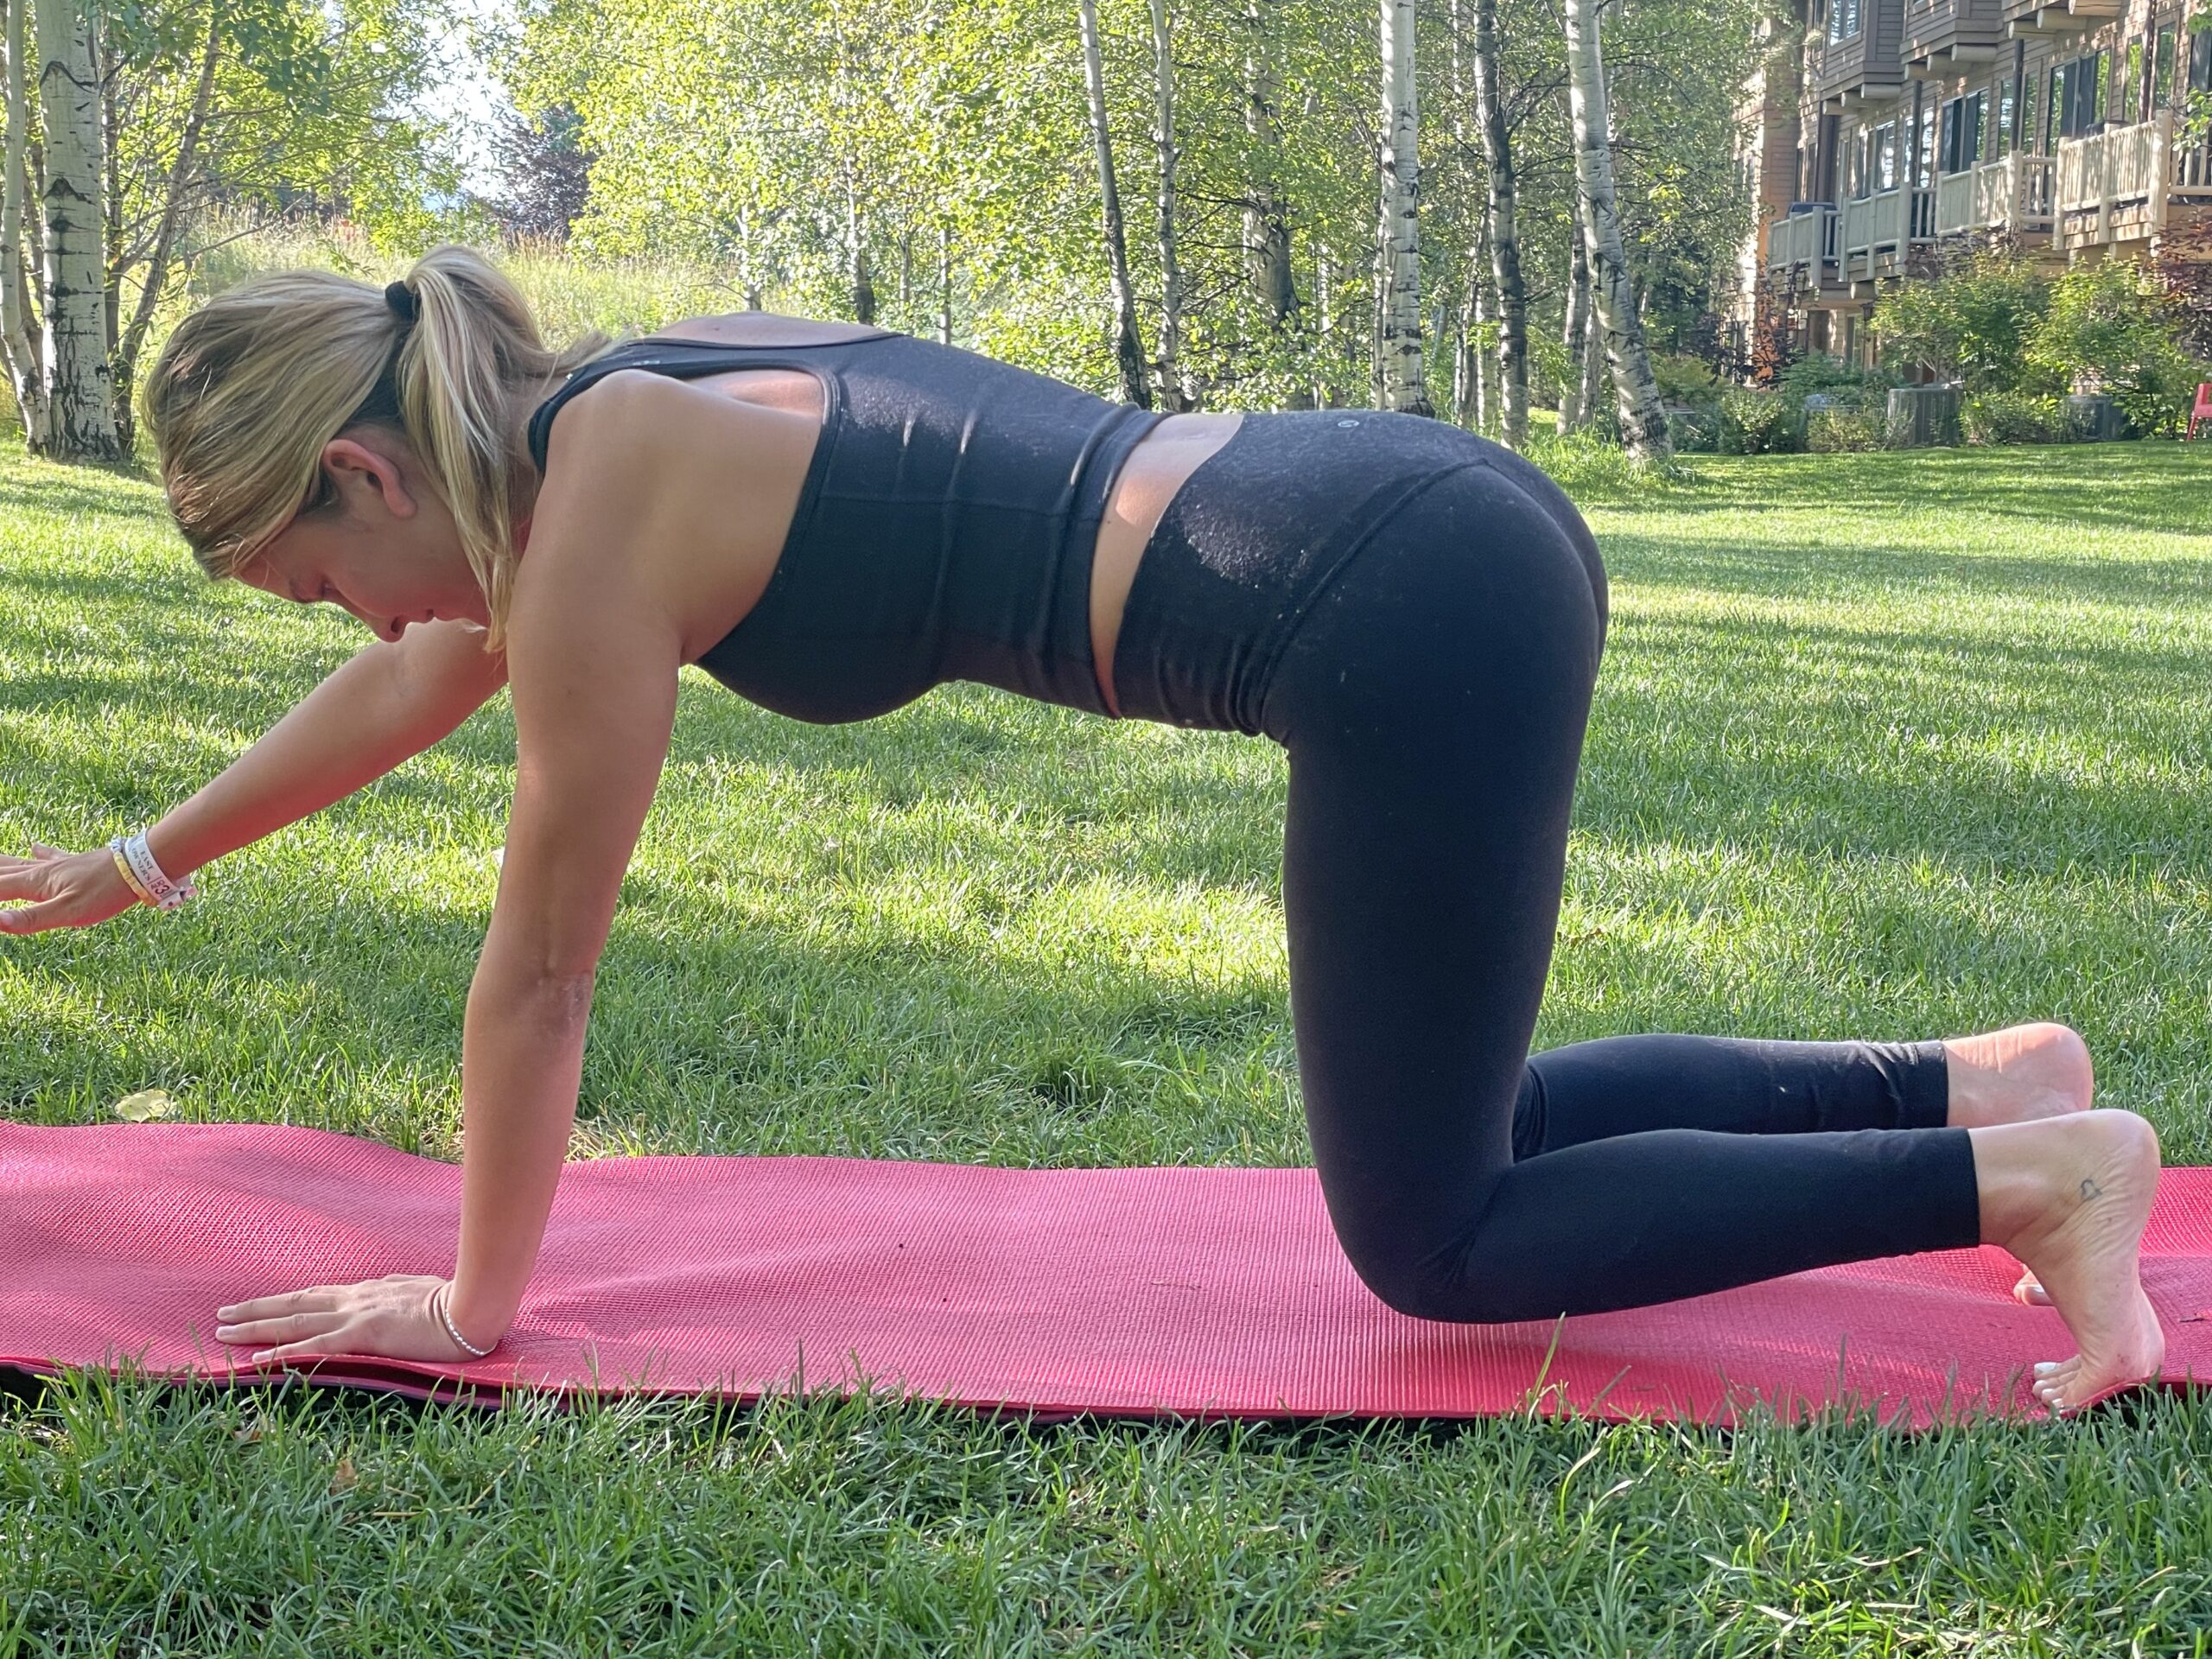
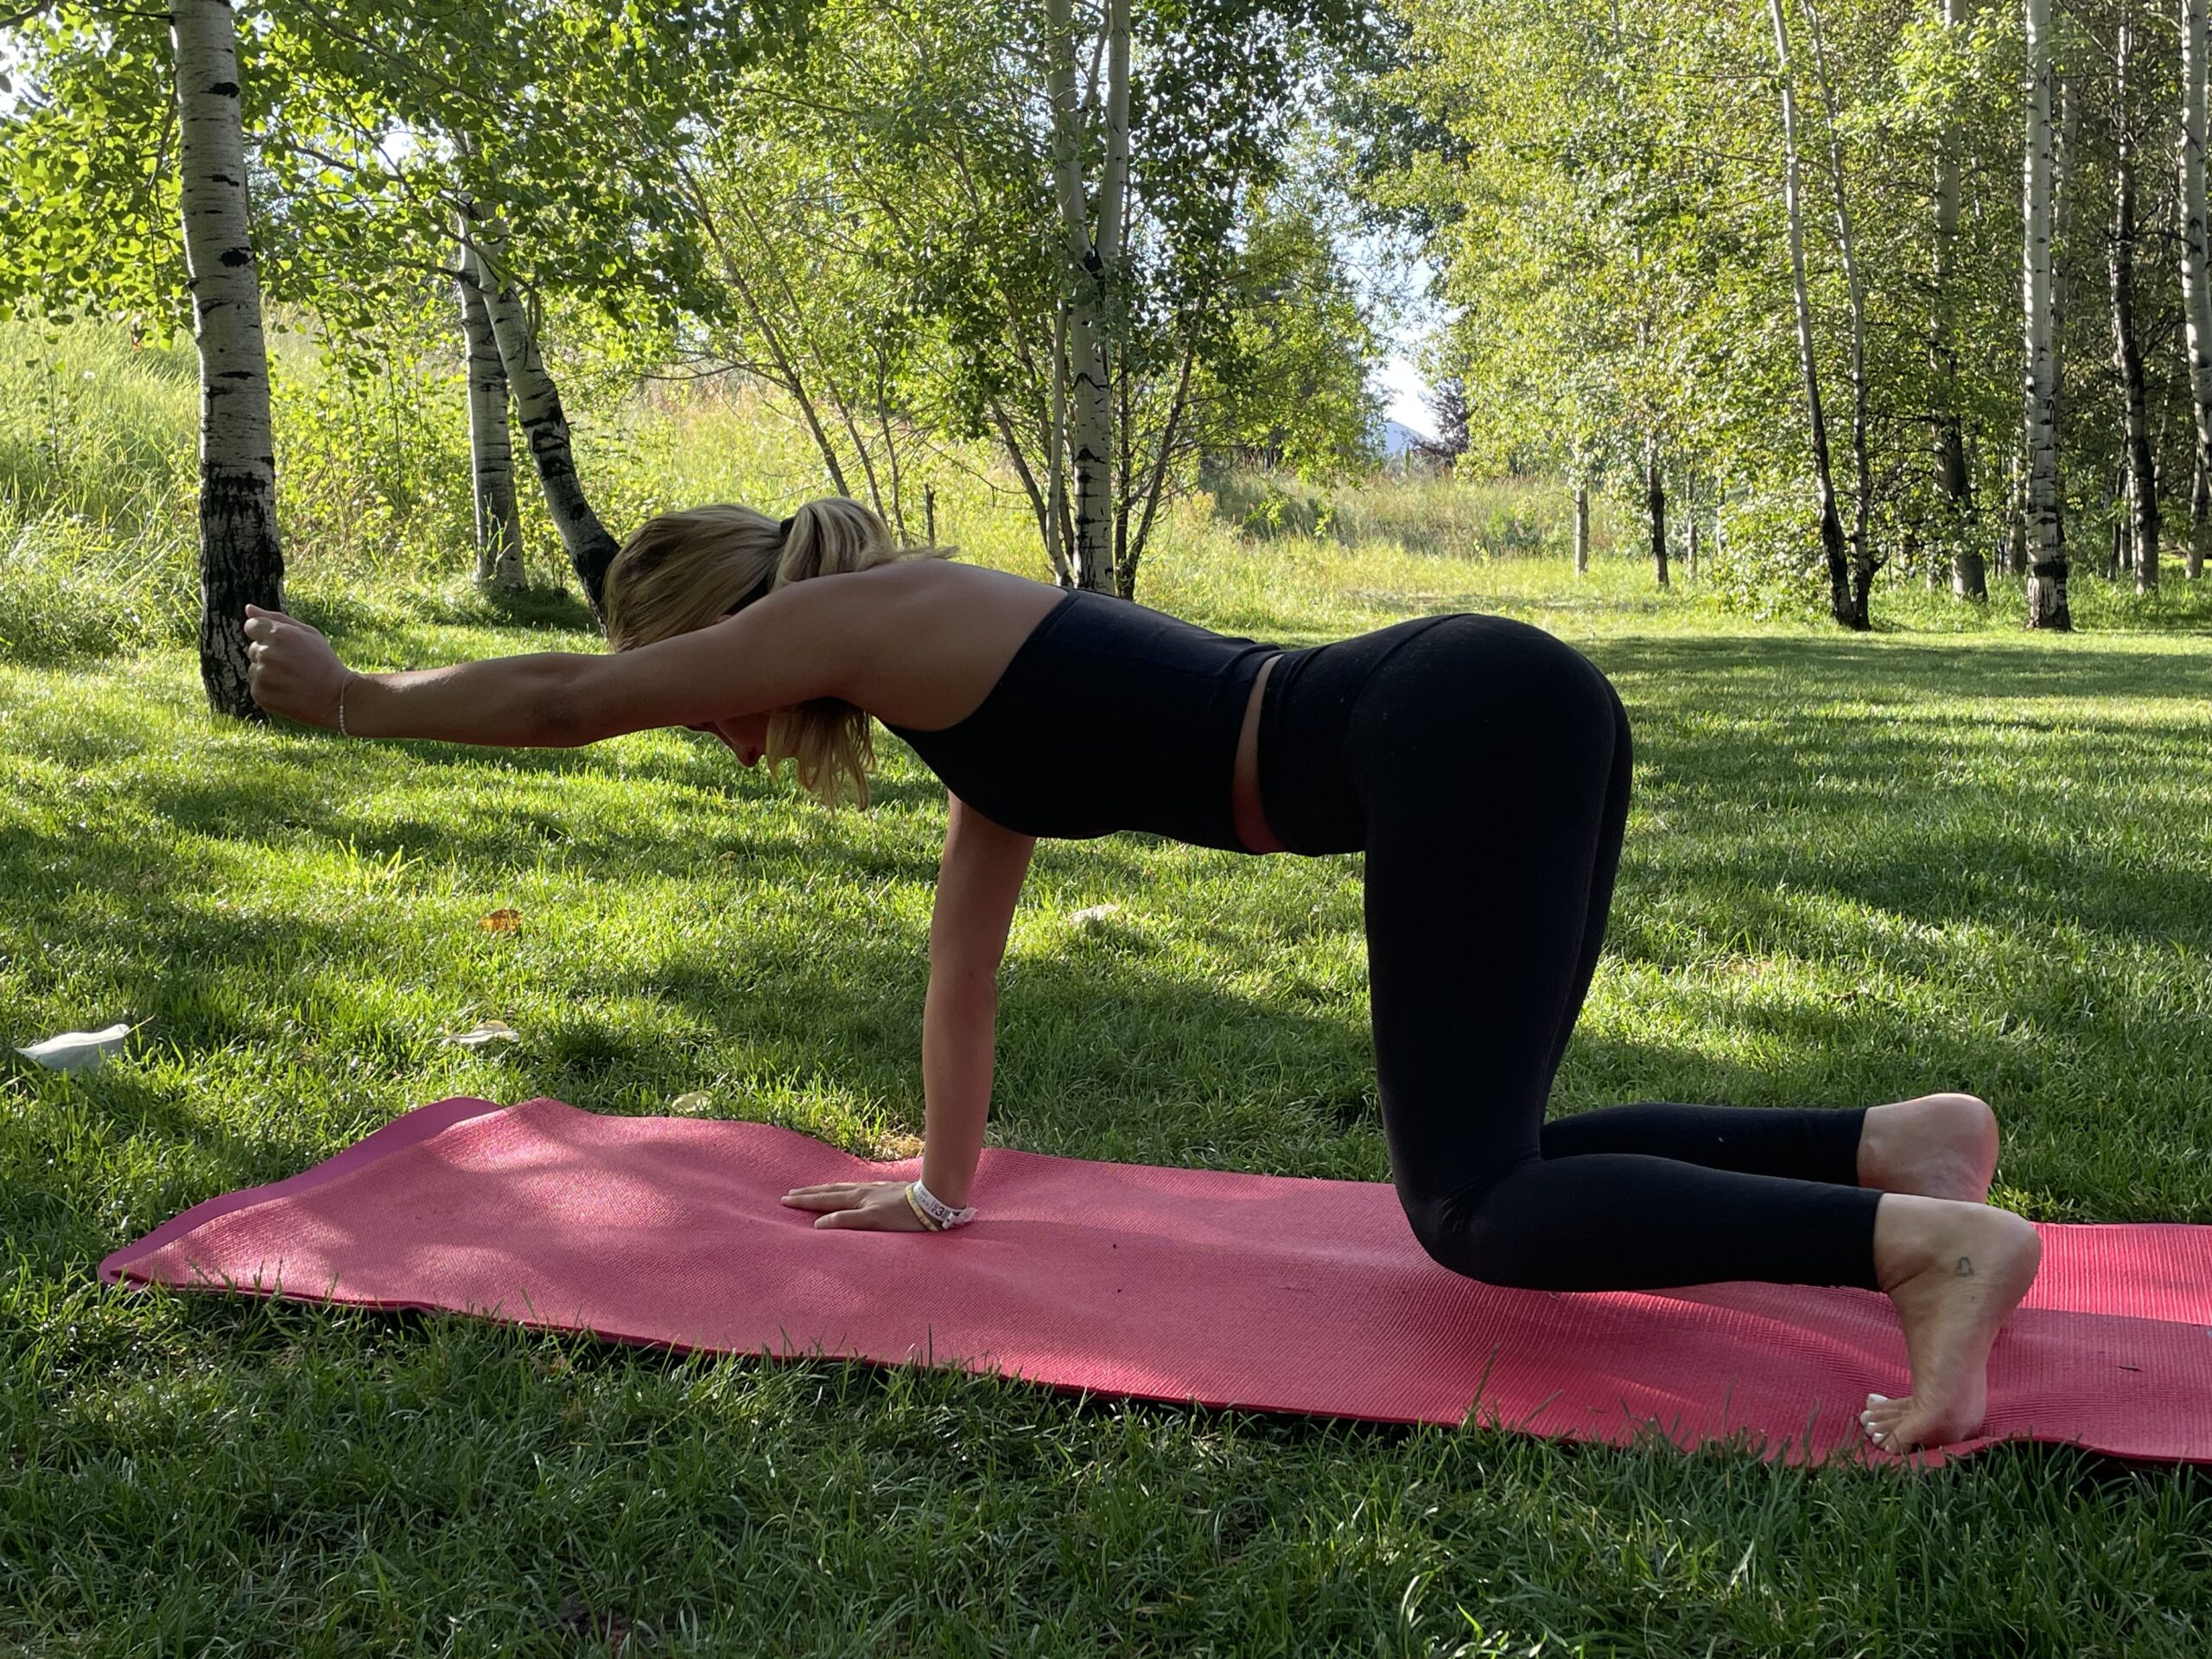
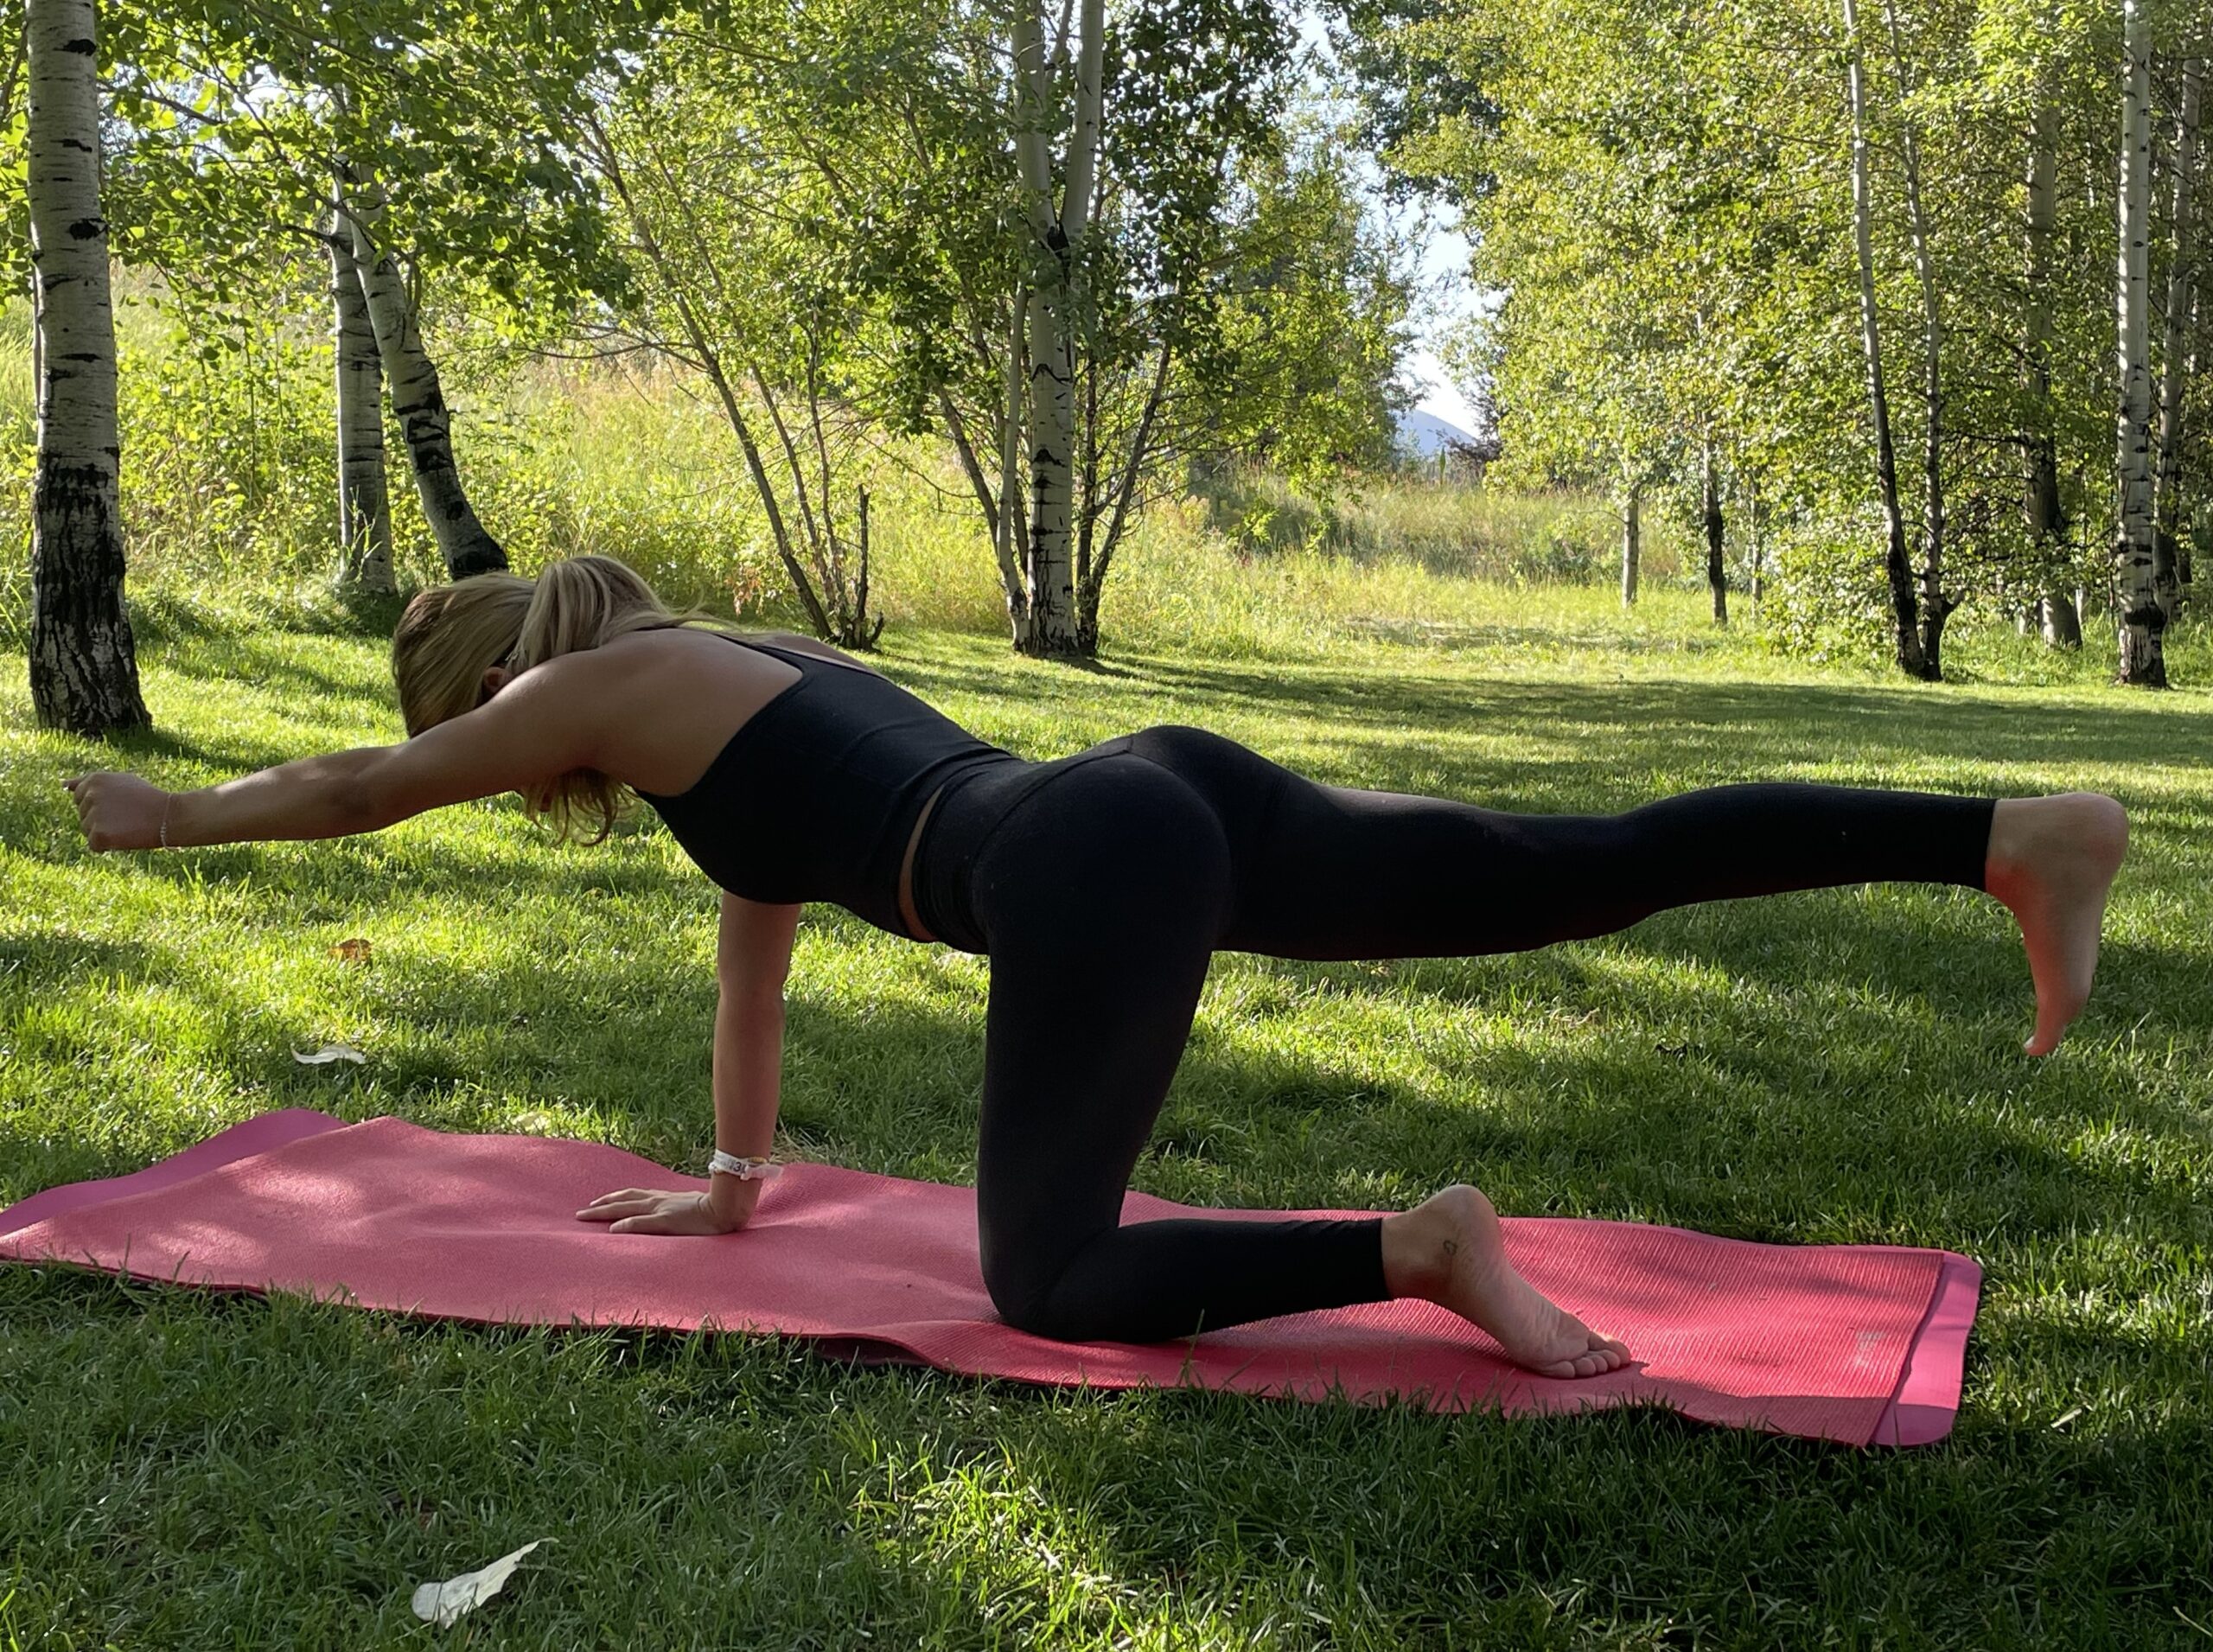
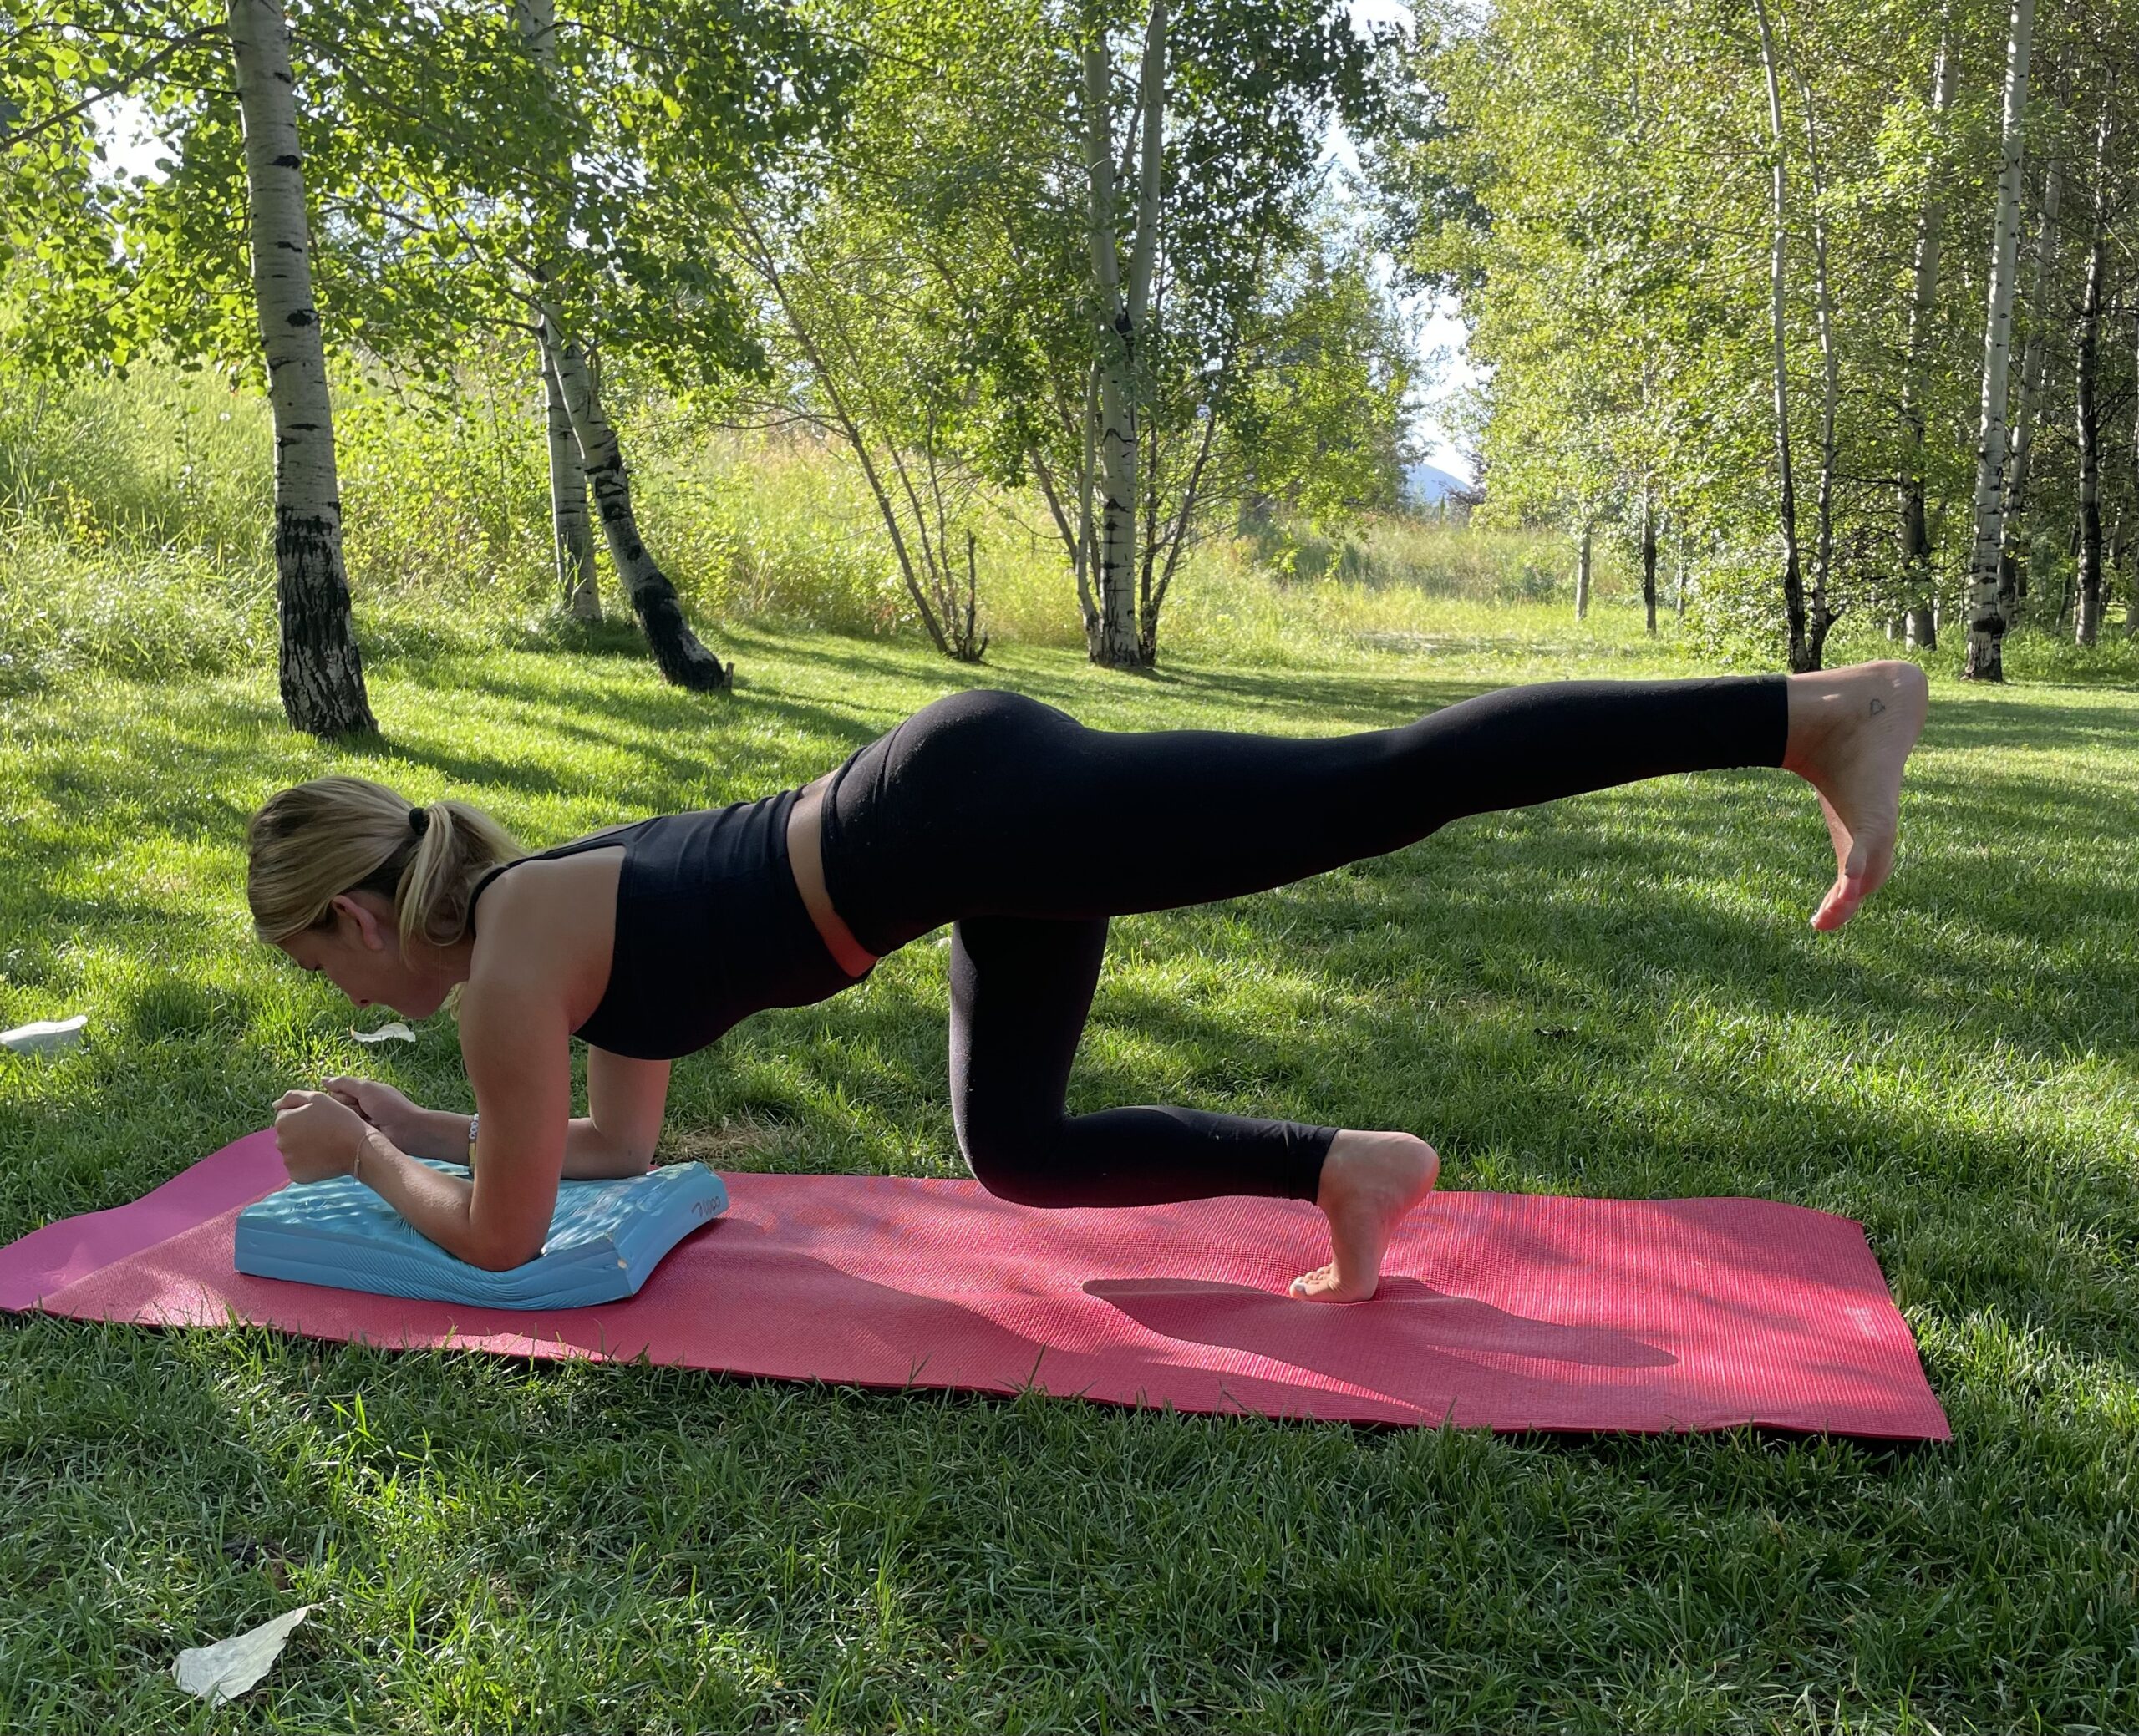
Bird Dog starts in a four-point kneeling position, with a contralateral arm and leg lift. The act of raising opposing limbs changes the types of stress on the body and impels the body in the redistribution of forces in an unfamiliar way, forcing the body to adapt. By alternating the base of support, such as using an unstable upper body support, like a foam pad, research shows that you’ll improve total body joint stability, joint proprioception, and range of motion.
The goal of any fitness program is to train your body for the sports and activities you enjoy and to prevent injury. Overall, quadruped movements are simple, fun, and important fundamental movement patterns.