
When we’re in a stressful situation, it’s not always easy to take a deep breath and calm down. Stress makes all of us look and feel older, teens and those in their 20s and 30s included. A new study finds that younger adults look and feel older on stressful days, when they feel they have less control over their lives.
Stress is a psychological and physiological response to situations we find to be overwhelming. It’s associated with a host of negative outcomes. However, up until now, there has been little research on the amount of stress younger adults are experiencing compared to what previous generations experienced when they were young, says Shevaun Newport, professor of psychology at North Carolina State University.
Accumulative stress over time can have adverse effects. People are feeling increasing levels of stress as they move from young adulthood to midlife—their 40s and 50s—Newport says. If young people are already experiencing high levels of stress for their age, and that stress is affecting how old they feel, it is important for us to address stress-related physical health and mental health for this generation, he says.
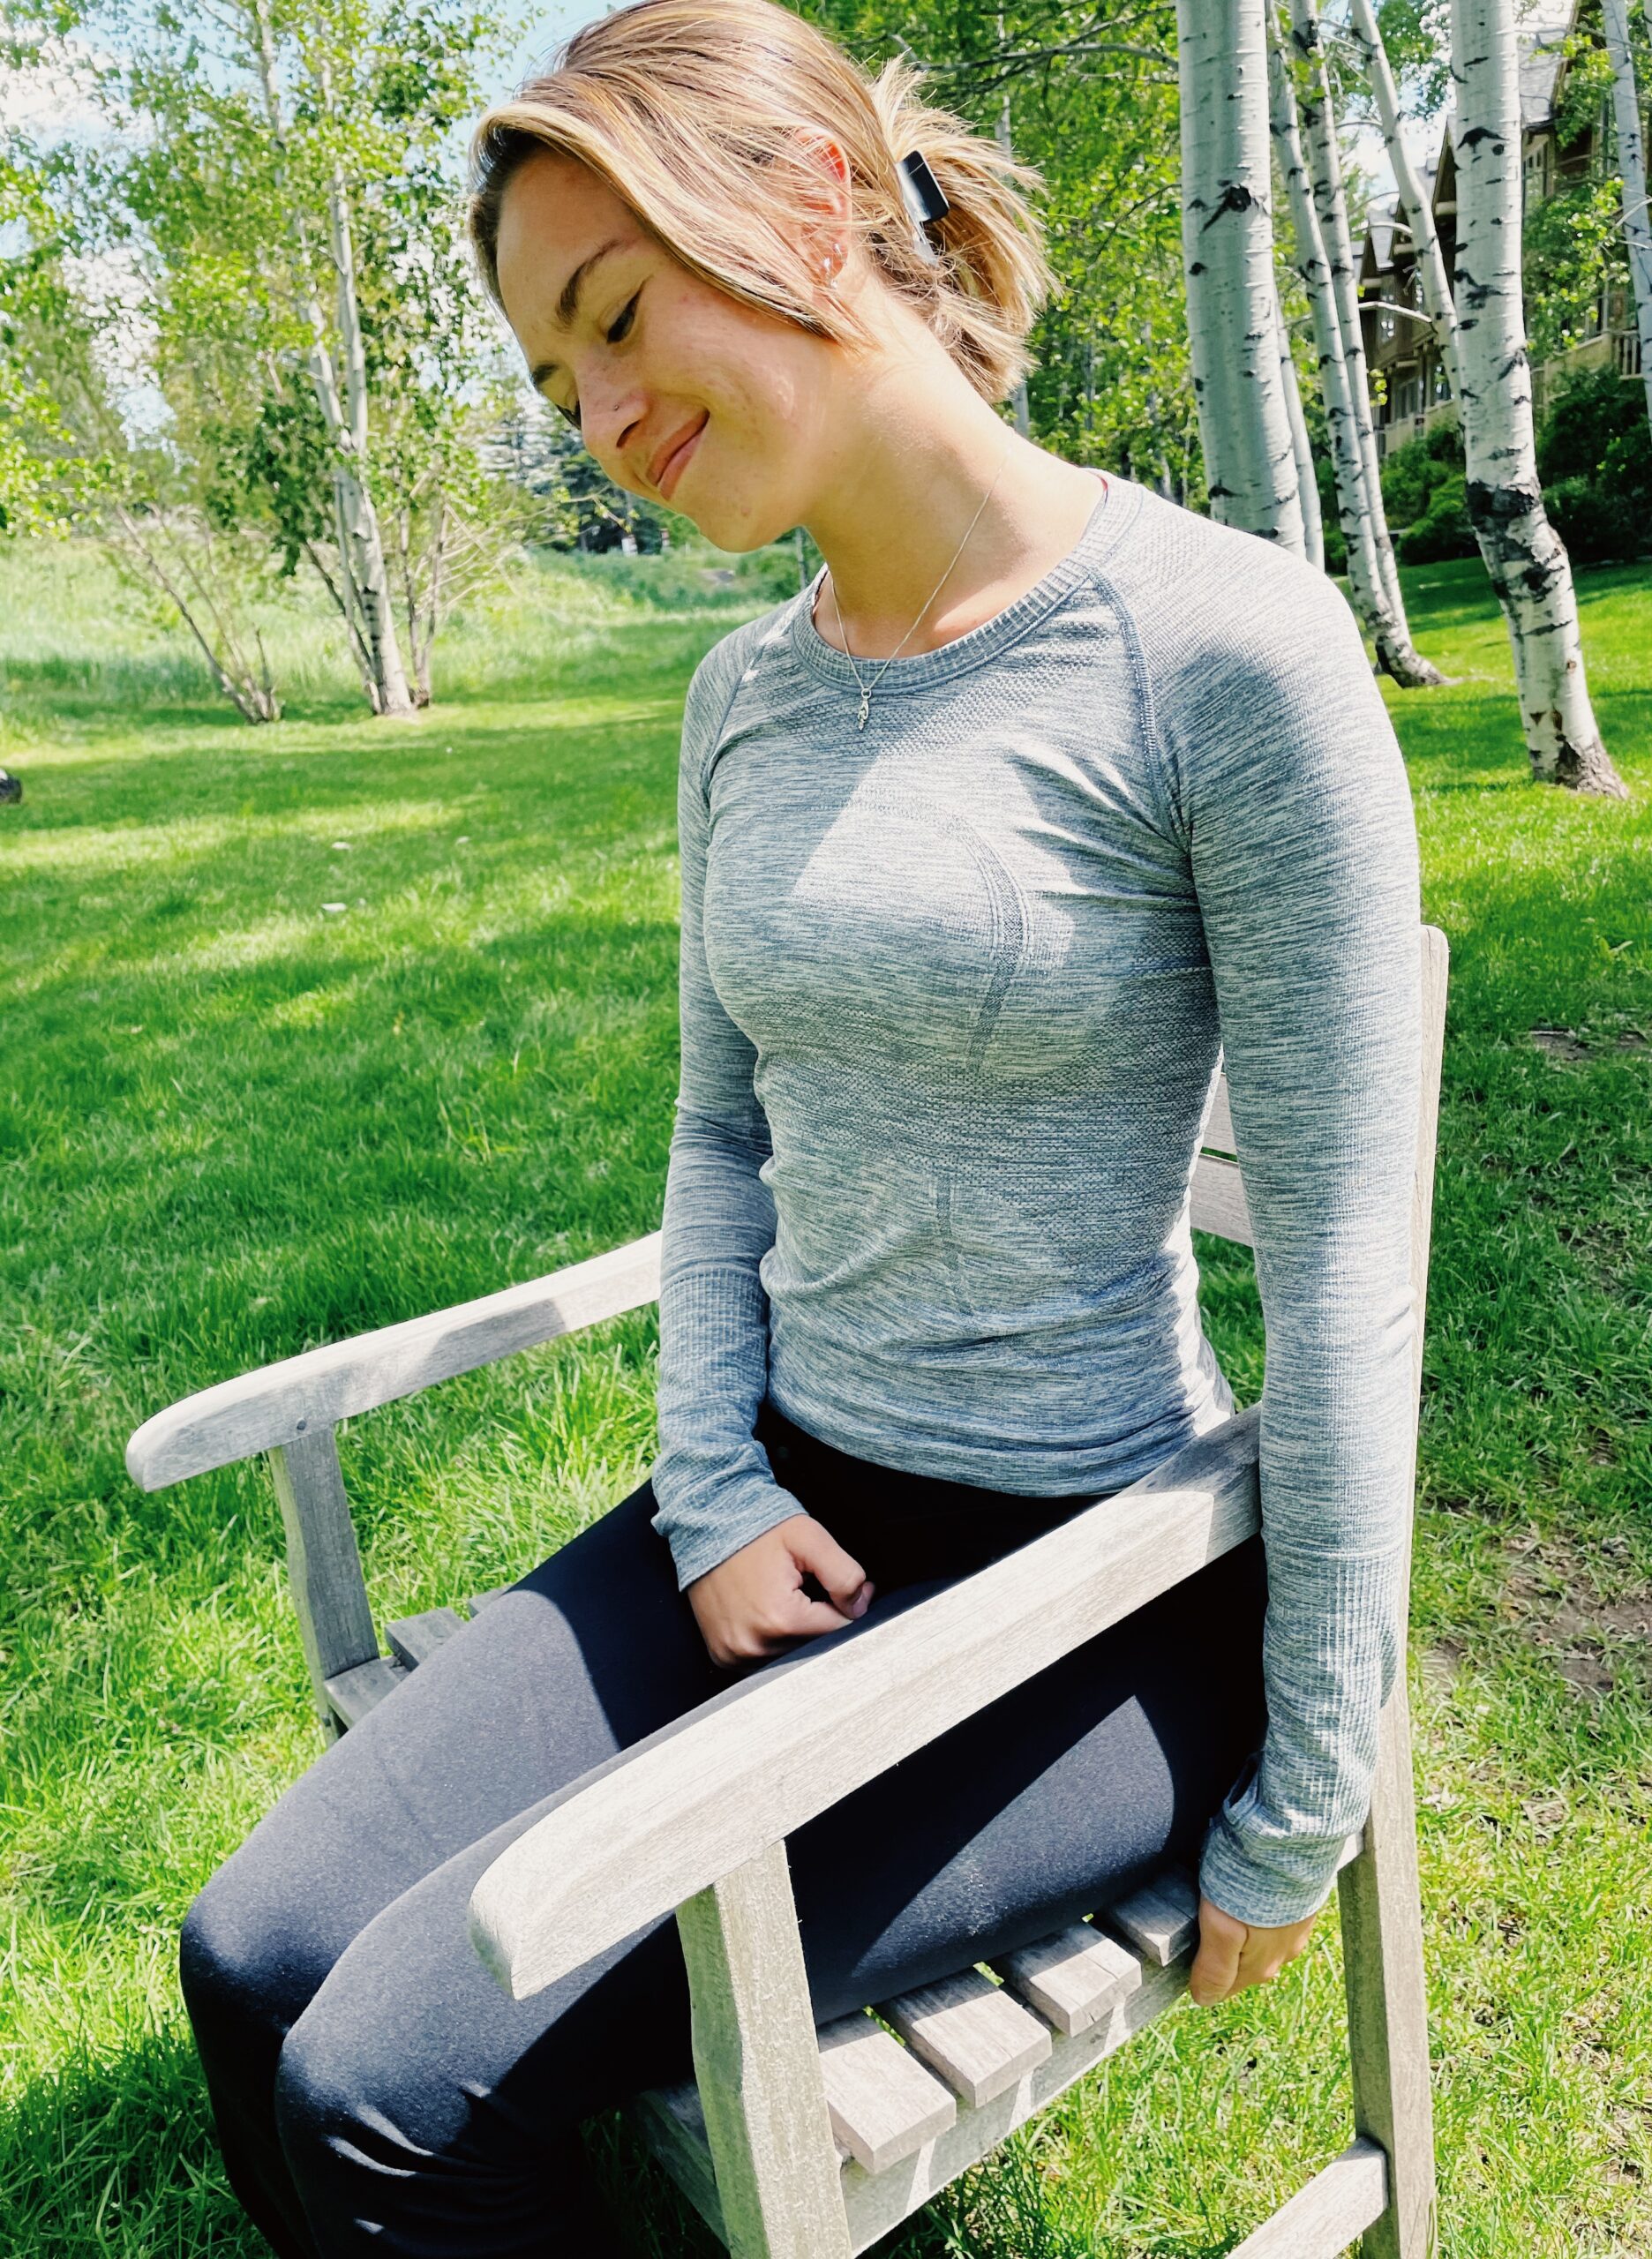
So how can we deal with stressful days? Communication coach Tatiana Kolovou suggests not turning against ourselves by self-bashing. Lines such as “What were you thinking?†or “This was a huge mistake†are self-sabotaging and negative. Think of something encouraging instead, she advises. When we have bumps along our road, we need to remember that we can do hard things. We can reframe our self-talk and build resilience. Instead of saying, “I have to do hard things,†for example, we could choose to say “I get to do hard things.â€
Even small shifts in the language we use to refer to ourselves can be helpful. A research review in the Journal of Personality and Social Psychology showed that first person self-talk (“I can do this“) helps to positively influence our ability to manage our thoughts and emotions under stress.
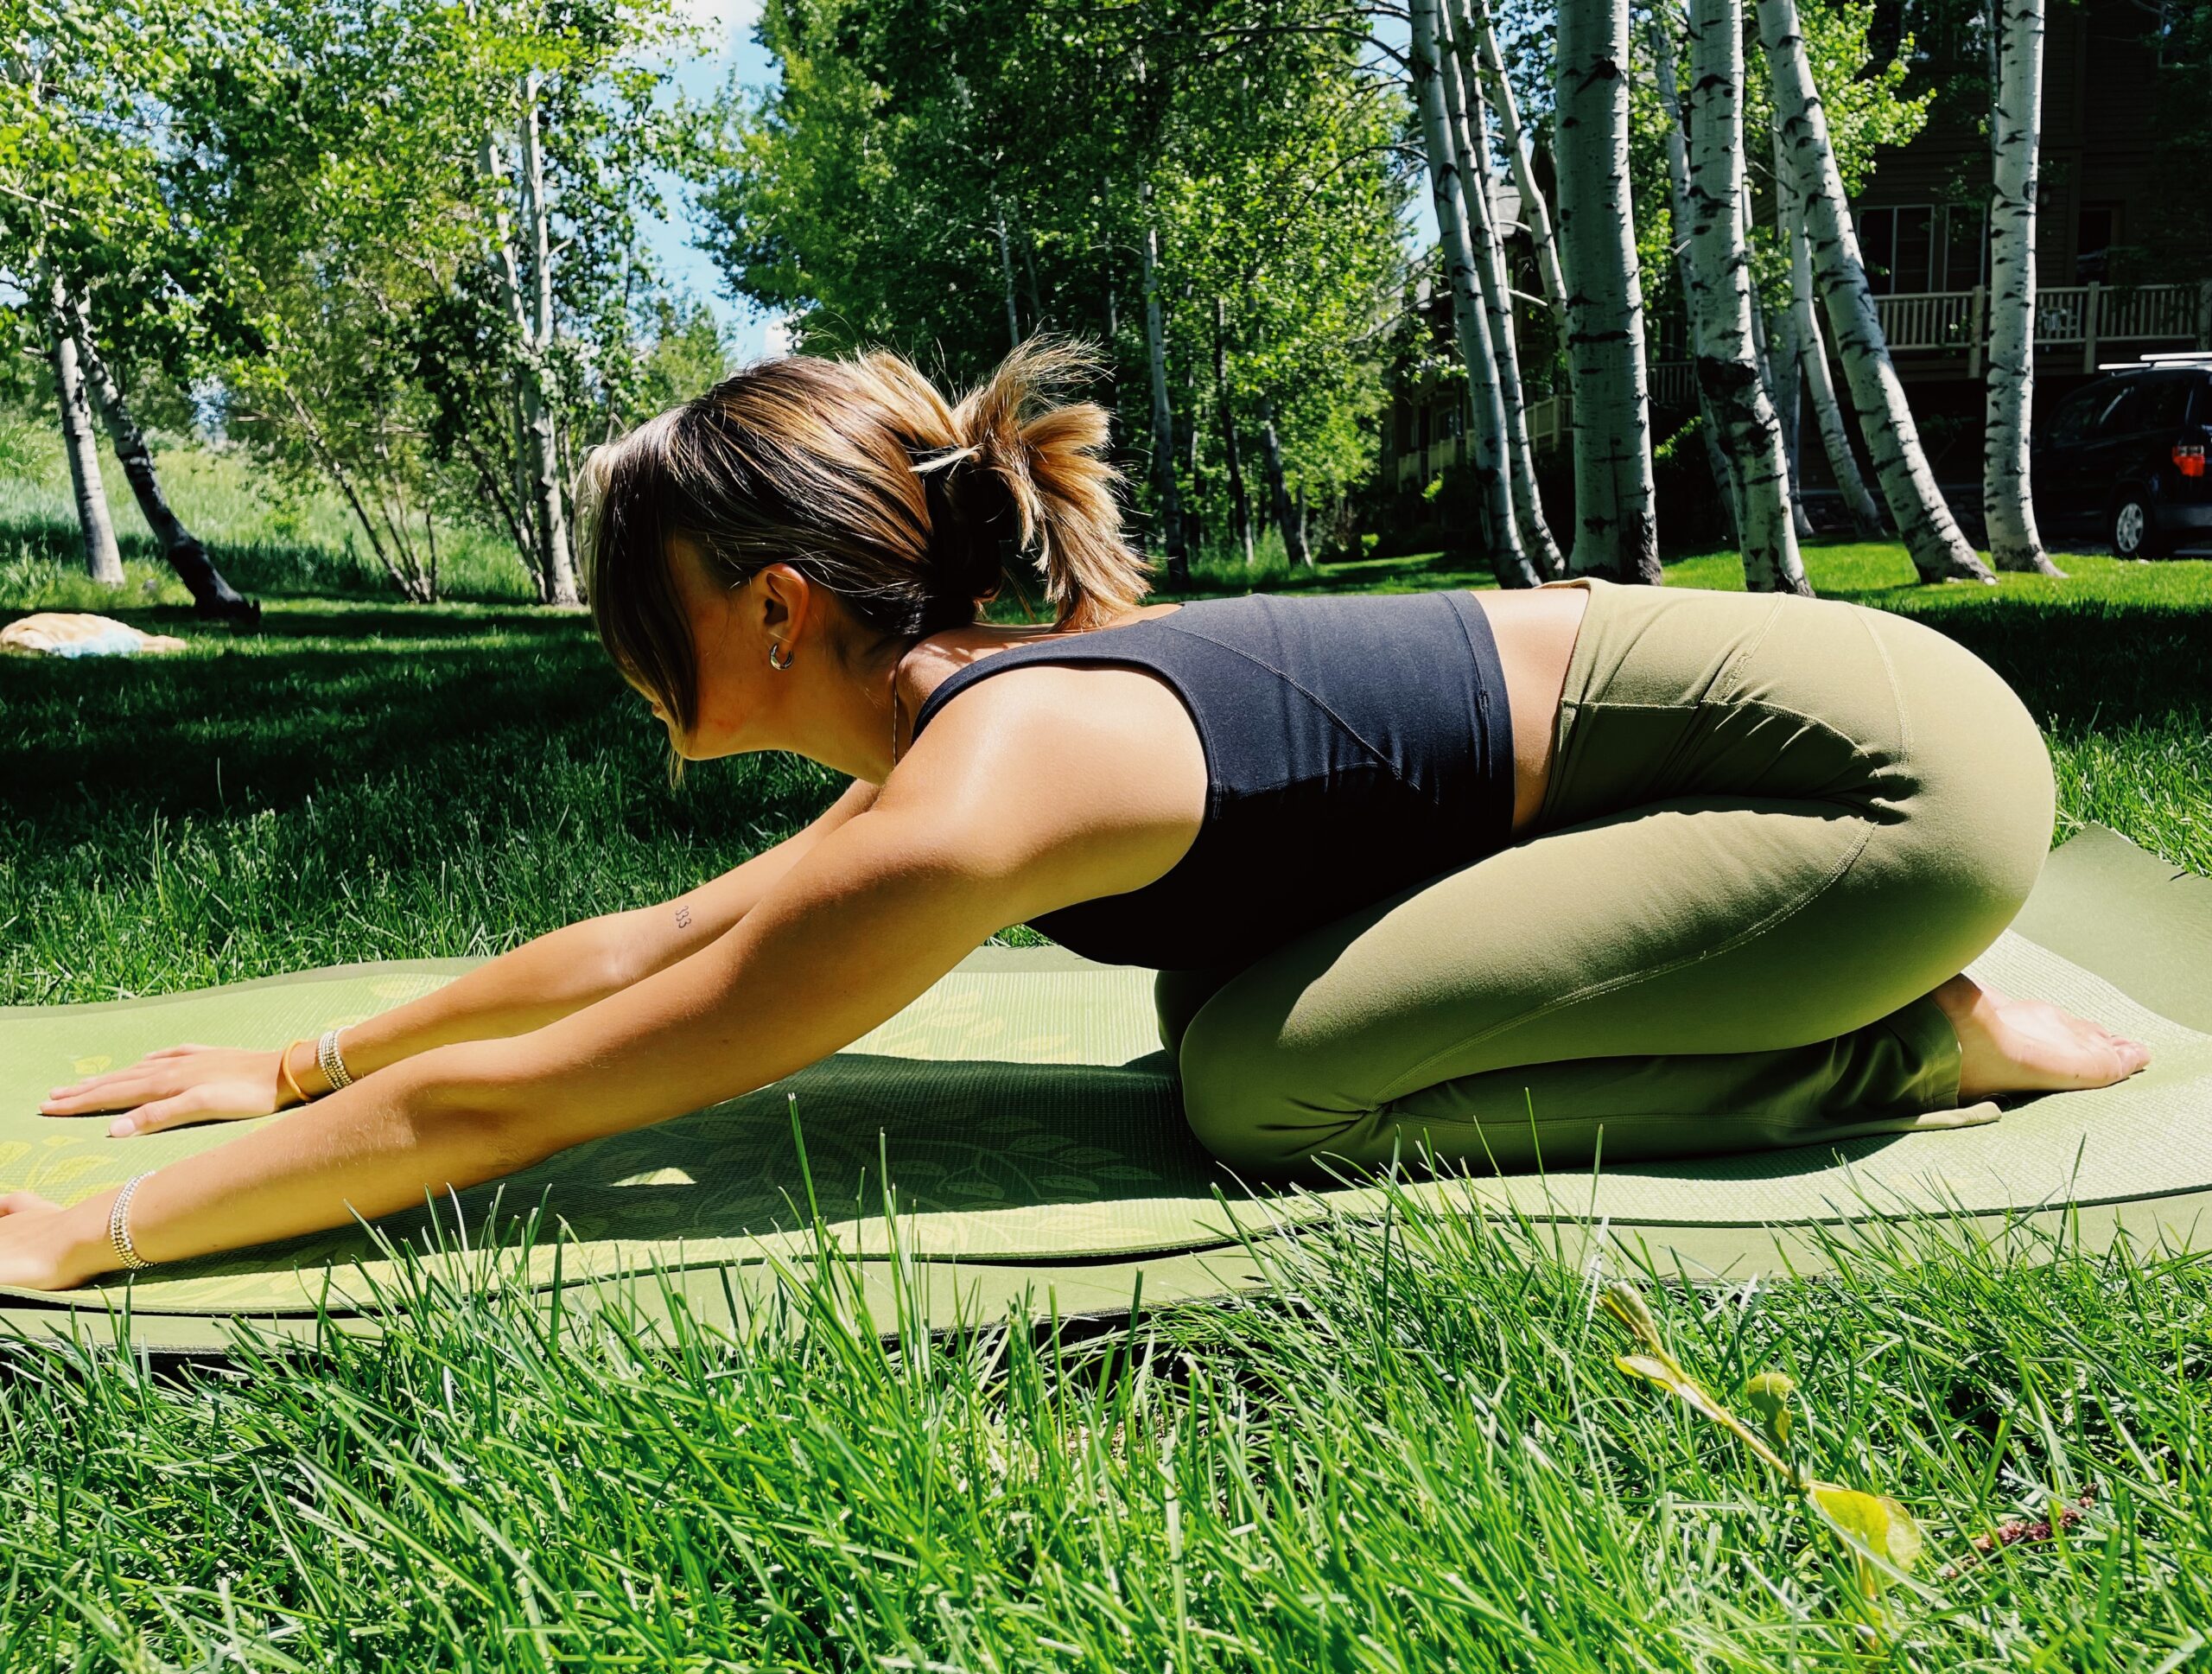
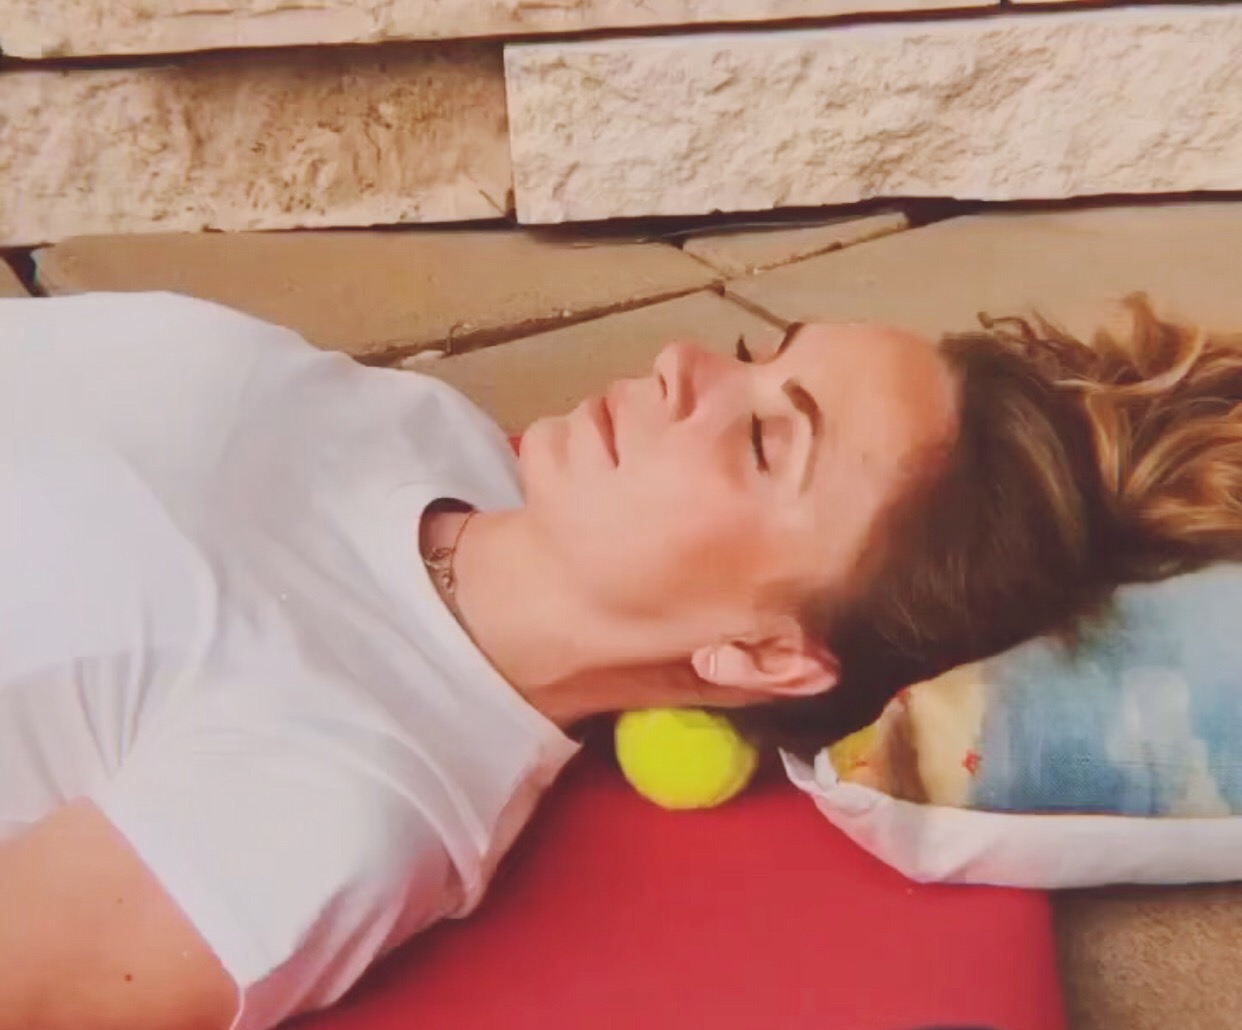
You can manage a stressful situation by taking a deep breath. Deep breathing is a great way to reduce the activation of your nervous system. (Take a deep breath in for a few seconds, hold it and slowly release it.) Learning and applying this skill can help activate your parasympathetic nervous system to rest, which helps the anxiety you may be feeling.
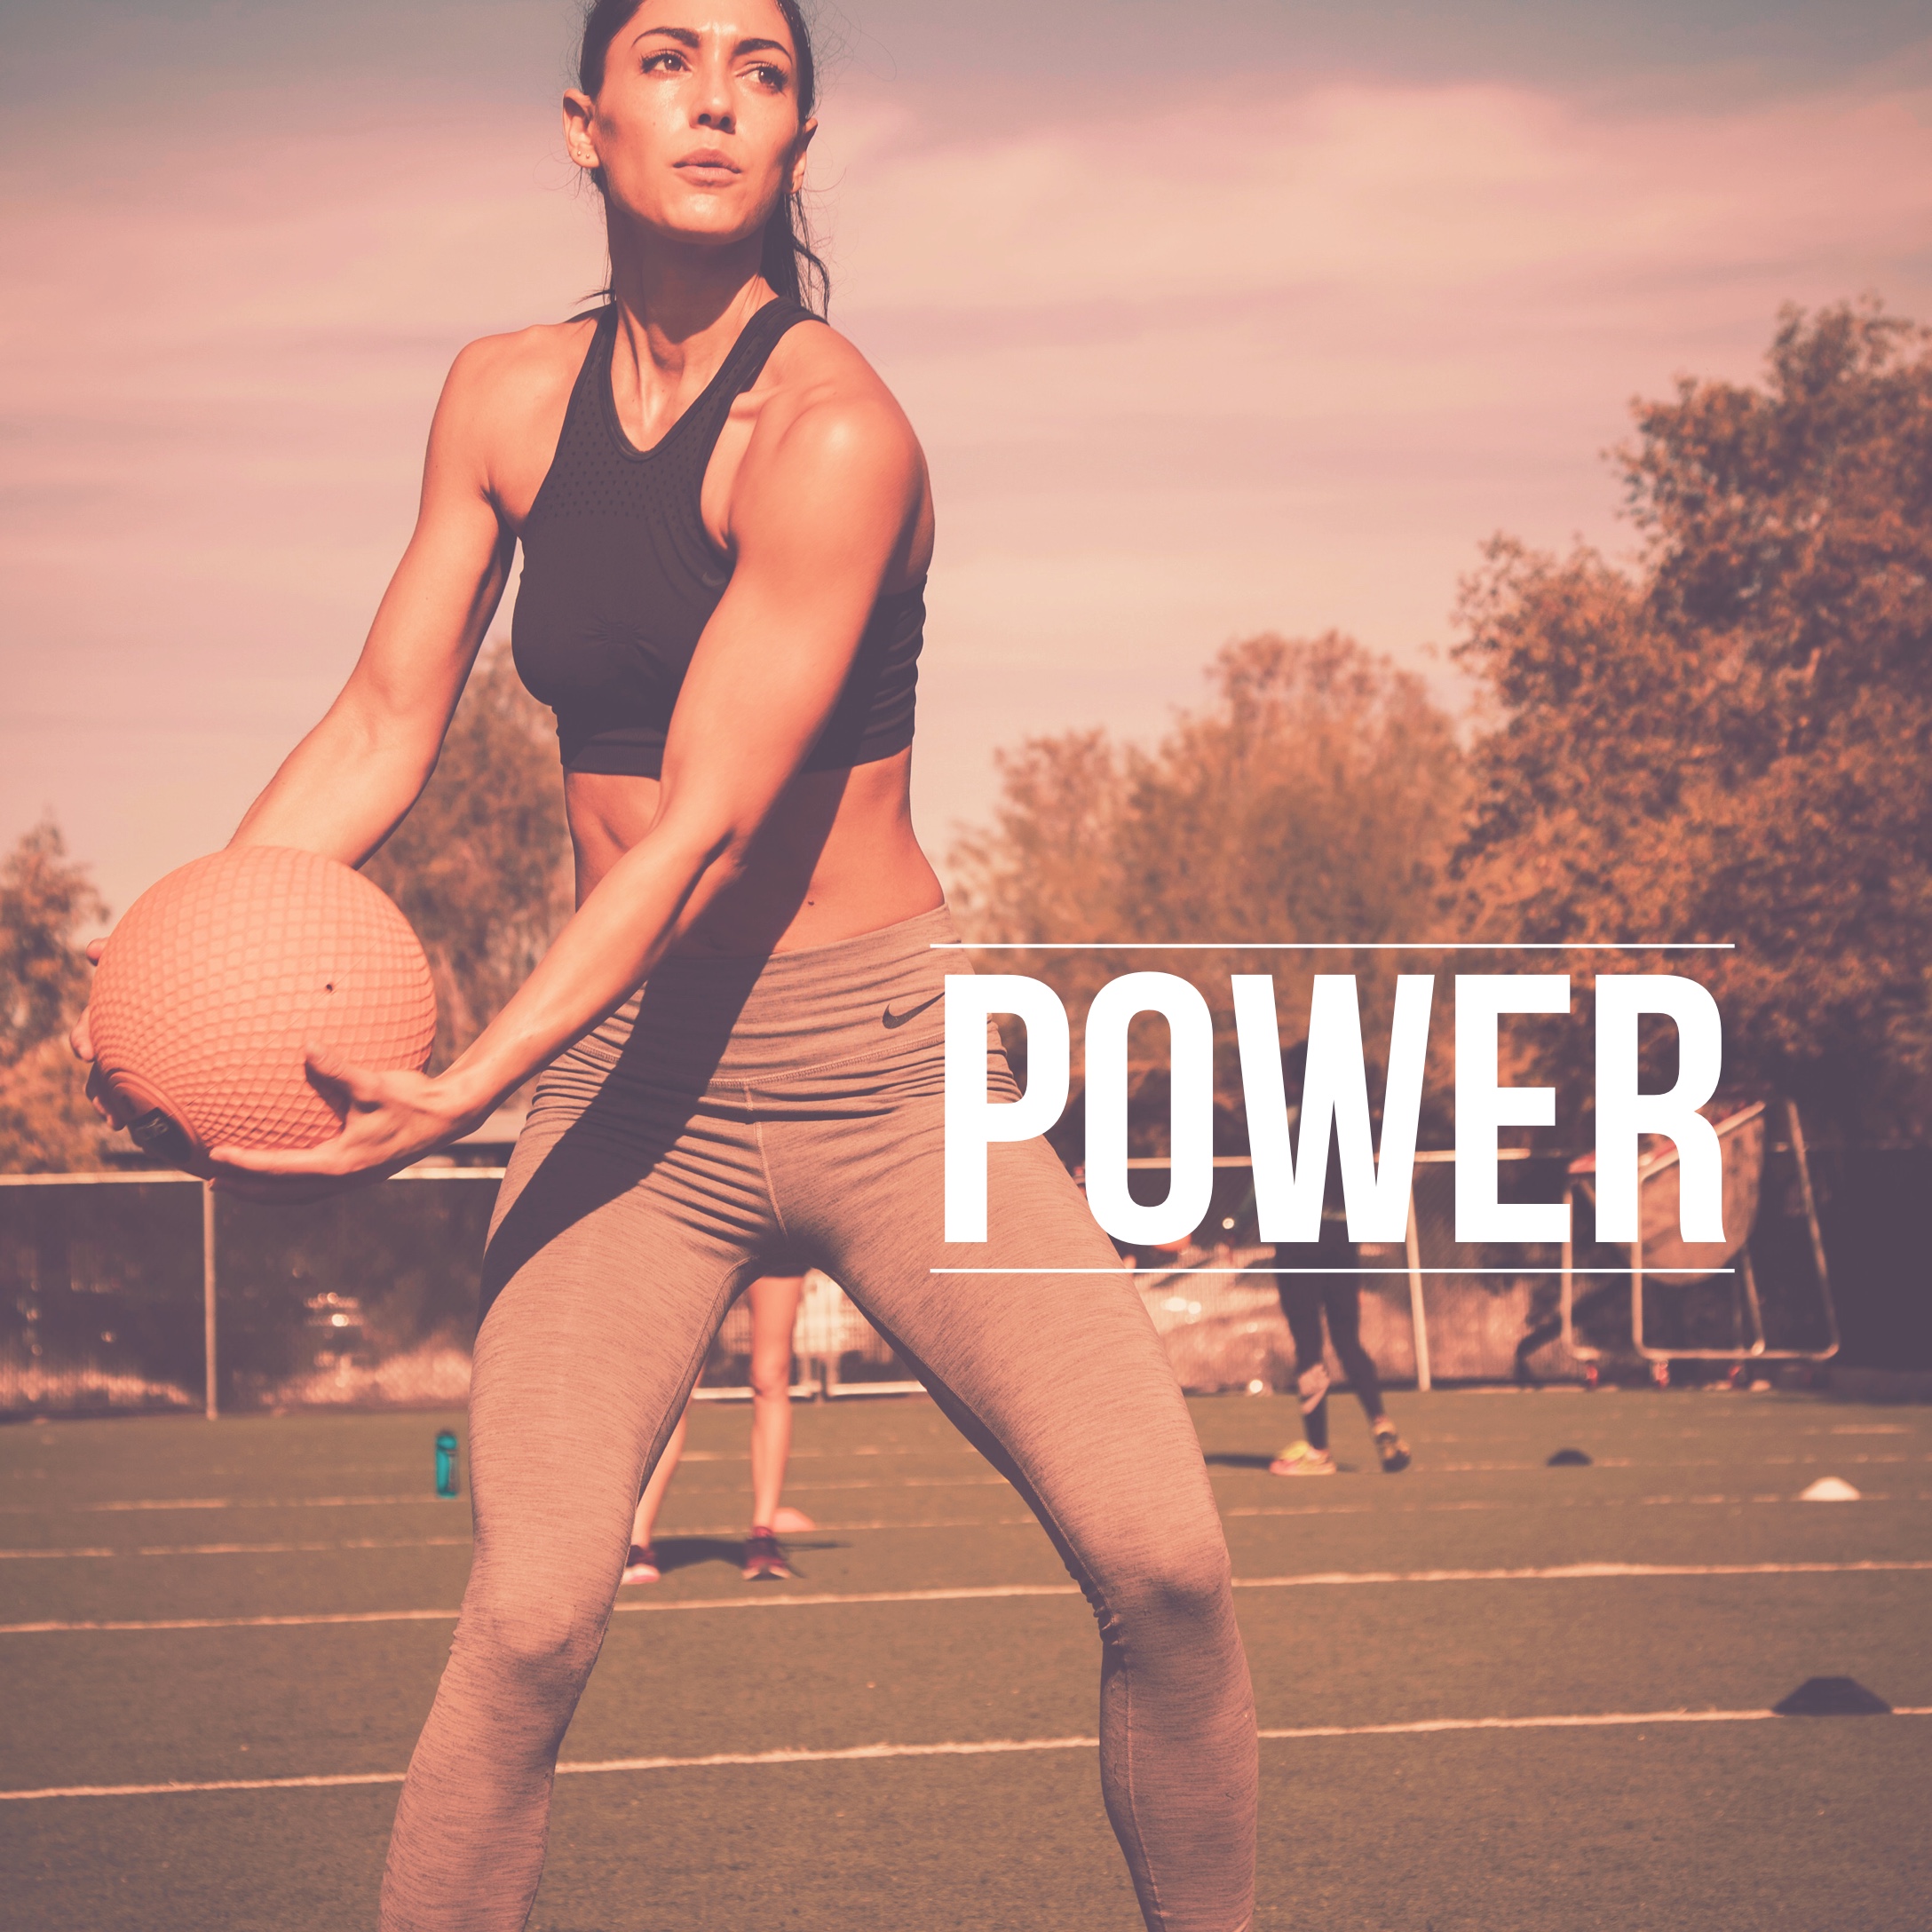
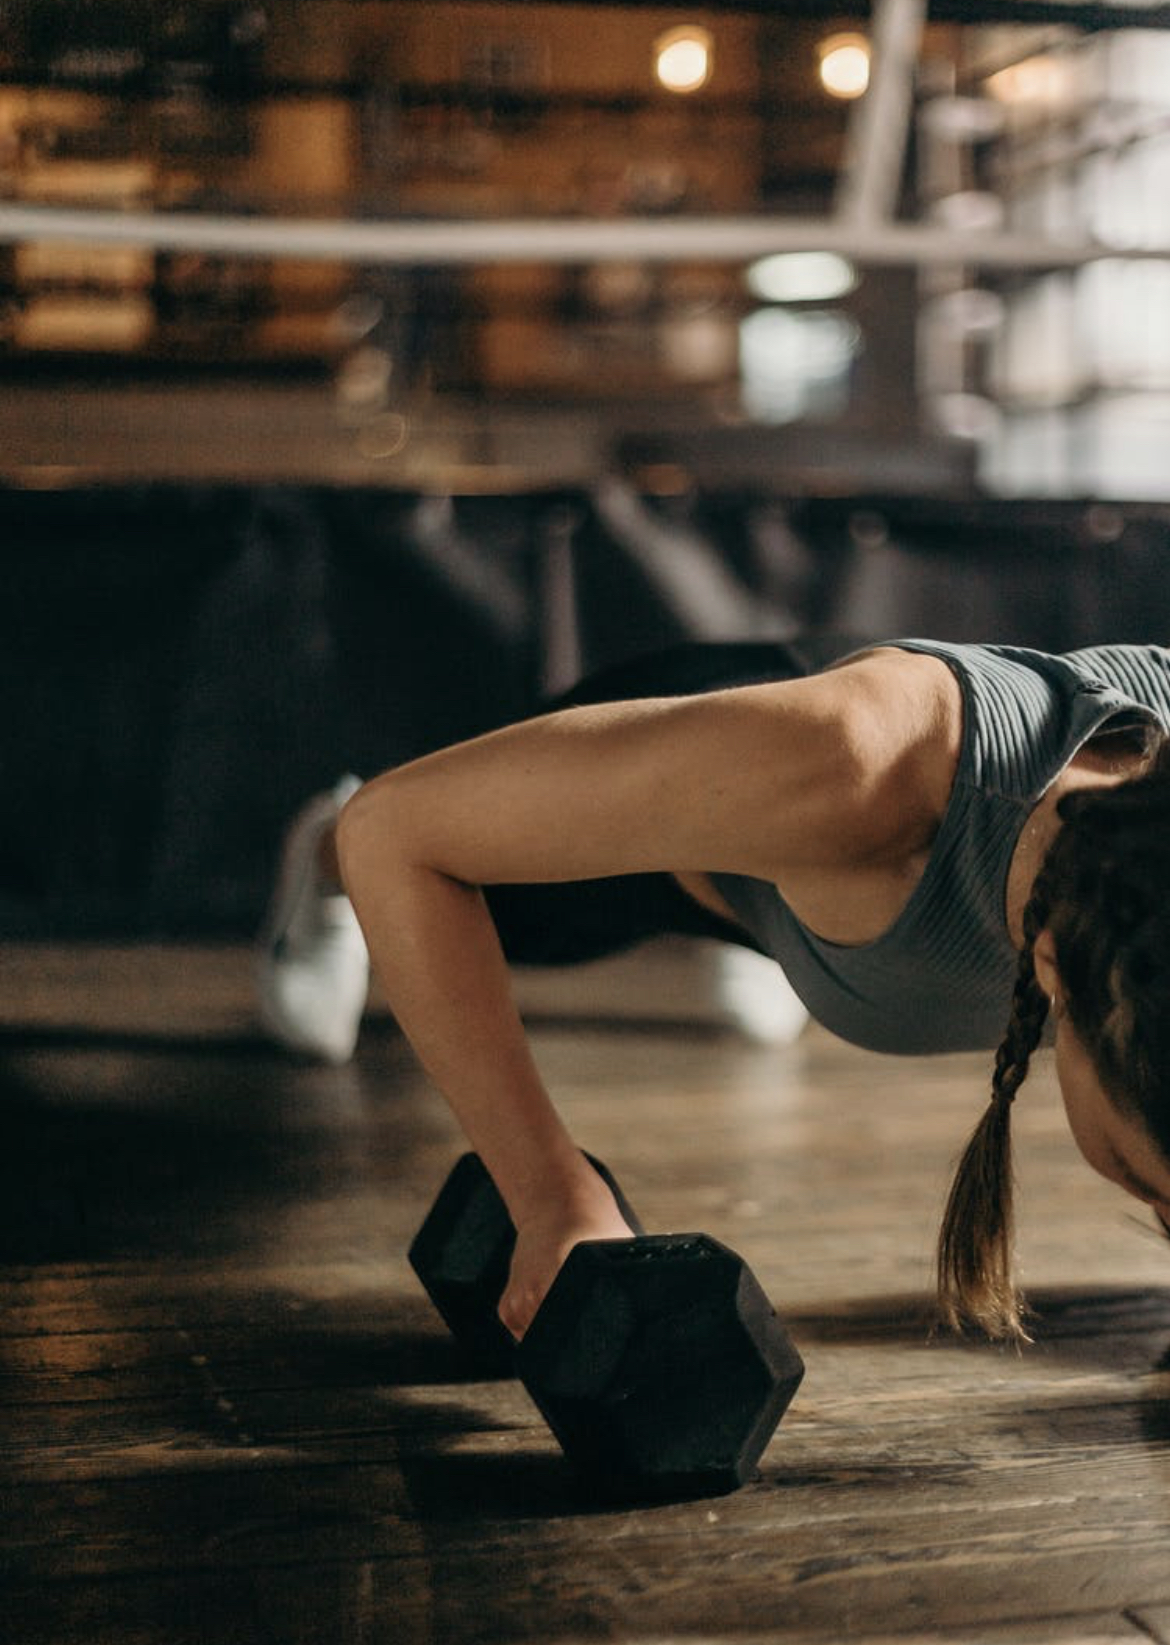
We all have crummy days, and strengthening our personal skills and resilience is key. Exercise is a great stress reliever. And taking care of yourself with proper nutrition is imperative, not only to help your whole body feel better, but your mind as well. Make a commitment to trying any of these strategies for good days ahead.